
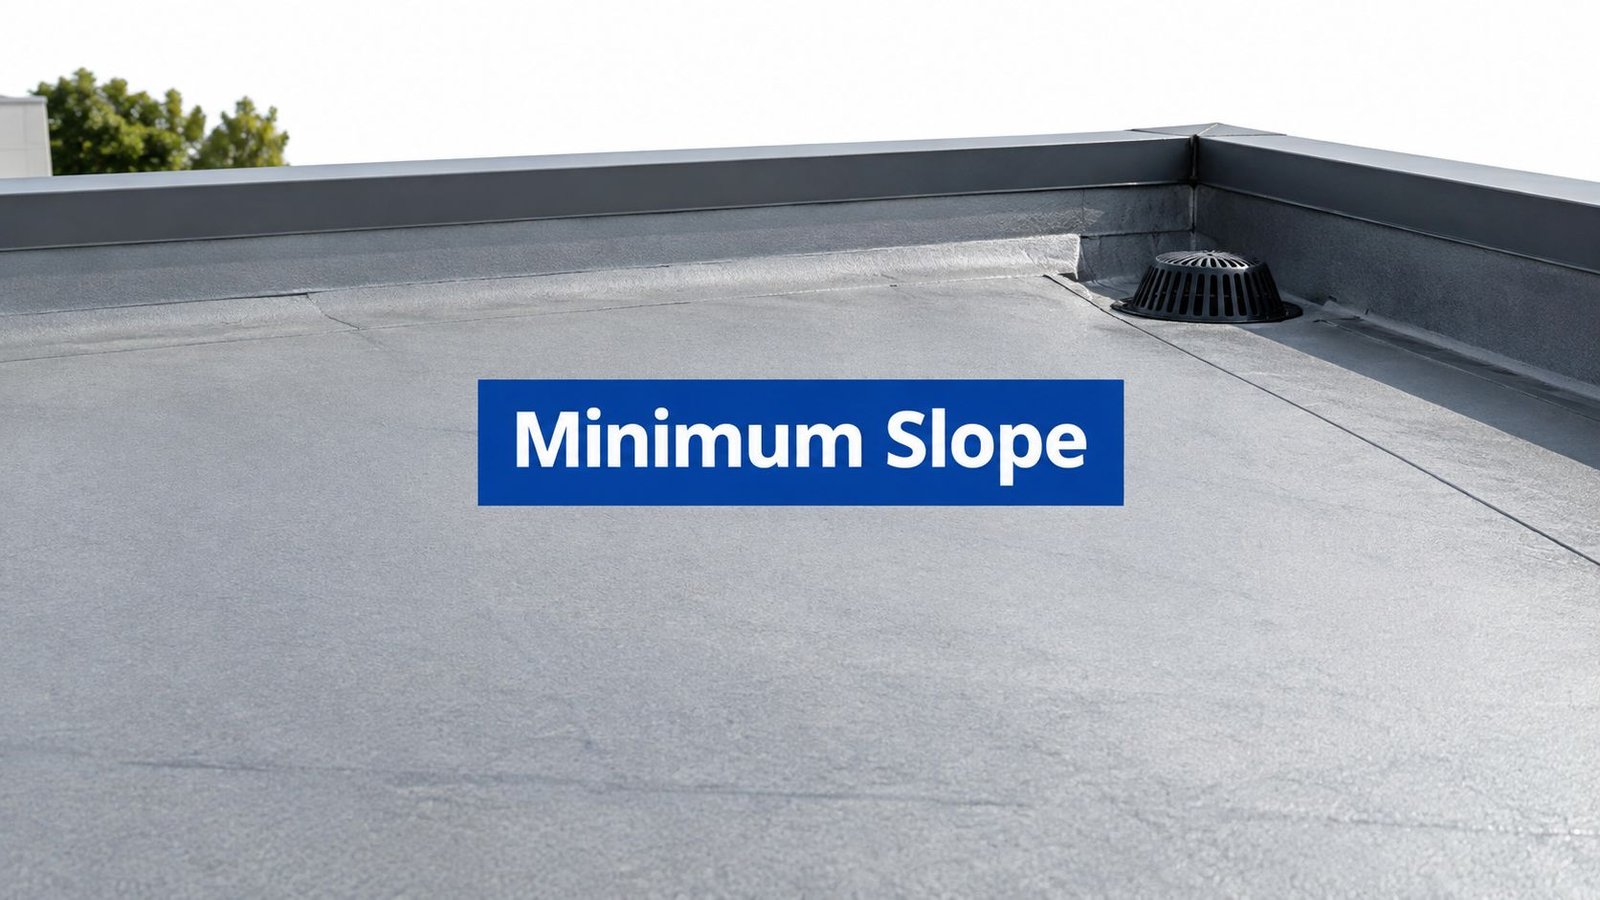
A practical minimum for most low-slope membrane roofs is 1/4 inch per foot, also written as 1/4:12 or about 2%. That number is a floor, not a finish line, because a roof that barely meets the minimum can still hold water after the deck sags or the drainage layout falls short.
You notice the problem after a San Antonio thunderstorm. You step onto the back porch, look up at the patio roof, and see a dark, shimmering puddle still sitting there under the Texas sun. Someone may have called the roof “flat,” but a properly designed flat roof is never perfectly level. It needs a small, measurable fall so water can move toward a drain, scupper, or gutter.
That puddle isn't just a cosmetic issue. Standing water can add load to the roof assembly, keep the membrane wet, and expose weak spots around seams and flashing. In a climate shaped by intense heat, sudden heavy rain, and hailstorms, the difference between a roof that drains and one that slowly collects water matters.
Table of Contents
- Why a Flat Roof in San Antonio Is Never Really Flat
- What Minimum Slope Actually Means in Numbers
- What Building Codes and Manufacturers Require
- How Different Flat Roof Materials Handle the Minimum
- Four Upgrades That Fix a Too-Flat Roof
- Putting Slope, Drains, and Materials Together
- Why Minimum Slope Often Fails After Installation
- A Simple Homeowner Checklist and Next Steps
Why a Flat Roof in San Antonio Is Never Really Flat
The word flat describes the appearance, not the geometry. From the ground, a low-slope roof may look level, but the deck and insulation should direct water toward planned drainage points. That slight pitch is what keeps rain from settling in depressions across the surface.
Practical rule: If water has nowhere to travel, the roof isn't functioning as a drainage system, no matter how sound the membrane looks.
A shallow slope can disappear in real conditions. A wood deck may deflect between supports, a drain may sit above the lowest point, or an old recover assembly may contain dips from years of loading. A roof that started with a reasonable fall can develop a low area where every storm leaves the same dark ring.
In San Antonio, a short downpour can put a great deal of rain on a roof in a limited time. Once the clouds clear, the heat begins working on whatever remains. The water may evaporate eventually, but the delay keeps the roof wet and can encourage algae or plant growth around seams and debris.
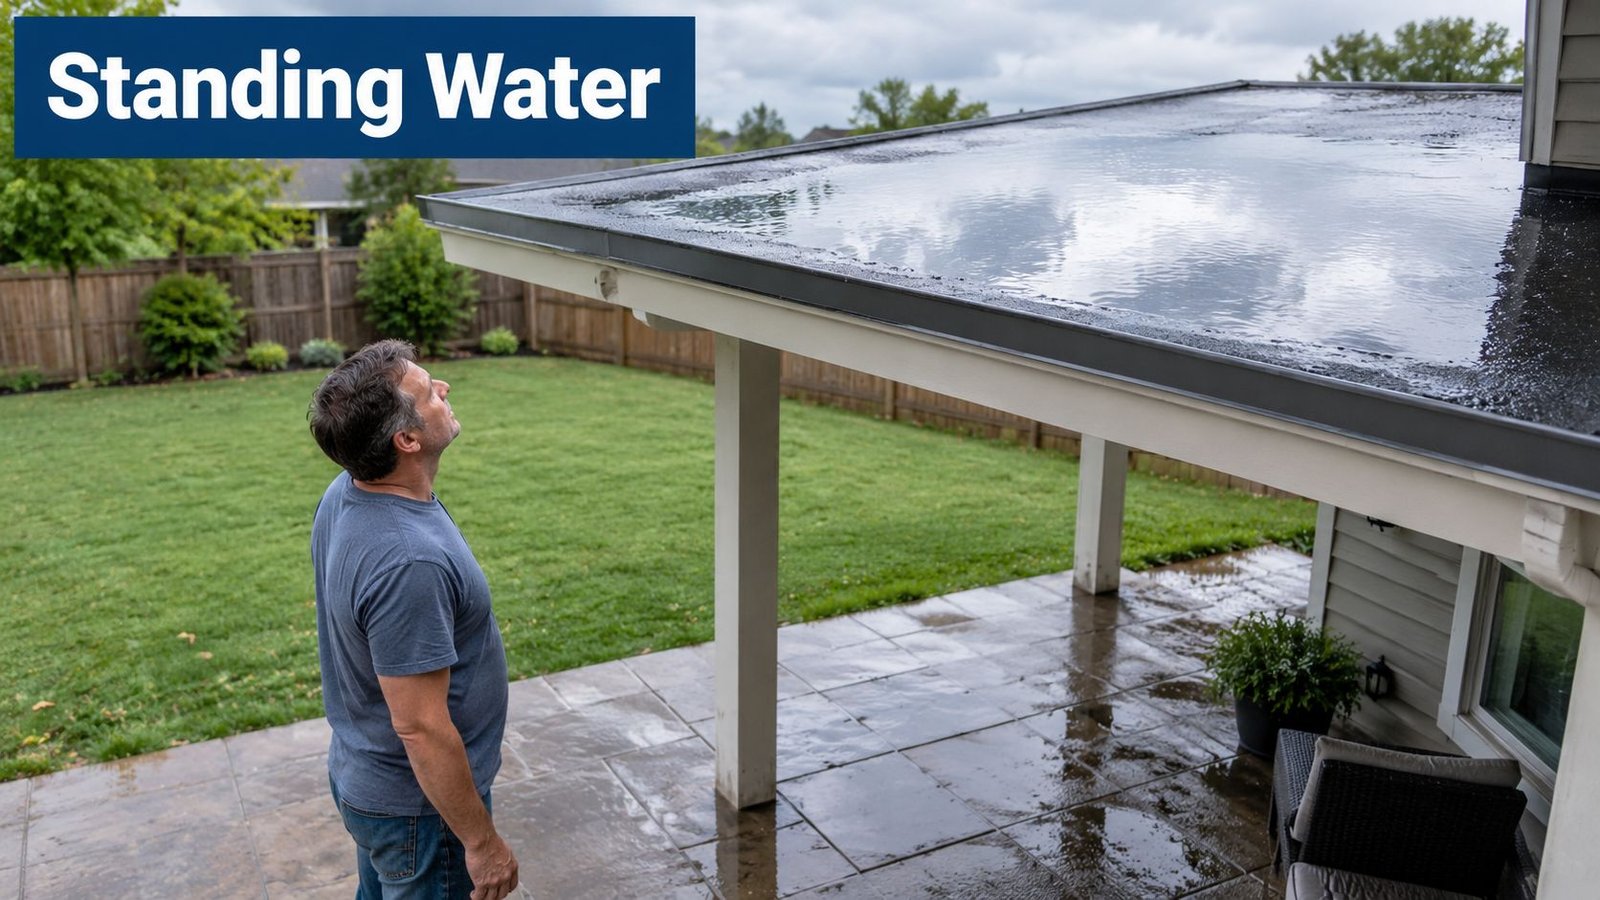
Ponding is a symptom
A puddle doesn't tell you the complete cause. It may point to inadequate slope, a sagging deck, a blocked drain, a misplaced scupper, or insulation that wasn't tapered to the drainage plan. The right inspection follows the water path instead of applying another patch over the visible stain.
That's why minimum slope flat roof work should begin with measurement and drainage planning. The number tells you the starting condition. It doesn't tell you whether the entire roof surface, including low spots and areas around equipment, will drain.
What Minimum Slope Actually Means in Numbers
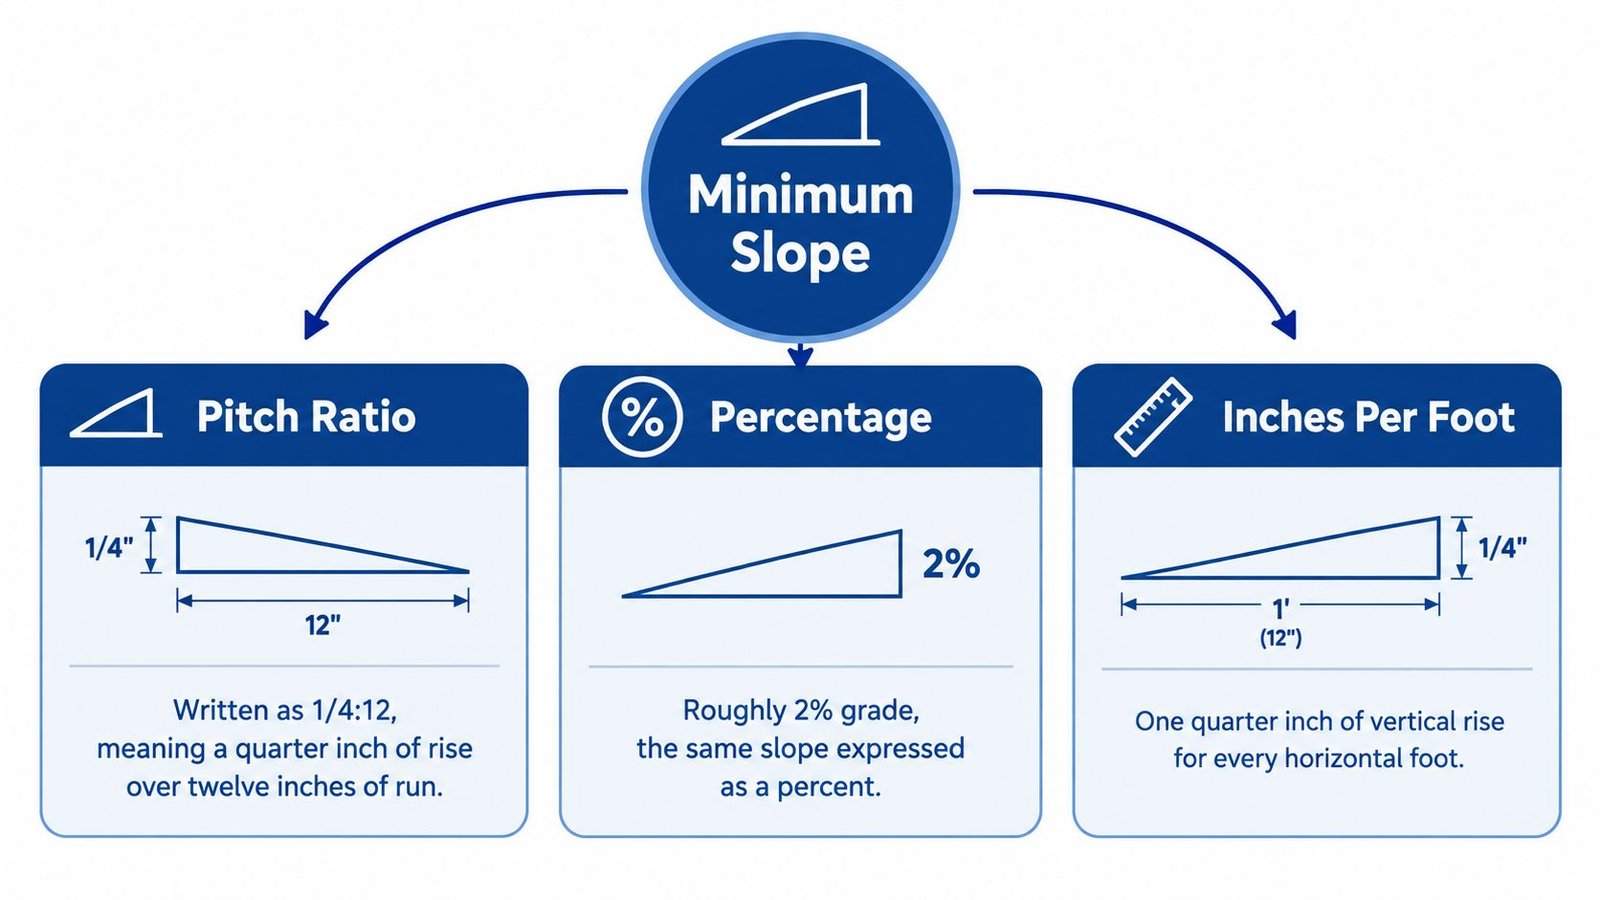
Roofers describe slope in three equivalent ways. One quarter inch per foot means the roof rises a quarter inch over each horizontal foot. The ratio 1/4:12 describes the same relationship over twelve inches of run, while 2% expresses it as a grade. The Building Envelope Design Guide roofing guidance identifies 1/4 inch per foot, 2%, or 1/4:12 as a common minimum for low-slope drainage and notes that a higher 1/2:12, or 4%, slope is preferred where possible.
Use a long level to make the idea practical. If a level extends across several feet of roof, the low end needs to sit lower than the high end by the amount required for the run. A roofing professional uses a level, laser, digital instrument, or survey method to check the actual deck and drainage plane. Looking at the surface from the ground won't tell you whether the fall is consistent.
The measurement matters because a roof may have the right elevation at one edge but lose that fall in the middle. Structural deflection, insulation joints, membrane wrinkles, and rooftop equipment can interrupt the path. The technical discussion of low-slope roof standards also describes 2% as a common modern benchmark while explaining that requirements vary with the roof's use and construction.
Read the roof, not just the specification
A plan may call for the minimum slope, yet the finished roof can still contain a low pocket. The drainage plane needs to carry water continuously to an outlet. The finish layer alone can't correct a deck that bends or a drain that sits in the wrong place.
Don't treat 1/4:12 as a promise that every puddle will disappear. Treat it as the baseline against which the whole roof assembly should be checked.
What Building Codes and Manufacturers Require
A San Antonio roof can meet the minimum on paper and still hold water after a few hot summers. A 1/4:12 slope is like a driveway with only a slight grade. It gives water a path, but deck sag, insulation joints, recovery work, or a poorly placed drain can interrupt that path. South Texas heat can make those weak points more noticeable as materials and structures move.
The common U.S. baseline for many low-slope membrane and built-up roof assemblies is 1/4 inch per foot, or 1/4:12. The IIBEC guide to roof drainage design describes this minimum as a way to create positive drainage toward outlets and reduce ponding.
Positive drainage also has a performance side. During reroofing or recover work, model-code provisions may allow the assembly to be evaluated by how well it clears water rather than by slope alone. The roof must be designed to drain within 48 hours after precipitation, with deck deflection included in the review. That matters on older San Antonio buildings. Adding another roof layer can leave the original low spots in place, turning a code-passing slope into a ponding roof within a few seasons.
| System or code consideration | Minimum slope | Notes |
|---|---|---|
| Common low-slope membrane baseline | 1/4:12, about 2% | Widely used for positive drainage. See the commercial roofing standards Commercial Roofers resource for broader standards context. |
| Preferred low-slope target where practical | 1/2:12, about 4% | More fall is preferred in some building-envelope guidance, subject to the system and manufacturer. |
| Existing reroof or recover assembly | Performance-based | The assembly may be reviewed for positive drainage instead of slope alone. |
| Roof with earth covering or regular traffic | Varies by use | Special roof uses can have different requirements. |
The number on the plan is only the starting point. A manufacturer may specify a different slope for a particular membrane, seam detail, warranty, or installation condition. Drains, scuppers, overflow routes, curbs, parapets, and structural movement need review together.
Ask for the applicable local requirements and the manufacturer's written installation criteria. A sound proposal should show how water leaves the roof and how the assembly remains eligible for its stated warranty terms.
How Different Flat Roof Materials Handle the Minimum
The same slope can behave differently depending on the roofing material and installation method. A membrane with heat-welded seams may manage a low-slope application differently from a multi-ply asphalt assembly, while a metal panel system may have stricter limitations for the panel profile and seam detail.
TPO is commonly considered for low-slope commercial roofs because its seams are heat welded and the sheet forms a continuous membrane when installed correctly. That doesn't make it immune to ponding. The deck still needs a dependable drainage plane, and penetrations and edge details must be installed carefully.
Modified bitumen uses asphalt-based sheets and can be configured in multiple plies. Its performance depends on the specified assembly, tight laps, flashing, and workmanship. A torch-applied or adhered detail is only as reliable as the installation and the conditions on the day of the work.
Built-up asphalt roofing uses layered asphalt and reinforcing sheets. The Lawrence Livermore National Laboratory built-up asphalt roofing guide describes low-slope built-up roofs as typically ranging from 1/4 inch to 3 inches per foot and warns that ponding on nearly flat roofs accelerates membrane deterioration and repair frequency.
| Material | Minimum slope | Seam or joint approach | Ponding tolerance | Best fit |
|---|---|---|---|---|
| TPO | System-specific low-slope criteria | Heat-welded membrane seams | Depends on drainage and installation | Commercial low-slope decks |
| Modified bitumen | Assembly and manufacturer specific | Adhered or heat-applied laps | Depends on ply design and detailing | Low-slope repairs and replacements |
| Built-up asphalt | Often used across low-slope conditions | Layered asphalt and reinforcing sheets | Ponding still accelerates deterioration | Assemblies needing layered construction |
| Standing-seam metal | Must follow the panel manufacturer's slope requirement | Interlocking or mechanically formed seams | Sensitive to slope and seam details | Roofs with enough fall for the selected panel |
Before choosing, compare the actual roof shape with the product requirements. RRSATX's membrane roof material guide offers related background, but the final selection should come from the project-specific specification, measured slope, drainage plan, and warranty terms.
Four Upgrades That Fix a Too-Flat Roof
A roof that holds water doesn't always need a complete tear-off. The right correction depends on whether the problem is broad, localized, structural, or caused by a missing drainage outlet.
1. Tapered polyiso insulation
Tapered polyiso panels are manufactured with a gradual change in thickness. The thicker edge builds elevation near the drainage path, while the thinner edge meets the higher part of the roof. Installed as part of a designed assembly, the panels can rebuild the fall above an existing deck.
This approach can correct broad drainage problems during a recover or replacement, but it won't repair a joist or truss that is structurally sagging. The deck should be evaluated first.
2. Crickets and saddles
A cricket is a small sloped feature that redirects water around an obstruction or toward a drain. Contractors may use one behind a curb, at a parapet, or between drainage areas. These features break up a wide low area so water doesn't have to cross the entire roof surface before reaching an outlet.
3. Additional drains or scuppers
A second drain, overflow drain, or through-wall scupper can give water another exit. Placement matters more than just adding a hole in the roof. The outlet belongs at a genuine low point, and the overflow path should protect the building if the primary drain clogs.
4. Gutters and downspouts
On roof edges that discharge to gutters, a larger or better-positioned gutter can reduce splashback and keep runoff away from fascia and foundations. Downspouts should carry water away from the structure rather than releasing it beside the wall.
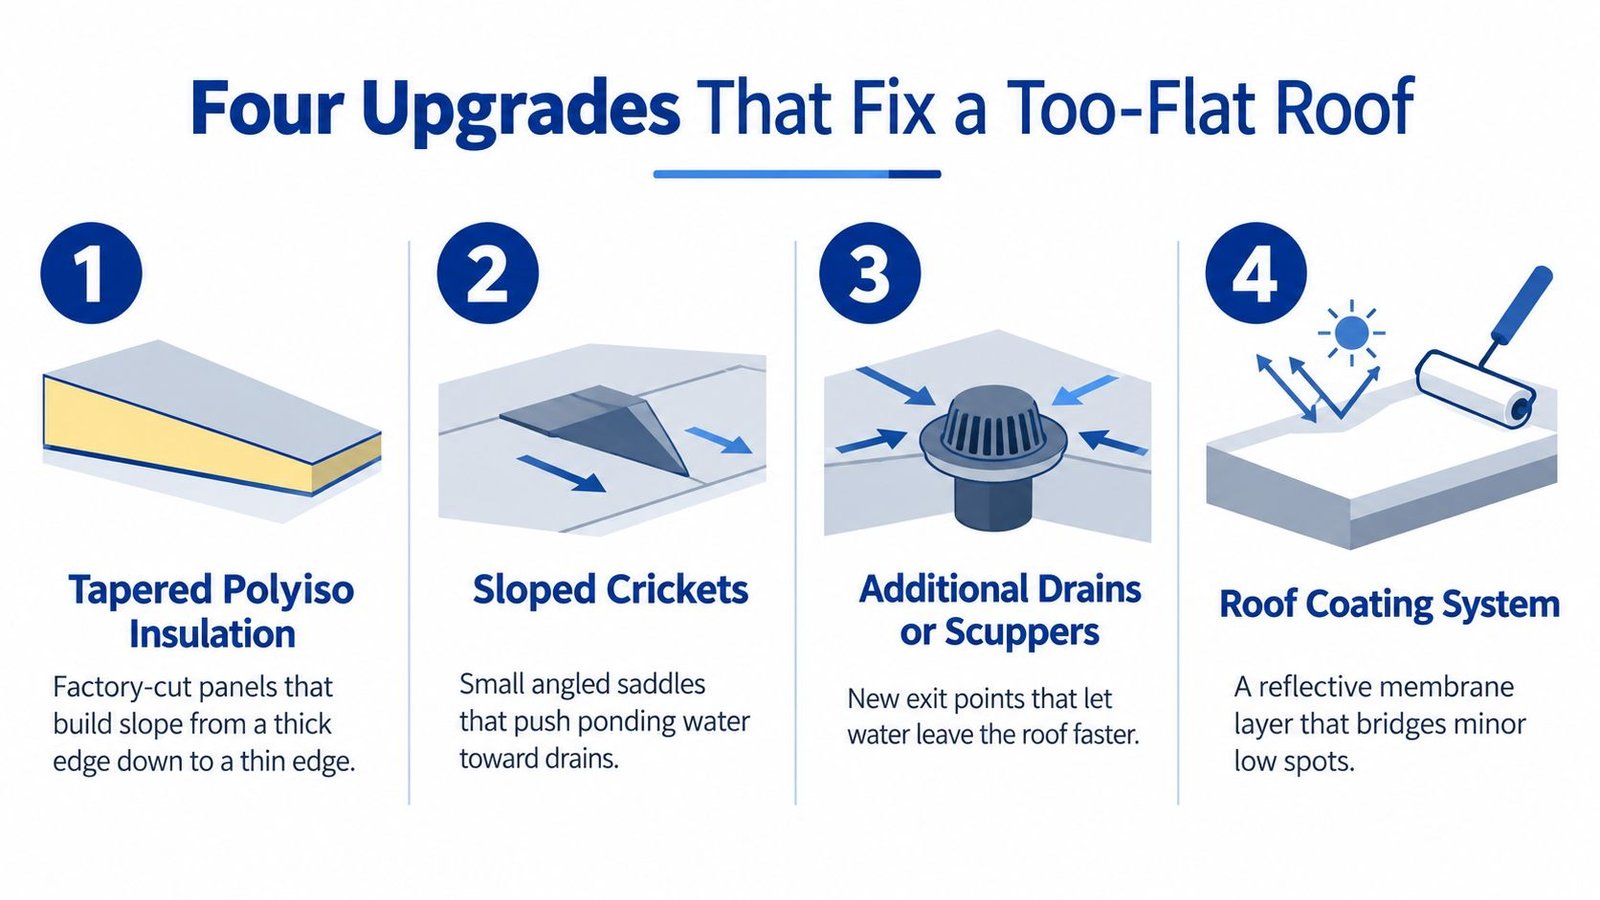
These solutions often work together. A contractor might pair tapered insulation with a cricket and a new scupper, then correct the edge drainage. For background on repairing asphalt-based low-slope systems, see this guide to tar roofing repair methods.
Here is a visual explanation of how drainage corrections can fit into a roof project:
Putting Slope, Drains, and Materials Together
A San Antonio roof proposal should read like a drainage plan, not just a material recommendation. Minimum slope is the starting line. The finished system must still move water after heat, maintenance traffic, equipment loads, and future repairs change the surface.
Measure the whole surface
A contractor should check the entire drainage plane, much like checking a driveway for every low spot rather than measuring only its highest edge. Ask where the low points are, how level or laser readings were taken, and whether tapered insulation is included.
Check the deck and recovery history
A sagging deck can leave a code-passing roof with a ponding area. Insulation can reshape the surface, but it cannot correct framing movement underneath. Recovery work also deserves a close look because a new membrane may follow old depressions or drainage paths. Have an appropriately qualified professional evaluate structural concerns before the roofing assembly is finalized.
The ASCE-based low-slope roof guidance says roofs below 1/4:12 should be assessed for ponding instability and emphasizes that the drainage plane must provide the fall.
Map outlets and obstacles
Mark drains, scuppers, gutters, overflow routes, rooftop units, parapets, and penetrations on the plan. Water needs a clear route around each obstacle, with outlets placed where water collects. This drainage planning guide explains why outlet location belongs in the design before installation.
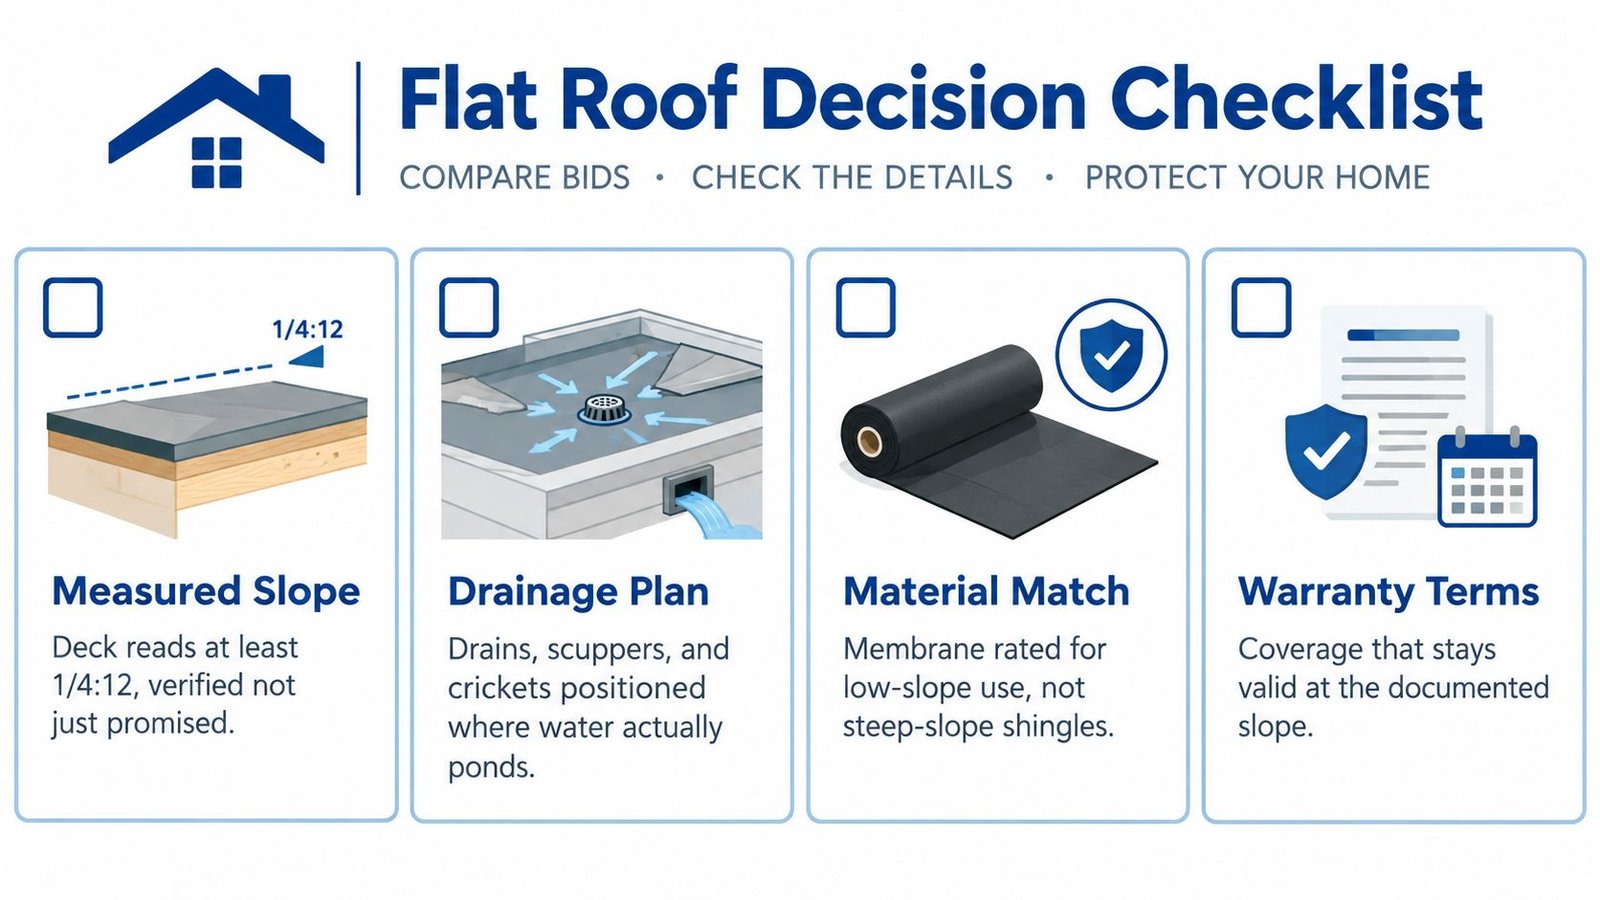
Match materials to conditions
Choose a membrane or panel system approved for the measured slope and suited to the roof's heat, hail, equipment, and maintenance exposure. Material preference should follow the drainage plan, not replace it.
Ask for the positive-drainage standard, ponding exclusions, outlet details, slope corrections, and warranty conditions in writing. A clear proposal lets you compare what the roof needs with what the contractor intends to build.
Why Minimum Slope Often Fails After Installation
A roof can pass inspection at installation and still develop ponding after a few seasons. Start with a common San Antonio recovery project: the roof meets the minimum 1/4:12 slope, but the deck sags slightly between supports. A new membrane then follows old depressions instead of correcting them. Water settles in the same low area after each storm.
The roof works like a shallow tray. A small deck deflection holds water, that added weight increases the deflection, and the deeper depression holds still more water. Rooftop equipment can concentrate weight in one location, while recovery work can cover wrinkles, old low spots, or marginal drainage paths. The result is a code-passing starting point that no longer drains as designed.
The IIBEC guidance on low-slope roof stability connects inadequate slope with ponding instability. That cycle explains why a coating or isolated patch may fail to solve the underlying problem. Minimum slope is a starting point, not a guarantee that the finished roof will maintain positive drainage.
Texas heat exposes weak details
South Texas heat repeatedly stresses membranes, sealants, flashings, seams, and exposed edges. Thermal movement can open weak transitions, while trapped moisture keeps damage active below the surface. Hail and wind can add damage around penetrations and perimeter details, where small failures often let water reach the assembly.
Built-up asphalt roofs have additional maintenance concerns. LLNL guidance warns that ponding water accelerates deterioration and increases repair frequency, while also discussing asphalt choices for areas where water may remain for extended periods. Changing the surface material does not remove the need for positive drainage.
Compare symptoms before choosing a repair
A broad area of standing water usually points toward a slope, deck, insulation, or layout problem. One isolated puddle may indicate a local depression, a shifted drain, or structural movement. Water collecting beside a wall may instead point to a scupper or flashing defect.
“All flat roofs do that” is not a diagnosis. Ask the contractor to identify the low point, trace the water's route, and state whether the repair addresses the deck, tapered insulation, outlet, membrane, or several components together. A recovery project should correct the drainage condition, not cover the evidence.
A Simple Homeowner Checklist and Next Steps
After a San Antonio storm, a roof can look dry from the street while water remains in a shallow low spot. You can check for clues from the ground without climbing onto the roof. Look from a window, porch, or yard, and never assume a one-story roof or ladder is safe, especially when wet.
What to observe after rain
- Water lines: Look for dark rings or a waterline showing where ponding happens repeatedly.
- Drainage time: Record whether water remains after the 48-hour positive-drainage period described in the roof drainage design guidance.
- Edge evidence: Check for splash marks, overflowing gutters, stained fascia, or water beside the foundation.
- Interior clues: Note ceiling stains, damp insulation, bubbling paint, or recurring marks near penetrations.
- Documentation: Take photos from a safe location. Write down the storm date and when the roof appeared dry.
A code-passing 1/4:12 slope can still fail after deck sag, a recovery project, or repeated South Texas heat. Ask the contractor to measure slope across the drainage plane, identify each outlet, and explain any tapered insulation or cricket details. Confirm the proposed material, its required slope, and warranty terms covering ponding and drainage.
A free inspection may distinguish a blocked outlet, repairable low spot, membrane damage, or a larger design problem. Insurance coverage for storm damage depends on the policy and claim facts, so a contractor should not promise approval. Have the roof reviewed before climbing up, covering evidence, or authorizing replacement.
RRSATX provides free roof inspections, roof repair, roof replacement, flat-roof work, and storm-damage documentation for residential and commercial properties in San Antonio and nearby communities. Visit RRSATX to request an evaluation, or call 713-504-2341 for a slope and drainage review.