
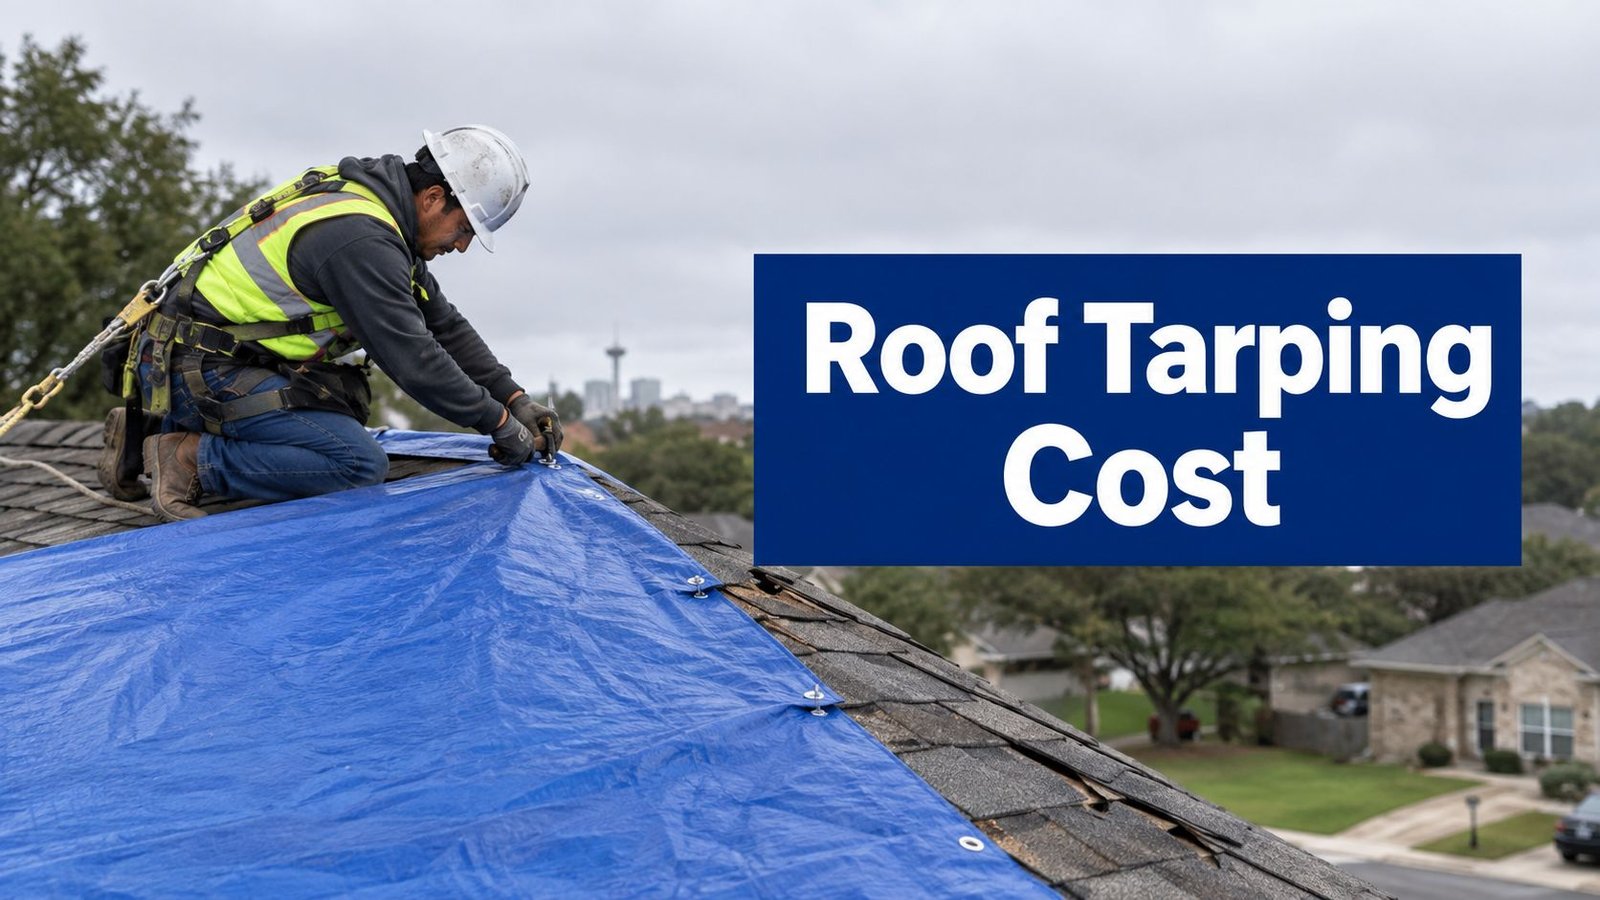
Most emergency roof tarping in San Antonio lands between roughly $200 and $1,500, with typical residential jobs around $300 to $750. Rush, after-hours, and severe-damage calls can run higher.
That number is hard to think about when rain is hitting the ceiling and a brown stain is spreading across fresh drywall. In San Antonio, a thunderstorm can turn a small roof opening into an active leak before you've found your phone, moved the furniture, and searched for help. The right response is calm damage control, not a rushed promise that a tarp will solve the roof.
Table of Contents
- When the Drip Starts and You Need a Number Fast
- What Emergency Roof Tarping Actually Does
- What Drives the Price Up or Down
- DIY Tarp Versus Calling a Local Crew
- What RRSATX Includes with an Emergency Call
- How Long a Tarp Should Last Before Repair
- Why San Antonio Storms Change the Equation
- Your Next Step After the Storm Passes
When the Drip Starts and You Need a Number Fast
A homeowner in Alamo Heights may first notice one drop, then another, landing beside a light fixture during a nighttime storm. A ceiling stain begins to spread, water reaches the drywall, and the first search is usually simple: how much does emergency roof tarping cost?
For most San Antonio homes, the practical emergency range is roughly $200 to $1,500, while routine residential jobs often fall around $300 to $750. After-hours dispatch, widespread storm damage, difficult roof access, or an active leak that needs immediate attention can push the bill beyond that typical band. These figures align with recent industry pricing guidance describing standard emergency jobs in that broad range and mid-range residential work around those common estimates. Recent emergency roof tarping pricing guidance provides that local budgeting context.
The spread isn't a vague quoting trick. A small, reachable section over a single-story garage takes less time and equipment than a damaged area on a steep, two-story roof. A storm call in Downtown San Antonio may also involve tight access, nearby power lines, tree branches, or several damaged roof sections instead of one clean opening.
Practical rule: A tarp is a short-term damage-control purchase. You're paying for safe access, proper anchoring, and time to arrange the real repair.
A professional tarp can keep additional rain out while you document the damage and contact your insurer, but it won't restore missing shingles, cracked tile, damaged flashing, or weakened decking. For safe temporary steps inside the home, see this guide to temporary roof leak fixes, then keep people off the roof until conditions are safe and a qualified crew can assess it.
What Emergency Roof Tarping Actually Does
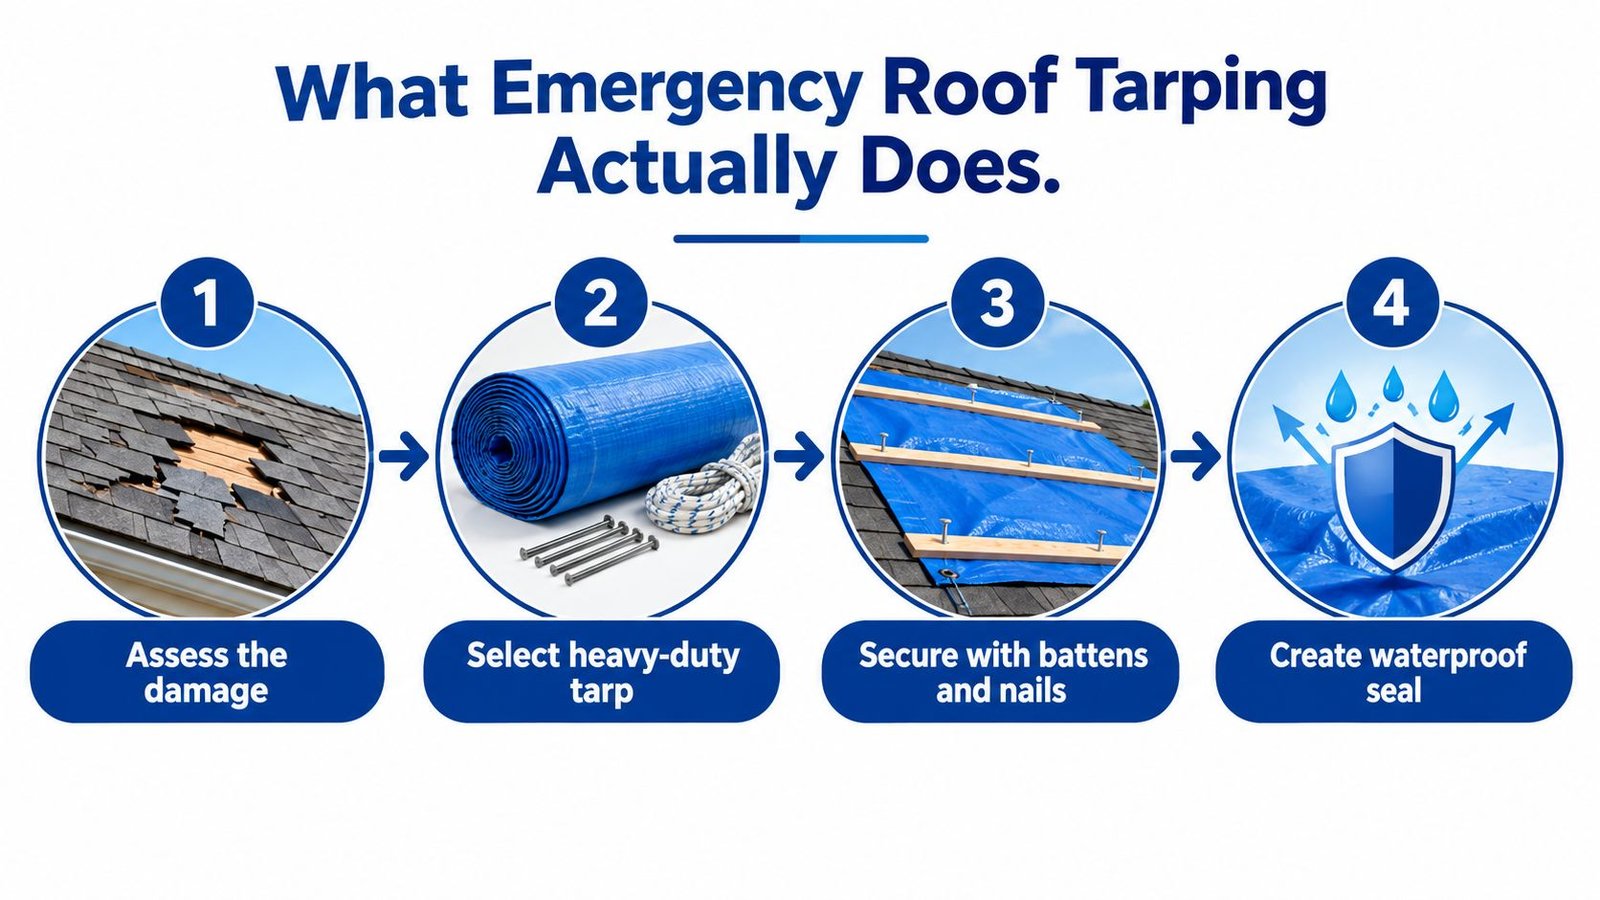
Emergency roof tarping is a temporary, weather-resistant cover installed over a damaged roof section. The crew places the tarp so rain, wind-driven moisture, and loose debris are directed away from the opening instead of into the attic and living space.
The easiest comparison is a bandage. A bandage can slow bleeding and protect a wound, but it doesn't repair the injury. A roof tarp buys time. It doesn't replace a damaged roof system.
What a proper installation involves
A sound emergency installation typically includes several parts:
- Heavy-duty covering: The installer selects a polyethylene or vinyl tarp large enough to extend beyond the damaged area.
- Safe support: Sandbags may hold down edges on low-slope areas, while furring strips or anchor boards help secure the tarp.
- Sound attachment points: Fasteners should go into undamaged decking or framing wherever the roof structure allows it.
- Directed drainage: The tarp must shed water downhill rather than create a pocket that collects rain.
- Protected edges: Seams and edges need careful closure so wind can't lift the material and send water underneath.
The crew isn't throwing a blue sheet over the hole. They're working out how water will travel, where the roof can safely accept fasteners, and how the tarp will respond to wind. A tarp installed over rotten decking may need a different approach than one covering a clean opening over solid framing.
What the tarp cannot do
A tarp isn't a shingle repair, a tile replacement, or a sealant job. It can't correct a failed flashing detail or rebuild decking that has lost strength. It also isn't intended to remain exposed through long periods of Texas sun and repeated storms.
Ask the installer what the temporary cover is designed to accomplish, how it was secured, and what repair should follow. That conversation helps you avoid treating a mitigation measure as a finished roof.
What Drives the Price Up or Down
Emergency tarping is usually priced by the project total or by the square foot. A widely cited pricing guide lists professional emergency tarping at $1.00 to $2.80 per square foot, and gives a 1,500-square-foot roof example ranging from $1,500 to $4,200 for rush service. The same source also reports an average tarping job of $450, with a broader emergency range of $150 to $3,300. Angi's roof tarping cost guide explains why those figures vary so sharply.
The amount of damaged roof is only the starting point. A larger covering requires more material, more overlap, and more time to position and anchor. A small puncture may still require a larger tarp if the installer needs to extend beyond the opening and reach secure fastening points.
The main variables on an emergency call
| Cost Driver | Effect on Price |
|---|---|
| Roof size and damaged area | Larger coverage generally requires more material and labor. |
| Pitch and height | Steep or elevated roofs demand slower work and additional fall-protection planning. |
| Access | Narrow driveways, landscaping, fences, and tight lots can complicate ladders and material handling. |
| Urgency | Night, weekend, and active-leak dispatches commonly cost more than scheduled daytime service. |
| Tarp quality | Thicker, reinforced material costs more but may suit a longer or harsher exposure window. |
| Travel and storm demand | Calls farther across Bexar County, or periods after widespread damage, can affect availability and service charges. |
Roof pitch changes the job even when the damaged area is small. A steep two-story roof may require harnesses, anchors, additional workers, and more time to keep the crew stable. Height also affects how materials reach the roof and how the team protects the property below.
Access creates another practical difference. Older San Antonio neighborhoods may have mature landscaping, narrow side yards, or limited space for a ladder. A home with easy driveway access is simpler than a zero-lot-line property where the crew must work around fences and neighboring structures.
Material choice matters, too. A basic 4-mil polyethylene tarp may suit a very short exposure, while a heavier 10- to 20-mil reinforced tarp can be more appropriate when repair scheduling takes longer or weather remains unsettled. The thicker option isn't automatically necessary, but using a light sheet on a demanding roof can create a false saving if it tears and requires another visit.
The simple rule is straightforward: smaller, lower, safer, and easier-to-reach jobs tend to sit closer to the low end. Urgent, complex, high, or storm-surge calls move upward.
DIY Tarp Versus Calling a Local Crew
DIY materials cost much less than professional emergency service. One roofing calculator estimates materials alone at $50 to $150, compared with $500 to $1,500 for professional installation, with roof size and access among the main price drivers. This roof tarp calculator provides that materials-versus-installation comparison.
That difference can look attractive after a Saturday hailstorm. A homeowner may find a tarp, some lumber, and fasteners at a local store and assume the job is mostly about pulling the material tight. In practice, the material is only one part of the problem.
What the DIY price leaves out
A tarp must be held against wind without creating new openings or concentrating water in one place. The installer needs to identify sound attachment points, manage the material on a potentially unstable surface, and keep the edges from lifting. On a wet roof, those tasks become harder.
A storm-damaged roof can include loose shingles, broken tile, exposed nails, sagging decking, and hidden structural weakness. Climbing onto it without proper training, fall protection, or anchor points can lead to a serious injury. Homeowners shouldn't climb onto their own roof during wet, windy, or unstable conditions.
What professional service adds
A local crew brings more than a tarp. The service may include commercial-grade covering, treated battens, cap nails, sealants, ladders, fall-protection equipment, safe placement, and cleanup. The crew can also photograph the damage and temporary installation for your records.
That documentation can help you explain what happened and what mitigation occurred, but it doesn't guarantee insurance approval. Coverage depends on your policy, the cause of damage, your deductible, and the insurer's review. Keep invoices, photographs, and written estimates, and contact your carrier directly.
The apparent savings from DIY work disappear quickly if the tarp tears, the leak continues, or someone gets hurt.
For a simple, reachable emergency, materials may seem manageable. For a steep or broadly damaged roof, professional installation is usually the more responsible choice because the service addresses both safety and weather protection.
What RRSATX Includes with an Emergency Call
RRSATX is a family-owned San Antonio roofing company operating since 2000, with more than 40 years of personal roofing experience, over 80 years of combined crew expertise, and $2,000,000 in liability insurance. Its broader services include free roof inspections, repair, replacement, asphalt shingle, metal, tile, flat roofing, and storm-damage work.
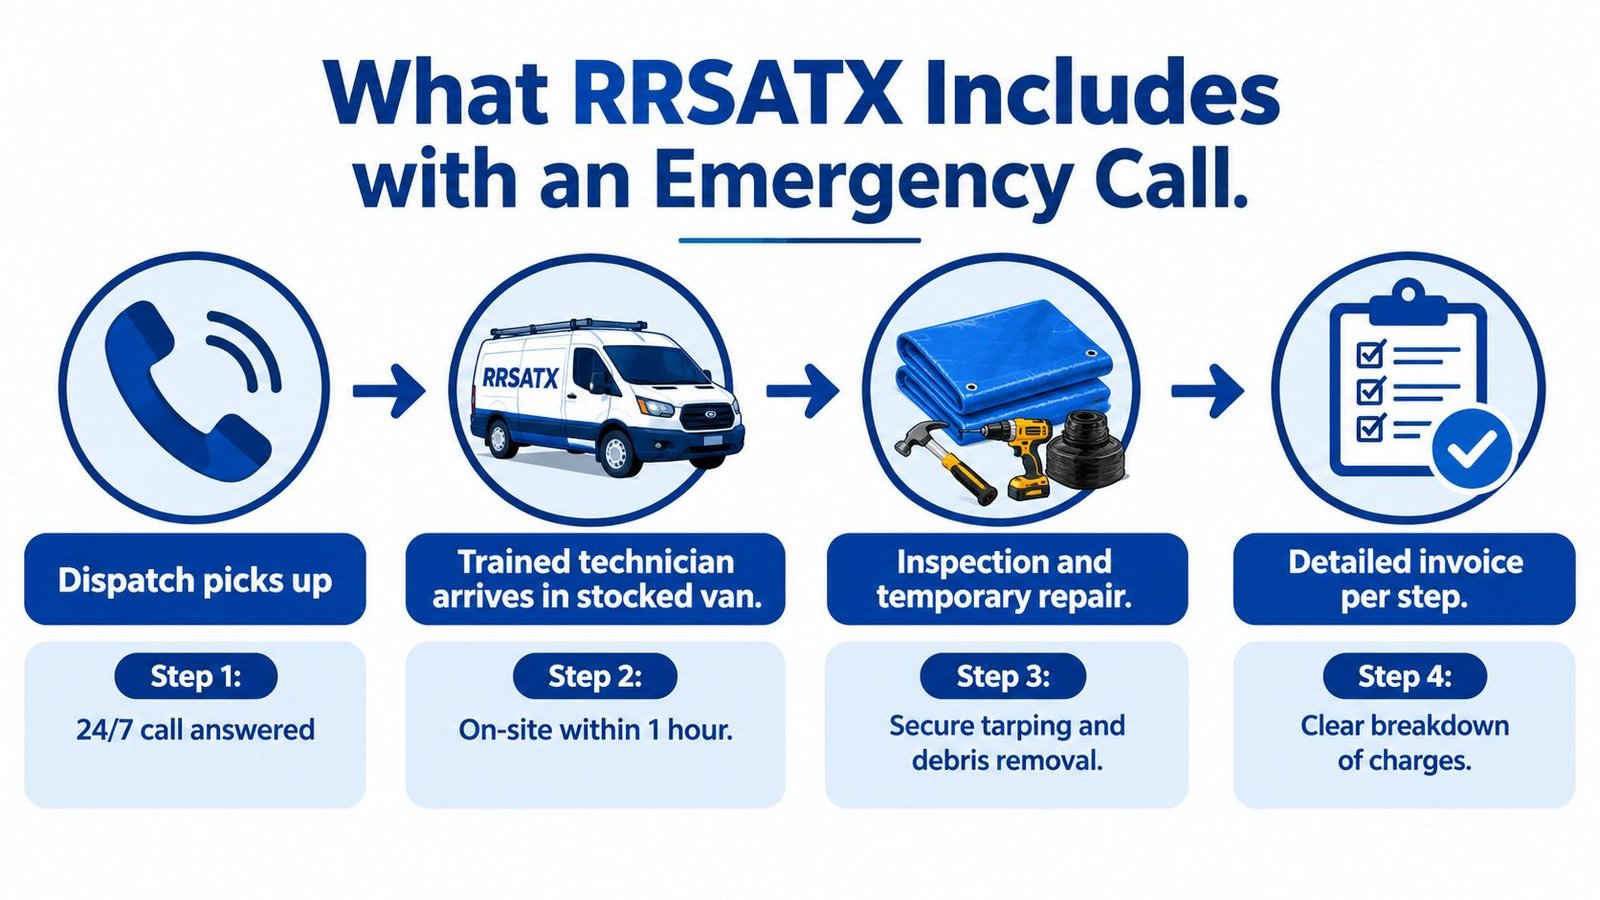
The emergency process starts before anyone steps onto the roof. The technician reviews the address, the visible symptoms, and whether water is actively entering the home. On arrival, the crew evaluates the property and looks for hazards such as unstable decking, fallen limbs, exposed wiring, and unsafe ladder placement.
What the crew is protecting
A properly sized tarp should extend beyond the opening far enough to direct water away from the damaged section. The installer may cut and position the covering, create overlapping seams, use sandbag ballast on a low-slope area, and attach battens or fasteners to sound framing where possible.
The goal isn't to make the roof look finished. The goal is to reduce ongoing water entry while preserving a clear path to permanent repair. The crew should explain any areas where the roof condition prevents standard fastening or where additional work is needed.
What you should receive afterward
The value of an emergency visit also includes the information left behind. A clear service record should identify the visible damage, the temporary work completed, materials used, and any recommended next step. Before-and-after photographs can help you organize your claim file and discuss the permanent solution with the contractor and insurer.
RRSATX also provides roof inspections, written findings, and repair or replacement planning after the immediate threat has passed. That matters because a tarp visit should lead to a root-cause assessment, not repeated temporary visits with no decision about the underlying roof.
Ask whether the quote covers setup, installation, documentation, and cleanup. If anything changes, request approval before additional work begins. Written communication is especially useful when storm demand makes phone conversations rushed.
How Long a Tarp Should Last Before Repair
A professional tarp is built to create a bridge to permanent repair, not to become a second roof. Its useful life depends on the material, installation, roof condition, sun exposure, wind, rain, and how long the underlying repair takes.
The practical financial question is not only how much the first tarp costs. It's whether paying for another tarp still makes sense when the roof remains damaged and the next visit adds more fasteners, labor, and exposure.
When the temporary cover stops being economical
A covering that stays exposed through repeated storms can loosen, tear, or allow water beneath its edges. San Antonio's heat also places stress on synthetic materials and fastening points. If the roof deck becomes wet or deteriorated, the original attachment strategy may no longer be reliable.
Re-tarping can be reasonable when an insurance inspection or repair is already scheduled and a short delay is unavoidable. It becomes harder to justify when the same roof keeps receiving temporary work without a firm plan for repair or replacement.
A tarp should buy time for a decision, not postpone the decision indefinitely.
What to do while the tarp is in place
Keep the service record, photographs, and invoices together. Watch ceilings and attic areas from a safe location for new moisture, and report movement, flapping, or visible failure promptly. Don't climb up to inspect the covering yourself.
A temporary cover also shouldn't hide the need for a full evaluation. A roofer needs to determine whether the damage is isolated or whether heat, hail, wind, age, flashing failure, or decking problems have affected a larger section. Once the roof's condition is known, you can compare a targeted roof repair with replacement planning instead of repeatedly paying for short-term protection.
Why San Antonio Storms Change the Equation
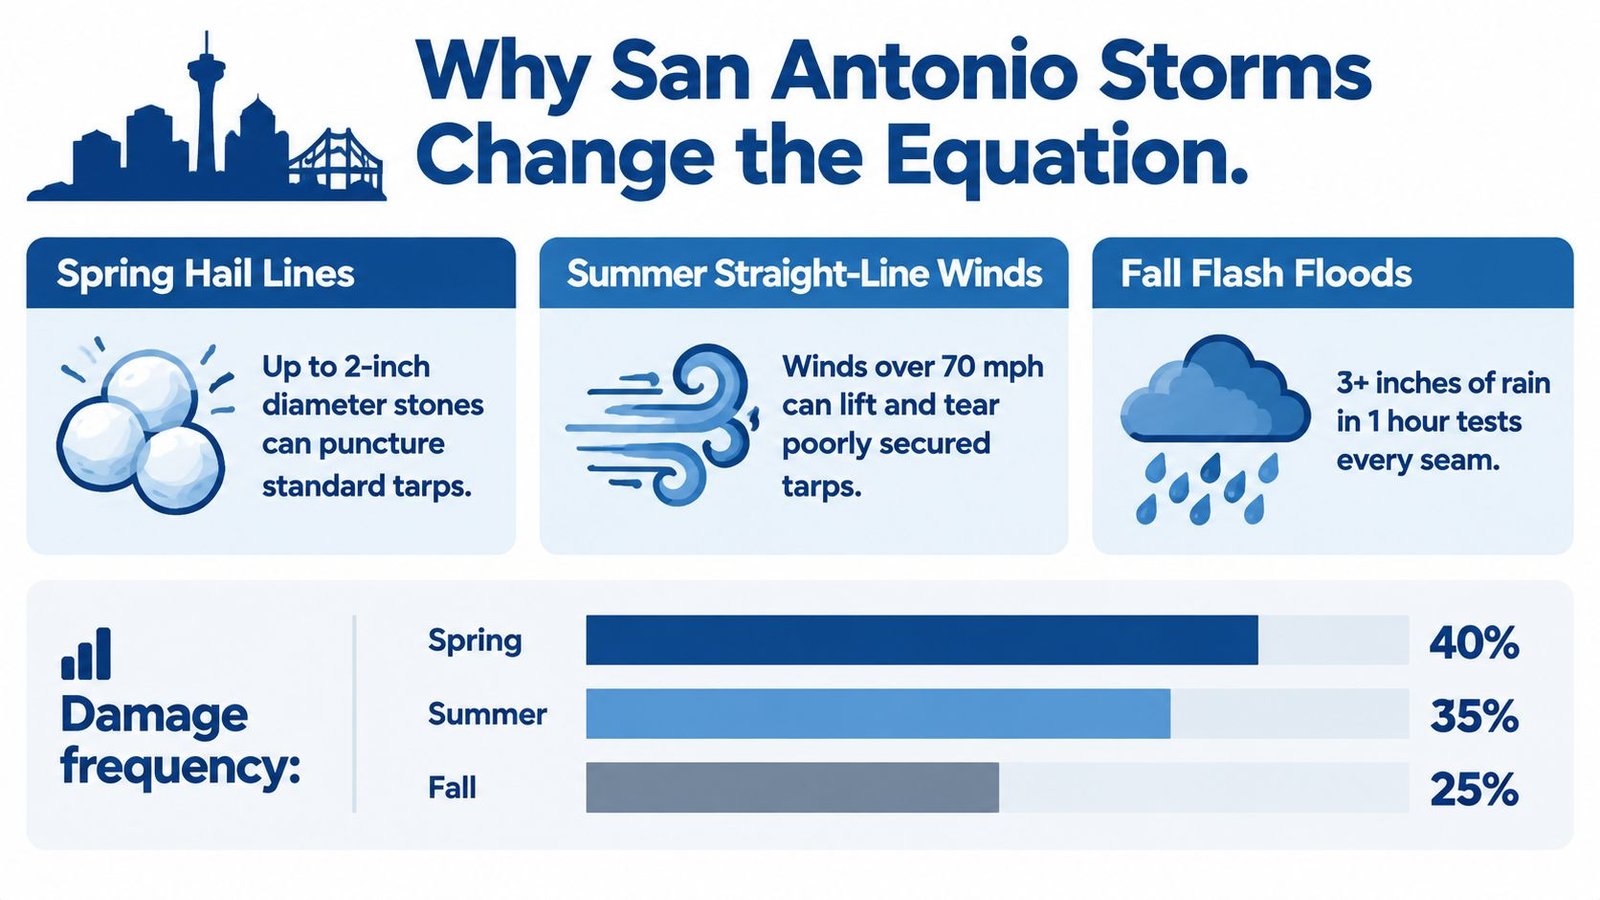
Emergency tarping in San Antonio isn't interchangeable from one storm to the next. Spring hail can strike shingles, metal components, vents, and tile in the same event. Summer thunderstorms can remove roof coverings in irregular patterns, leaving several water paths that aren't obvious from the ground.
Heavy rain creates another complication. When the roof deck and attic materials are already wet, a temporary cover needs careful placement so it directs water away without trapping avoidable moisture. Tropical moisture from Gulf systems can make drying and scheduling more difficult, especially when another storm arrives before the first problem has been repaired.
Documentation matters during storm season
A tarp protects the structure, but photographs protect the timeline of the event. Take safe, ground-level images before work begins when possible, then keep the contractor's photographs and written invoice after installation. This record can show the original damage and the steps taken to limit additional water entry.
Insurance carriers may have their own notice and documentation requirements. A roofer can provide photos and an estimate, but no contractor can promise claim approval. The policy, cause of loss, exclusions, deductible, and adjuster's findings control the outcome. Homeowners handling hail damage can also review this guide to roof insurance claims.
Demand changes after widespread damage
When many homes across Bexar County need help at once, local crews have fewer open slots. Travel time can increase, response windows can stretch, and after-hours service may cost more. Calling early, even if the permanent repair isn't ready to begin, gives the contractor a chance to stabilize the opening and document conditions before another storm arrives.
For an additional visual explanation of how severe weather affects roof damage, watch the following video.
Your Next Step After the Storm Passes
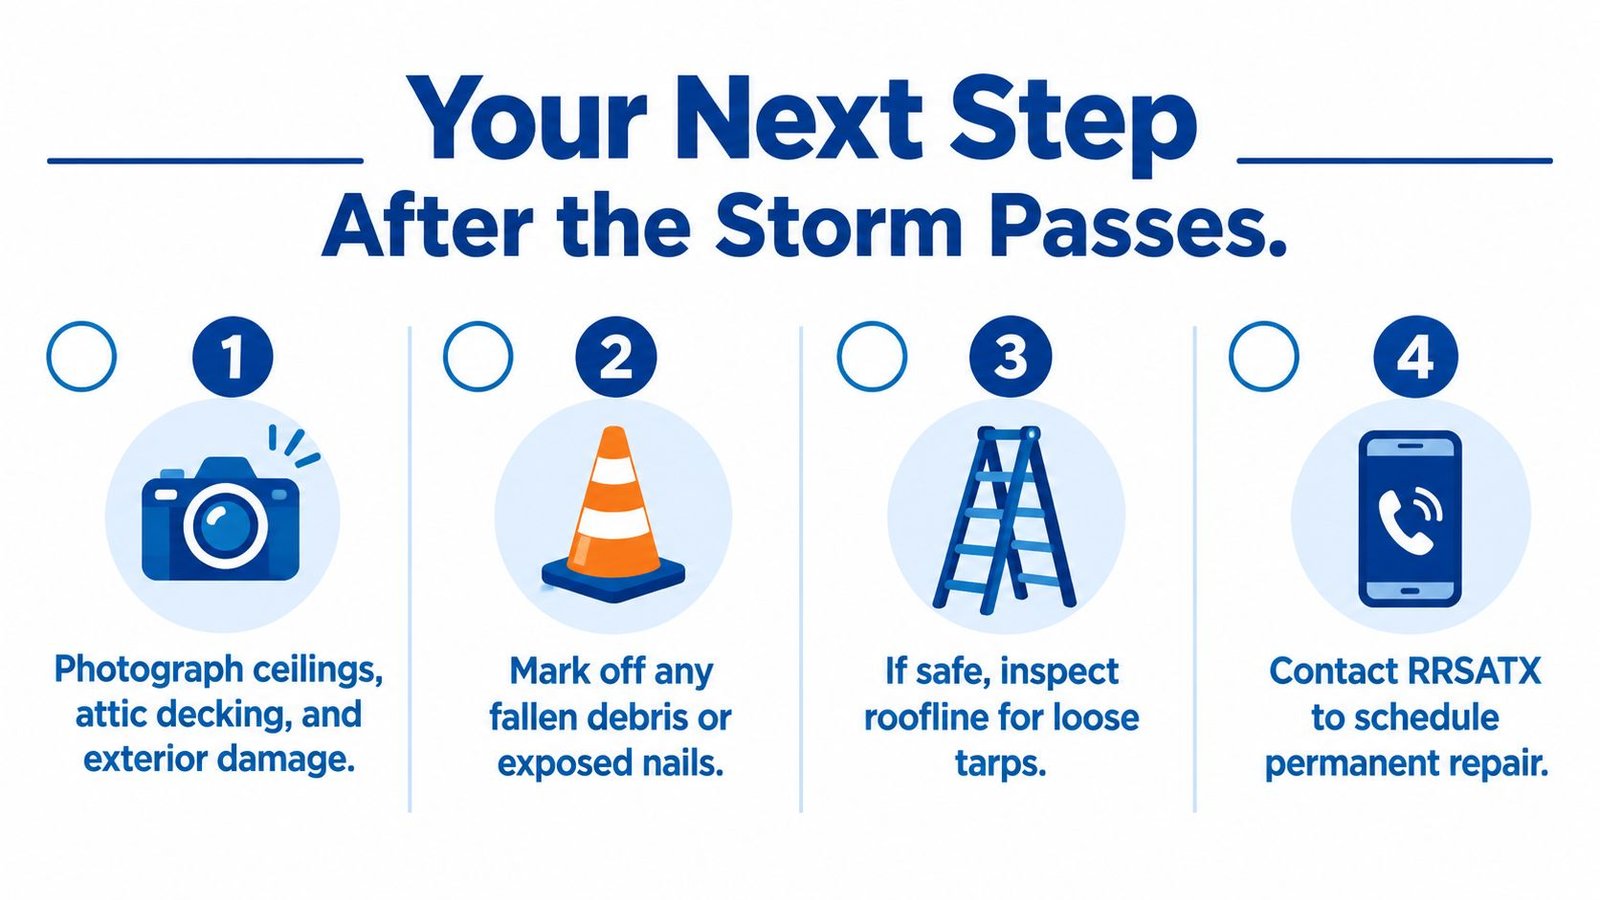
Wait until rain, lightning, and strong wind have moved away before checking the property. You don't need to climb onto the roof to gather useful information. Start inside, then work outward from safe areas.
Document the condition safely
Photograph ceiling stains, bubbling paint, wet flooring, and damaged belongings. If you can safely access the attic without stepping near compromised areas, photograph visible moisture or damaged decking from a stable location. From the ground, record missing shingles, broken tile, fallen branches, or a visible opening.
Then reduce immediate exposure inside the home:
- Contain active drips: Place a bucket under leaking water and move furniture, electronics, and valuables away from the affected area.
- Avoid electrical hazards: Keep clear of wet light fixtures, outlets, wiring, and areas where water may have reached electrical components.
- Mark unsafe areas: Keep children and pets away from fallen debris, exposed nails, ceiling damage, and any sagging surface.
- Save records: Keep photographs, receipts, estimates, and insurer correspondence together.
Have the call details ready
When you contact a roofer, provide the property address, the roof's approximate age if known, the locations of active leaks, and whether hail, wind, a tree limb, or another event caused the visible damage. Tell the dispatcher whether water is entering living space and whether anyone can safely access the property.
Ask what the crew plans to include in the emergency visit, how the tarp will be secured, what documentation you'll receive, and what permanent repair should follow. The tarp is the first documented mitigation step, not the final answer.
Don't climb onto your roof or attempt installation in unsafe conditions. A temporary roof covering can limit further exposure, but only a qualified inspection can determine whether the roof needs a repair, replacement, or additional structural evaluation.
Call 713-504-2341 to discuss emergency roof tarping and the next repair step with RRSATX, or schedule a free roof inspection online through RRSATX. The team serves San Antonio and nearby communities with temporary storm response, written findings, and planning for permanent roof repair or replacement.