
[et_pb_section fb_built=”1″ admin_label=”section” _builder_version=”4.16″ global_colors_info=”{}”][et_pb_row admin_label=”row” _builder_version=”4.16″ background_size=”initial” background_position=”top_left” background_repeat=”repeat” global_colors_info=”{}”][et_pb_column type=”4_4″ _builder_version=”4.16″ custom_padding=”|||” global_colors_info=”{}” custom_padding__hover=”|||”][et_pb_code _builder_version=”4.27.7″ _module_preset=”default” hover_enabled=”0″ sticky_enabled=”0″]
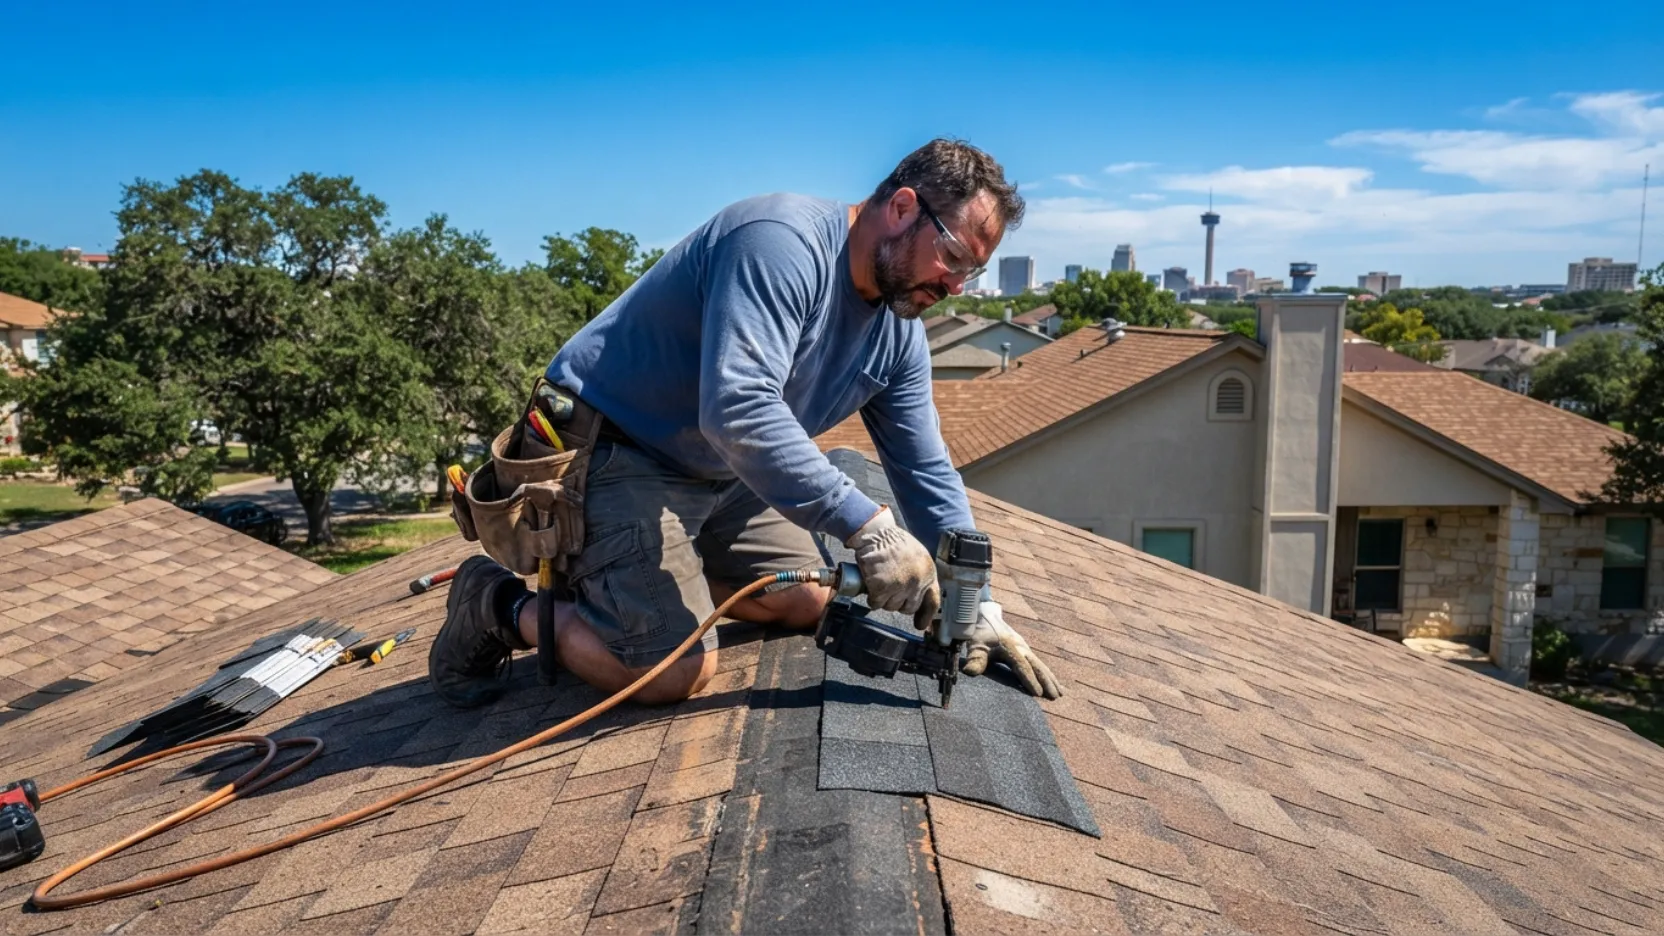
Some roof repairs are genuinely within reach for a careful homeowner. Others will get you hurt or cost you more to fix later. This guide tells you exactly which is which, covers the right tools and safety gear, and walks you through the most common DIY-appropriate repairs step by step.
DIY roof repair is one of the most searched topics among San Antonio homeowners, and for good reason. A few missing shingles, a cracked pipe boot, or a loose piece of flashing can feel like exactly the kind of problem you should be able to fix yourself on a Saturday morning. In some cases, you are right. In others, what looks like a simple fix from the ground is a fall risk, a warranty-voiding mistake, or a temporary patch over a problem that needs a real diagnosis.
This guide is written to give you an honest answer about what you can reasonably take on, how to do it safely, and when the right call is to pick up the phone instead of the ladder. The step-by-step sections cover the four repair types most commonly handled by San Antonio homeowners without professional help. Everything else on this list belongs on a contractor’s calendar.
Falls from roofs are one of the leading causes of fatal home improvement injuries in the United States. Texas summers add another hazard a dark asphalt shingle roof in San Antonio can reach 160 degrees Fahrenheit in July. Heat exhaustion on a steep roof is a real emergency. Before you read the how-to sections in this guide, read the safety section first. If you do not have the right equipment, the right shoes, and a clear exit plan, the repair is not worth starting.
Every professional roofer in San Antonio follows a set of job site safety rules because roof falls are unpredictable and the consequences are severe. As a homeowner doing your own repair, you do not have a crew watching out for you. The checklist below is not optional it is the minimum acceptable standard before you set foot above your gutters.

Safety First
-
1Work in the early morning never in the afternoon heatSan Antonio roof surfaces reach dangerous temperatures by mid-morning in summer. Start before 7 a.m. and plan to be off the roof by 10 a.m. Heat exhaustion on a roof is an emergency you cannot self-rescue from. In the cooler months, any dry morning with no wind above 15 mph is acceptable. Never work in wet conditions a damp shingle surface is nearly as slippery as ice.
-
2Use a ladder rated for your weight plus 50 pounds of toolsLadder capacity is not a suggestion. A Type II household ladder rated for 225 pounds fails in ways that are not visible until they happen. Use a Type IA or Type I fiberglass extension ladder rated for at least 300 pounds. The ladder must extend at least three feet above the roof edge, be set at a 4:1 angle (one foot out for every four feet up), and be secured at the top with a standoff bracket or tied to a fixed anchor. Never lean a ladder against a gutter.
-
3Wear rubber-soled roofing shoes or work boots no sneakersSmooth-soled shoes and sneakers have almost no grip on a warm asphalt shingle surface. Roofing shoes with a flexible, soft rubber sole designed for roof traction are the right tool. If you do not own a pair, they are inexpensive enough to be worth buying before your first repair. Clean debris off the sole before stepping onto the roof surface a pebble lodged in the tread breaks traction unexpectedly.
-
4Use a safety harness on any slope steeper than 4:12A 4:12 pitch means the roof rises 4 inches for every 12 horizontal inches. Anything steeper and many San Antonio homes have pitches of 6:12 to 8:12 requires a harness anchored to a ridge anchor or a safety rope system. A fall on a 6:12 pitch roof gives you less than one second to react before you reach the edge. The harness is not uncomfortable to work in once you are used to it, and rental options are available from most San Antonio tool rental shops.
-
5Never work aloneHave another person on the ground while you are on the roof. They do not need to be a roofer they need to be present, paying attention, and able to call 911 or stabilize a ladder in an emergency. A solo fall on a roof where no one knows you are there is how minor injuries become fatalities. This is a simple requirement that has no workaround.
-
6Stay away from the roof edge maintain a three-foot bufferMost DIY roof falls happen at the eave edge, not on the main field of the roof. Leaning over the gutter to examine a problem or reaching for a tool that rolled toward the edge are the two most common ways homeowners go over. If your repair is near the edge of the roof, the work is at the edge of what is safely DIY-appropriate, and a contractor is the better call. Do your work from a stable, flat-footed stance toward the ridge, not the perimeter.
-
7Know when to stop and call a professionalIf you get on the roof and discover that the damage is larger than it appeared from the ground, that the decking feels soft underfoot, or that you cannot safely reach the repair area without being near the edge or on a very steep pitch, come back down. There is no shame in recognizing a job that exceeds your equipment or experience. A professional repair costs money. An emergency room visit and a failed DIY repair that the professional has to undo before they can fix the real problem costs more.
- Extension ladder rated for your weight plus 50 lbs, Type I or Type IA
- Rubber-soled roofing shoes or soft-soled work boots with clean treads
- Safety harness with ridge anchor for any pitch above 4:12
- Work gloves roofing materials have sharp edges and fiberglass strands
- Safety glasses debris falls off shingles and flashings when you work near them
- Knee pads if you will be kneeling on the roof surface
- Water bottle even early morning summer work in San Antonio requires hydration
- A second person on the ground for the duration of the work
The most useful thing this guide can do is tell you the truth about which repairs are genuinely manageable for a careful homeowner and which ones look simple but are not. The table below is built from real jobs we see go wrong when homeowners attempt them without the right experience or tools.
| Repair type | DIY appropriate? | Why |
|---|---|---|
| Replace 1 to 5 missing or cracked asphalt shingles | Yes with care | Straightforward if the decking underneath is dry and undamaged. Requires correct nail placement and sealing. |
| Re-seal a pipe boot or vent collar with roofing caulk | Yes basic maintenance | One of the most common leak sources in San Antonio homes. Caulk repair is a 30-minute job with no specialized tools. |
| Re-apply sealant to exposed flashing edges | Yes surface level only | Applying a fresh bead of roofing caulk to a flashing edge that has separated is a reasonable temporary fix. Does not address corrosion or structural failure. |
| Clear debris from valleys and gutters | Yes maintenance task | Leaf and debris accumulation accelerates moisture damage. Regular clearing is good practice and does not require roofing skills. |
| Replace flashing around a chimney, skylight, or dormer | No call a contractor | Requires removing and re-integrating with the shingle system. Improper installation is the most common cause of persistent leaks after DIY attempts. |
| Repair or patch a flat or low-slope membrane roof (TPO, modified bitumen) | No call a contractor | Heat-welded membrane systems require a hot-air welder and knowledge of the specific system. Tape patches almost always fail within one rainy season. |
| Repair or replace clay or concrete tile | No call a contractor | Walking a tile roof without the right technique cracks the adjacent tiles. Replacement requires sourcing matching tile, which is a specialty skill. |
| Any repair on a roof over 8:12 pitch | No call a contractor | Steep slopes require professional safety rigging and staging that is not practical for a one-time homeowner repair. |
| Any repair involving decking or structural components | No call a contractor | Once you open the roof surface and reach the decking, you are in structural territory that requires a permit in most Texas jurisdictions and professional installation to maintain warranty coverage. |
| Storm damage repair for an insurance claim | No document and wait | DIY repairs before the adjuster visit can void your claim. Take photos, install a tarp if needed, and let the insurance company inspect before any permanent work begins. |
One of the most common reasons DIY roof repairs fail is that the homeowner starts the job without the right materials and improvises partway through. Roofing caulk is not the same as window caulk. Roofing nails are not the same as framing nails. Using the wrong product in the wrong location creates a repair that looks finished but fails within months. Buy the right materials before you get on the roof.
Tools and Materials
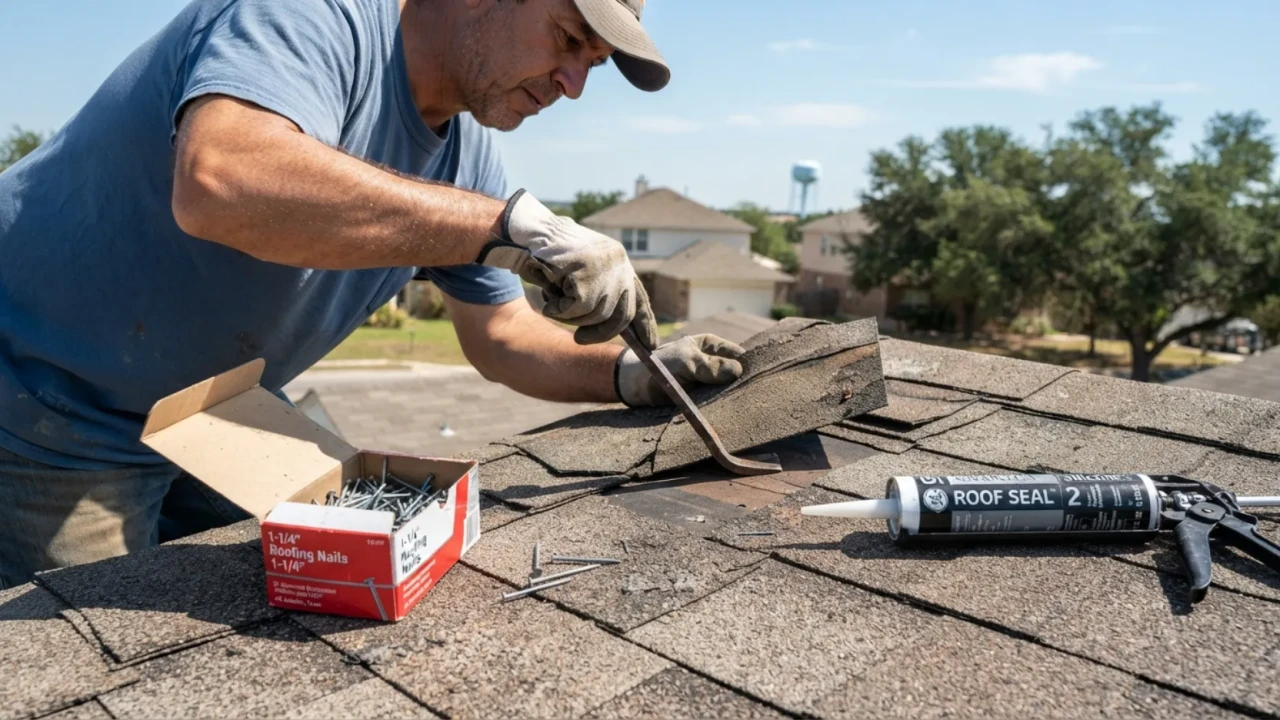
For shingle replacement: Flat pry bar or shingle ripper, hammer, roofing nails (1.75-inch galvanized), replacement shingles in a matching color and product line, roofing cement (tube or trowel-grade), utility knife, chalk line, and a straightedge.
For pipe boot and sealant repair: Urethane roofing caulk (not silicone, not general purpose), a caulk gun, a wire brush for surface prep, and a putty knife or scraper to remove the old failed sealant before applying the new bead.
For flashing edge re-sealing: Urethane or polymer-based roofing sealant, a caulk gun, wire brush, and a clean rag. Lap sealant tape is an alternative for small gaps along a flashing edge that is lifting but not corroded.
Bring a shingle from your roof to the store when buying replacements. Shingle colors fade significantly over the years in San Antonio’s UV exposure, and a new shingle in what looks like the same color family will stand out clearly against a weathered roof. Buying a half-square more than you need is wise leftover shingles stored in your garage give you material for small future repairs without a second trip. If your specific shingle line is discontinued, ask the store for the closest current match and understand that some visible difference is unavoidable.
Shingle Replacement
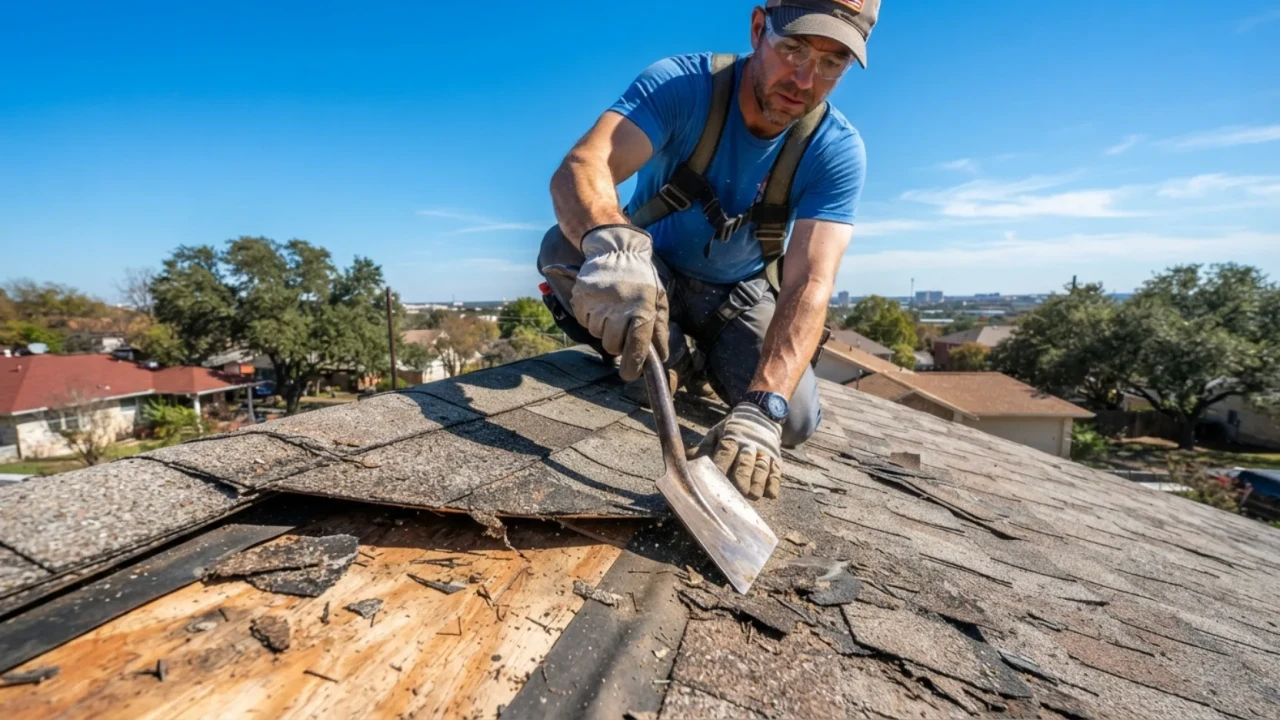
Replacing a small number of shingles is one of the few roof repairs where a careful homeowner can produce a watertight result with basic tools. The keys are working in the early morning when the shingles are cool and pliable enough to lift without cracking, nailing in exactly the right location, and applying roofing cement correctly at the edges. Rushing any of these steps produces a repair that passes a visual inspection but leaks in the first hard rain.
-
1Identify and inspect the full damage area from the roof surfaceWalk carefully to the repair area, moving parallel to the ridge rather than straight up the slope. Look at the damaged shingle and the two to three shingles on each side hail or wind that damaged one shingle often damaged adjacent ones as well. Check that the decking underneath is solid by pressing down gently. Any soft or spongy feel means the decking has moisture damage and the repair scope is larger than a shingle swap come down and call a contractor.
-
2Lift the tabs of the shingle above the damaged oneUse a flat pry bar to gently lift the lower edge of the shingle row above the damaged shingle. Asphalt shingles have a self-sealing adhesive strip that bonds the tab down in cool morning conditions this lifts without tearing. In afternoon heat it can peel the tab off the shingle above. Work slowly and evenly across the width of the shingle. You need access to the nails that hold the top of the damaged shingle in place.
-
3Remove the nails holding the damaged shingleStandard three-tab and architectural shingles are fastened with four nails near the top of the shingle body, just above the tab cutouts. Slide the flat pry bar under the nail head and lever it out. Do not try to tear the shingle out with the nails still in you will damage the decking and the shingles on either side. Remove all four nails before sliding the damaged shingle out from under the rows that overlap it on each side.
-
4Inspect the underlayment and decking before installing the new shingleWith the old shingle out, look at the roofing felt or synthetic underlayment beneath it. Small tears in the underlayment can be patched with roofing tape before the new shingle goes in. Any sign of water staining, mold, or soft decking beneath the felt is a stop signal the job has become larger than a shingle replacement and needs a professional assessment.
-
5Slide the new shingle into position and nail it correctlySlide the new shingle under the rows on each side and above it, aligning the bottom edge with the shingles in the same course on either side. Drive four 1.75-inch galvanized roofing nails through the shingle body at the nail line the horizontal band printed or embossed on the shingle above the tab cutouts. Nails should be driven flush with the shingle surface, not countersunk or left raised. A raised nail head is a water entry point. A countersunk nail breaks through the mat and loses holding power.
-
6Apply roofing cement and press tabs back downApply a small dab of roofing cement under each corner of the new shingle tab and under the lower edge of the shingle above where it was lifted. Press both down firmly and hold for a few seconds. The self-sealing adhesive strip on the shingle above will re-bond to the new shingle in the sun over the next few days, but the roofing cement provides immediate water resistance at the overlapping edges. Do not overapply excess roofing cement traps moisture and causes premature shingle aging.
-
7Inspect from the ground and check the attic after the next rainOnce you are back on the ground, view the repair area from multiple angles to confirm the new shingle lies flat and the tabs are seated correctly. After the next significant rain, go into the attic and look at the area directly below the repair with a flashlight. No water staining, no active dripping, and no damp insulation confirms a successful repair. If you see anything concerning, call a roofer to inspect it is easier to fix a missed nail before the next storm than after two rainy seasons.
- New shingle aligns flush with the course on either side no raised edges or gaps
- All four nails driven flush at the nail line not countersunk, not raised
- Shingle tab above the repair seated flat and sealed with roofing cement at the corners
- Decking felt dry and undamaged before the new shingle was installed
- Attic inspection after first rain confirms no moisture penetration
Pipe Boot Repair
Pipe boots are the rubber or lead collars that seal around the plumbing vent pipes that stick through your roof. San Antonio’s temperature swings from below freezing in January to 110-degree roof surfaces in August crack rubber pipe boots within 10 to 15 years. A failed pipe boot is responsible for a significant share of the ceiling stains we are called to diagnose in San Antonio homes. It is also one of the few leak sources a homeowner can address without professional help, as long as the damage is limited to the boot seal and has not extended to the surrounding shingles or decking.
-
1Assess the boot condition from the roof surfaceLook at the rubber collar around the pipe. Cracks visible in the rubber, separation between the boot flange and the surrounding shingles, or a boot that wobbles when you touch the pipe are all signs of failure. A boot that is cracked but still sealed around the pipe can be addressed with caulk. A boot that has fully separated from the pipe or is disintegrating needs a full replacement boot a slightly more involved repair that most careful homeowners can still manage.
-
2Clean the surface before applying any sealantThis step is skipped most often and is why many DIY caulk repairs on pipe boots fail within a year. Use a wire brush or stiff-bristle scrub brush to remove all old, failing sealant, dirt, and loose material from the boot surface and the surrounding shingle area. Wipe the area with a clean dry rag. New sealant applied over old crumbling caulk or over a dirty surface will not bond and will peel away in the first freeze-thaw cycle or heat wave.
-
3Apply urethane roofing sealant around the full pipe perimeterCut the caulk tube tip at a 45-degree angle to create a 3/8-inch bead opening. Starting at the back of the pipe where it meets the boot collar, run a continuous bead all the way around the pipe-to-boot interface. Then run a second bead along the outer edge of the boot flange where it meets the shingles, working around the full perimeter. Tool the beads with a wet finger or a caulk tool to press the sealant into the joint and ensure contact on both surfaces.
-
4Allow to cure fully before the next rainUrethane roofing sealant requires 24 to 48 hours to cure to its full water-resistant state. Do not perform this repair if rain is forecast within 24 hours the uncured sealant will wash out of the joint. In San Antonio’s summer heat, the cure time is typically on the shorter end of that range. Do not apply a second coat before the first has skinned over adding wet sealant over wet sealant creates a layer that never fully cures.
- All old failing sealant removed before the new bead was applied
- Continuous bead with no gaps around the full pipe-to-boot interface
- Bead along the boot flange edge pressed into contact with surrounding shingle surface
- No rain forecast for at least 24 hours after application
- Attic inspection after next rain confirms no moisture penetration near the pipe
Flashing Sealant
Flashing sealant repair is appropriate when the metal flashing itself is still sound but the sealant bead along its edge has dried out, cracked, or separated. This commonly happens along the step flashing at a dormer wall, along the edges of a chimney cricket, or at the junction of a shed dormer with the main roof. It is not the right fix when the flashing itself is corroded, lifted, bent, or improperly installed those situations require a contractor who can remove and correctly reintegrate the flashing with the shingle system.
-
1Confirm the flashing is structurally sound before re-sealingPress on the flashing with a gloved finger. It should be firmly seated against the wall or roof surface beneath it, with no lifting, bending, or movement. Check the metal for rust that has penetrated through the surface a pitted or perforated flashing needs replacement, not re-sealing. If the flashing is structurally sound and only the sealant edge has failed, proceed with the repair.
-
2Remove all old failing sealant from the jointUse a putty knife or wire brush to scrape away all old, crumbling, or separated caulk from the flashing edge and the surrounding surface. This step requires patience rushing past it and applying new sealant over old will give you a repair that looks good for about six months and then re-separates along the same line. Wipe the cleaned joint with a dry rag before applying anything new.
-
3Apply a fresh bead of urethane roofing sealant along the full edgeRun the sealant bead continuously along the full length of the exposed flashing edge, bridging the gap between the metal and the adjacent shingle or wall surface. For a step flashing edge that runs up a wall, work from the bottom up so the sealant does not sag before you tool it. Press the bead into the joint with a wet finger or caulk tool for full contact on both sides of the gap.
Debris Clearing
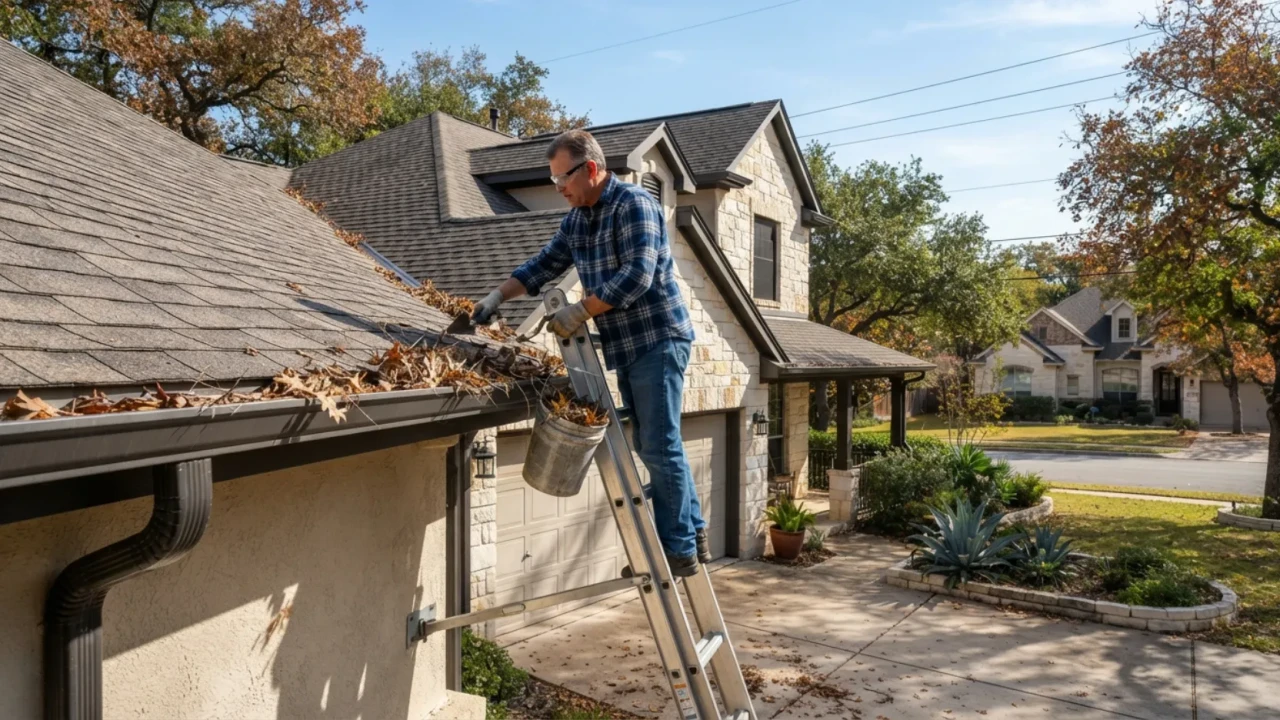
Debris accumulation in roof valleys and gutters is one of the most overlooked causes of moisture damage on San Antonio homes. Live oak leaves, pecan hulls, and wind-blown debris pack into valley channels and gutter runs, hold moisture against the roofing material, and accelerate corrosion, shingle deterioration, and even mold growth in the sheathing beneath. Clearing debris twice a year in late fall after leaf drop and in spring after cedar season is one of the highest-return maintenance tasks a homeowner can perform.
-
1Clear gutters from a stable ladder before accessing the roofMost gutter clearing does not require stepping on the roof at all. A stable ladder positioned at regular intervals along the gutter run lets you scoop debris by hand or with a gutter scoop into a bucket. Work in sections, repositioning the ladder rather than leaning. Flush the cleared gutter sections with a garden hose to confirm the downspouts are flowing freely a blocked downspout causes the same water backup damage as a full gutter.
-
2Clear valley debris from the roof surface if access is safeIf you can safely reach the roof valleys without going to a steep section or near the edge, use a soft-bristle roof brush or your gloved hand to remove accumulated leaves and debris. Work from above the debris, pulling it down toward you rather than pushing it deeper into the valley. Do not use a metal rake or a pressure washer on the valley surface both damage the shingle granules and can dislodge the valley flashing.
-
3Inspect the valley surface and shingles while you are thereValleys are where most of the water from your roof concentrates, making them a high-stress area for wear and damage. While clearing debris, note any shingle granule loss (visible as bare, dark shingle surface), any lifted valley flashing edges, or any areas where the shingles in the valley channel are cracking or curling. These observations are worth writing down they are useful context when you schedule a professional inspection or call for a quote on a repair.
- Late fall (November): clear after local live oak and pecan leaf drop completes
- Spring (March to April): clear after cedar and oak pollen season ends
- After any major storm: large debris from high winds can block gutters and valleys within hours
- Downspouts flushed and confirmed flowing after every cleaning
- Valley surface visually inspected for wear, granule loss, and flashing condition while clearing
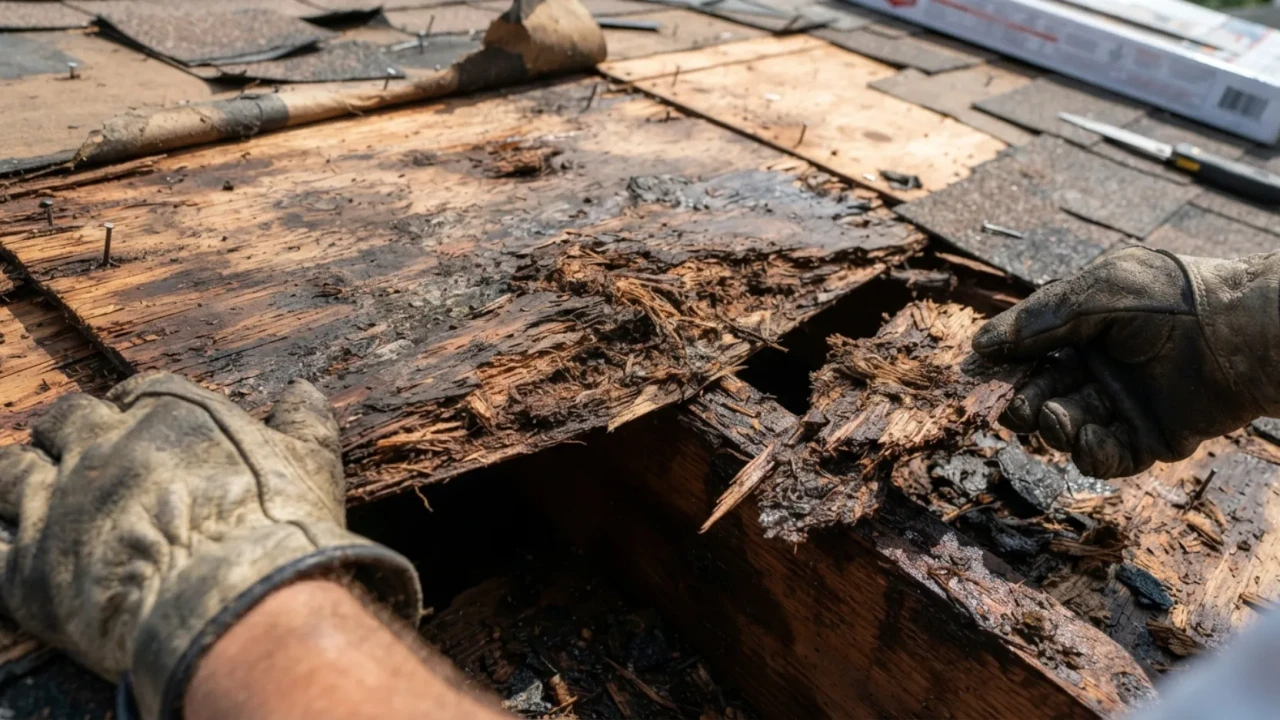
The situations below are not edge cases they come up regularly when homeowners start what they think is a simple repair and discover something more serious. Recognizing these signals and responding correctly protects both your safety and your wallet.
Stop Signals
These are not situations where a more experienced DIYer could proceed. They are situations where the risk, scope, or legal implications of the work make professional involvement the correct choice for any homeowner. The cost of a professional repair in these cases is always lower than the cost of fixing a failed DIY attempt on top of the original damage.
- Repair type confirmed as DIY-appropriate using the table in this guide
- Work scheduled for early morning before 10 a.m. in summer, any dry morning in cooler months
- Weather confirmed: no rain for at least 24 hours before and after the repair
- All tools and materials gathered and on the ground before the first trip up the ladder
- Safety gear on: rubber-soled shoes, gloves, glasses, and harness if pitch exceeds 4:12
- Ladder secured, rated correctly, and extending at least 3 feet above the roof edge
- A second person on the ground for the full duration of the work
- Decking condition checked before installing new materials no soft spots, staining, or mold
- Old failing sealant fully removed before new sealant is applied
- Replacement shingles confirmed as matching the existing product line and color
- Nails driven at correct nail line flush, not countersunk or raised
- Roofing cement applied at shingle edges small dabs, not over-applied
- Any stop-signal condition (soft decking, mold, corrosion, edge work) results in coming down and calling a contractor
- Repair area inspected from the ground for alignment, flat tabs, and sealed edges
- All tools and debris removed from the roof surface and surrounding property
- Attic inspection after the next rain to confirm no active moisture penetration
- Repair noted in a home maintenance log with the date and materials used
- Professional inspection scheduled if any aspect of the repair raised questions or uncertainty
Can I repair my own roof without a contractor in Texas?
How do I know if a roof repair is something I can do myself?
What is the most common DIY roof repair mistake in San Antonio?
Is it safe to walk on my roof in San Antonio?
Can a DIY roof repair affect my homeowners insurance?
How long will a DIY shingle repair last?
Not sure if your repair is a DIY job or a contractor call?
We offer free roof inspections across San Antonio and Bexar County. We will tell you honestly what you can handle yourself and what needs a professional no pressure, no obligation.
[/et_pb_code][/et_pb_column][/et_pb_row][/et_pb_section]