

[et_pb_section fb_built=”1″ admin_label=”section” _builder_version=”4.16″ global_colors_info=”{}”][et_pb_row admin_label=”row” _builder_version=”4.16″ background_size=”initial” background_position=”top_left” background_repeat=”repeat” global_colors_info=”{}”][et_pb_column type=”4_4″ _builder_version=”4.16″ custom_padding=”|||” global_colors_info=”{}” custom_padding__hover=”|||”][et_pb_code _builder_version=”4.27.8″ _module_preset=”default” hover_enabled=”0″ sticky_enabled=”0″]
A roof emergency does not wait for business hours. This complete guide covers every step a San Antonio homeowner needs to take in the first 24 hours after storm damage, active leaks, or structural failure from safe temporary fixes to what you must never do on a damaged roof.
When a storm tears through San Antonio, a falling branch punches through your roof, or you spot water stains spreading across the ceiling during a rainstorm, your first instinct is to act. That instinct is right. But acting without a plan is where most emergency roof situations get significantly more expensive than they need to be.
This guide gives you a clear, practical sequence to follow. You will know exactly what to do in the first hour, what temporary measures actually work, what never to attempt from the ground or a ladder in unsafe conditions, and when to pick up the phone and call a licensed San Antonio roofing contractor instead of handling it yourself.
A roof can be repaired or replaced. Furniture, flooring, insulation, and drywall damaged by uncontrolled water intrusion add thousands of dollars to an already stressful situation. Your first job in any roof emergency is to stop water from reaching the living space below. Everything in this guide is built around that principle. Temporary protection that keeps water out of the building while a professional repair is scheduled is almost always the right first move.
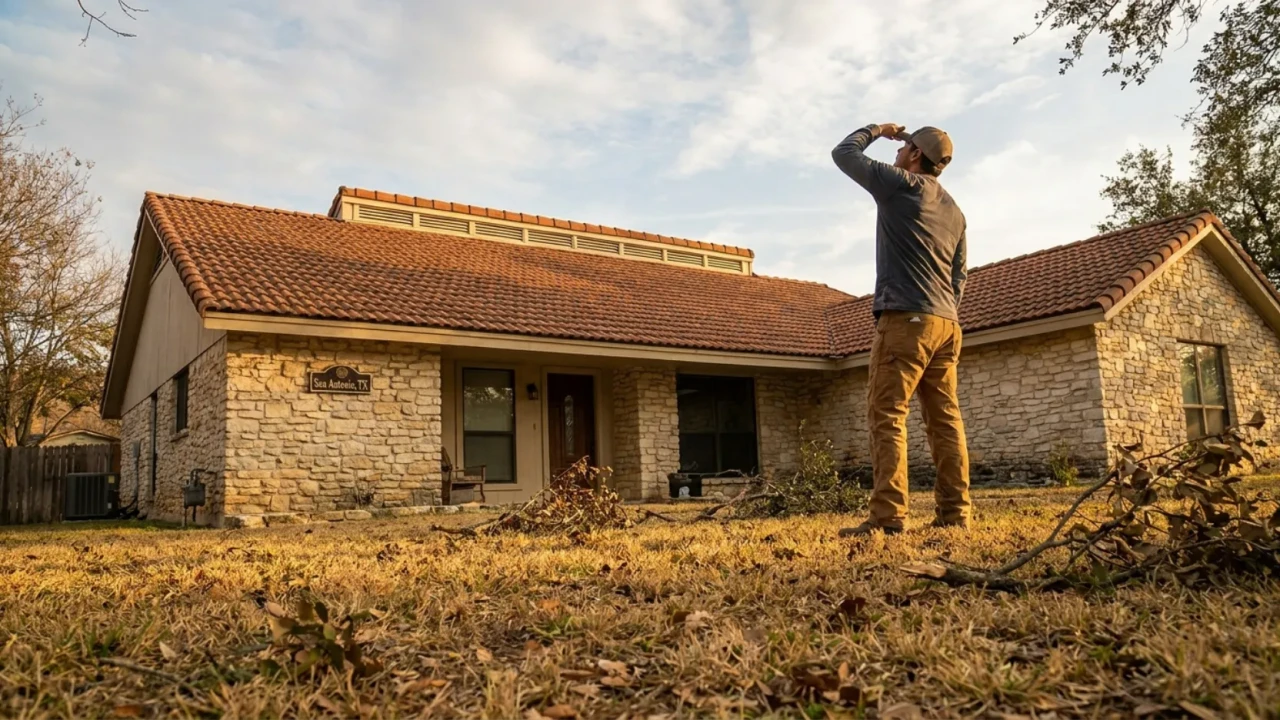
Safety First
The moment you suspect roof damage, your first task is observation, not action. Walk around the perimeter of your home and look for visible signs of damage from the ground. Binoculars are a useful tool here. You are not trying to diagnose the full extent of the damage at this point. You are trying to understand whether the situation is an immediate life-safety issue, a water intrusion emergency, or a damage situation that can wait a few hours for a professional assessment.
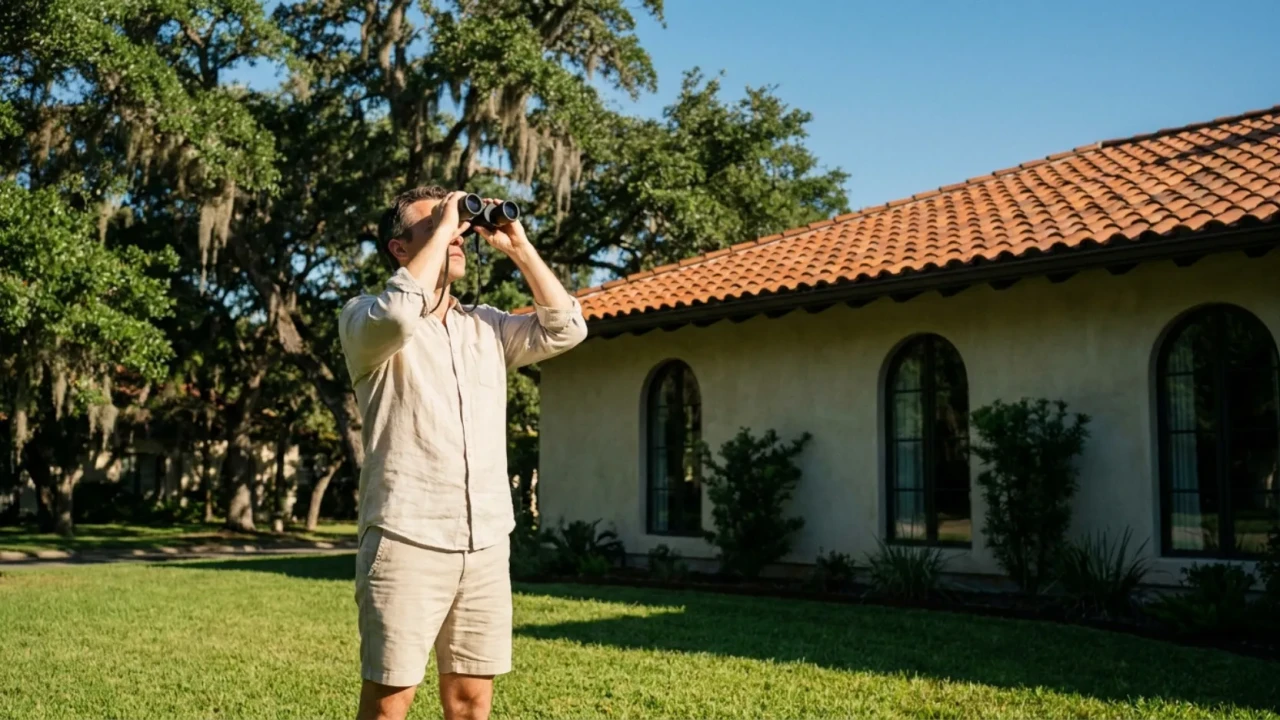
Look for these from ground level: missing or displaced shingles; sagging areas on the roofline; visible holes or punctures; debris resting on the roof surface; damaged or displaced ridge caps; gutters pulled away from the fascia; or visible daylight in the attic when viewed from inside.
Check inside immediately: go into your attic with a flashlight and look for daylight coming through the decking, wet insulation, water stains on the rafters, or active dripping. The attic is the safest and most informative place to assess active water intrusion without any roof access at all.
- Walk the entire perimeter and observe the roofline from all angles before any other action
- Check the attic for active leaking, wet insulation, or visible daylight through the decking
- Identify whether any structural members (rafters, ridge board) appear compromised from inside the attic
- Note wind and weather conditions before considering any roof access at all
- Move any furniture, electronics, or valuables away from ceiling areas showing active water intrusion
- Place buckets or containers under active drip points to limit floor and subfloor damage
Urgent Action
While you are waiting for a roofing contractor to arrive or for conditions to become safe enough for roof access, interior water management is your most important job. Water that soaks into drywall, insulation, and subfloor materials for more than 24 to 48 hours begins causing secondary damage that is often more expensive than the roof repair itself. Mold can begin forming in wet insulation within 72 hours under San Antonio’s warm temperatures.
If you have a ceiling that is bulging or bowing from pooled water above the drywall, use a screwdriver or awl to puncture the lowest point of the bulge and let the water drain into a bucket in a controlled way. This sounds counterintuitive but prevents the weight of collected water from causing the entire ceiling section to collapse.
Do not remove wet drywall or insulation before your insurance adjuster has seen the damage. Documenting the full extent of interior water damage before any cleanup is critical to a successful insurance claim. Take photos and short video clips of every wet surface, every water stain, every damaged item. Include a timestamp if your camera supports it. This documentation is your evidence and it disappears the moment you start cleanup and repairs.
- Valuables, electronics, and furniture moved away from wet or dripping ceiling areas
- Buckets and towels placed under all active drip points
- Ceiling bulges punctured at the lowest point if water is pooling above drywall
- All water damage photographed and video-documented before any cleanup begins
- Fans and dehumidifiers running in affected rooms as soon as rain stops
- Wet rugs and floor coverings pulled up to prevent subfloor moisture absorption
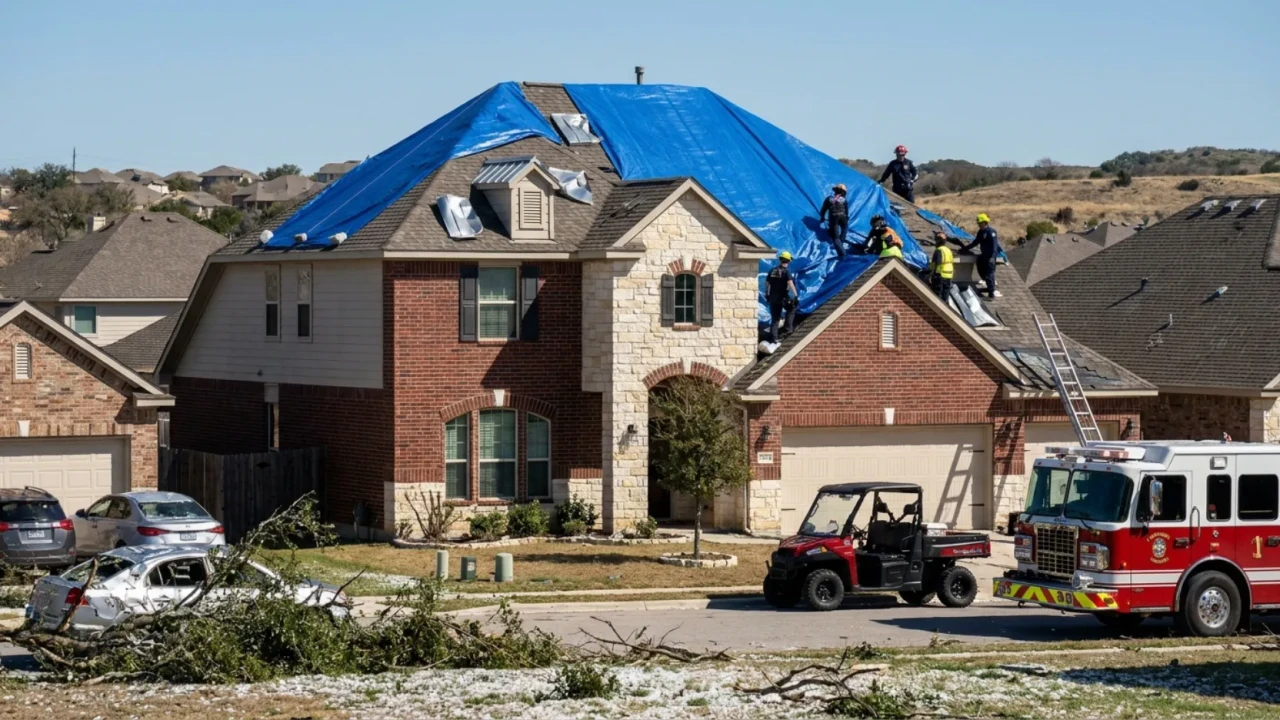
Temporary Fix
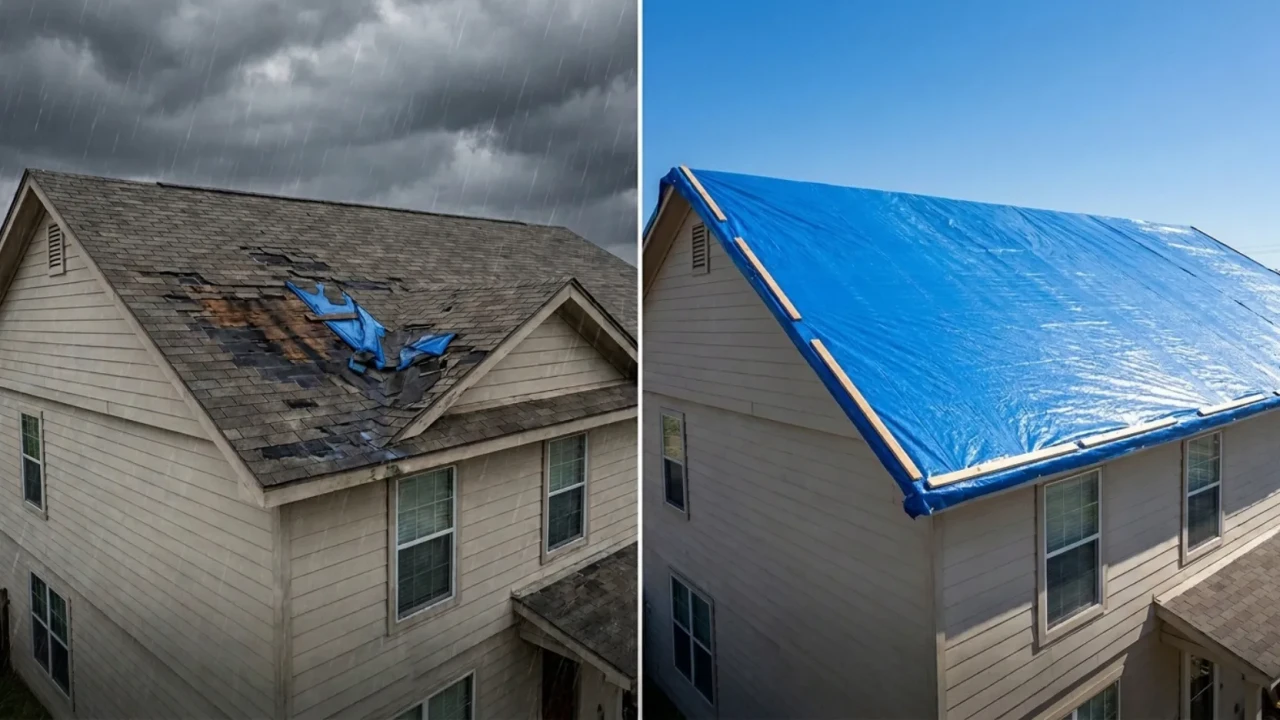
A heavy-duty polyethylene tarp is the most effective temporary roof protection available to a San Antonio homeowner after storm or impact damage. When installed correctly, a tarp keeps water out of the building for days or even weeks while a permanent repair is scheduled and materials are sourced. When installed incorrectly, it shifts in the next rain event and leaves the damaged area fully exposed.
The most important rule of emergency tarping is that it should only be done when roof conditions are safe to access. If the storm is still passing, if the roof is wet, or if there is structural damage, call a professional emergency roofing service instead of attempting to tarp the roof yourself. Most licensed San Antonio roofing contractors offer same-day emergency tarp installation for exactly this situation.
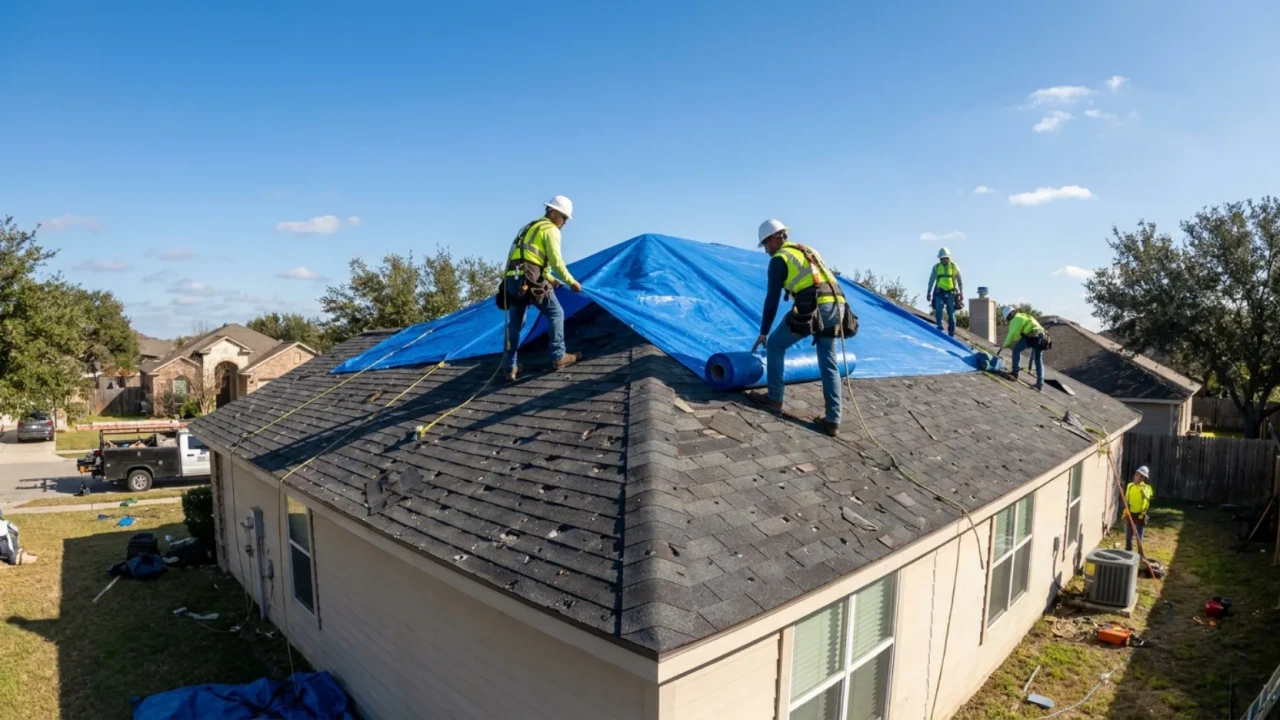
Tarp size matters: The tarp must extend at least three feet past the damaged area on all sides and must run from the ridge (peak) of the roof down past the eave (bottom edge). A tarp that only covers the hole without overlapping the surrounding undamaged area will allow wind to lift the edges and water to channel underneath.
Securing the tarp correctly: Wrap the tarp edges around 2×4 lumber and screw the boards through the tarp into the roof decking at the top edge, along the sides, and along the eave. Do not rely on bricks, sandbags, or ropes alone. In a San Antonio windstorm, an unsecured tarp will leave the roof within hours.
- Roof conditions confirmed as safe before any access is attempted
- Tarp is minimum 6-mil polyethylene lightweight tarps tear in wind
- Tarp extends at least 3 feet past the damaged area on every side
- Tarp runs from the ridge of the roof all the way past the eave no stopping mid-slope
- Top and side edges wrapped around 2×4 lumber and screwed into the decking
- Tarp installation photographed for insurance documentation before the adjuster visits
Insurance
Most Texas homeowners insurance policies cover sudden storm damage to roofs: hail, wind, falling trees, and lightning. They do not cover damage caused by normal wear, deferred maintenance, or gradual deterioration. Filing a claim is your right, and doing it correctly from the start makes the process significantly smoother and the payout significantly more likely to reflect the actual cost of repair or replacement.
The most important step before you call your insurance company is documentation. Once you call and a claim is filed, the insurance company’s clock starts. You want your documentation already in hand before that conversation begins.
You are entitled to your own independent repair estimate separate from the insurance adjuster’s assessment. Adjusters work for the insurance company, not for you. Their estimate of what the repair costs may not reflect current labor and material prices in San Antonio or the full scope of the damage. A licensed roofing contractor who inspects the roof independently will give you an estimate based on what it actually costs to fix. If there is a significant difference between the adjuster’s scope and the contractor’s estimate, you can dispute the adjustment or request a reinspection. You can also hire a licensed public adjuster to negotiate the claim on your behalf.
- All exterior roof damage photographed before any temporary repairs are made
- All interior water damage photographed and video-recorded with visible timestamps
- Storm event date and local weather records noted or saved for the claim file
- Insurance company contacted and claim number obtained
- Independent estimate requested from a licensed San Antonio roofing contractor
- All receipts for emergency materials (tarps, buckets, fans) saved for reimbursement
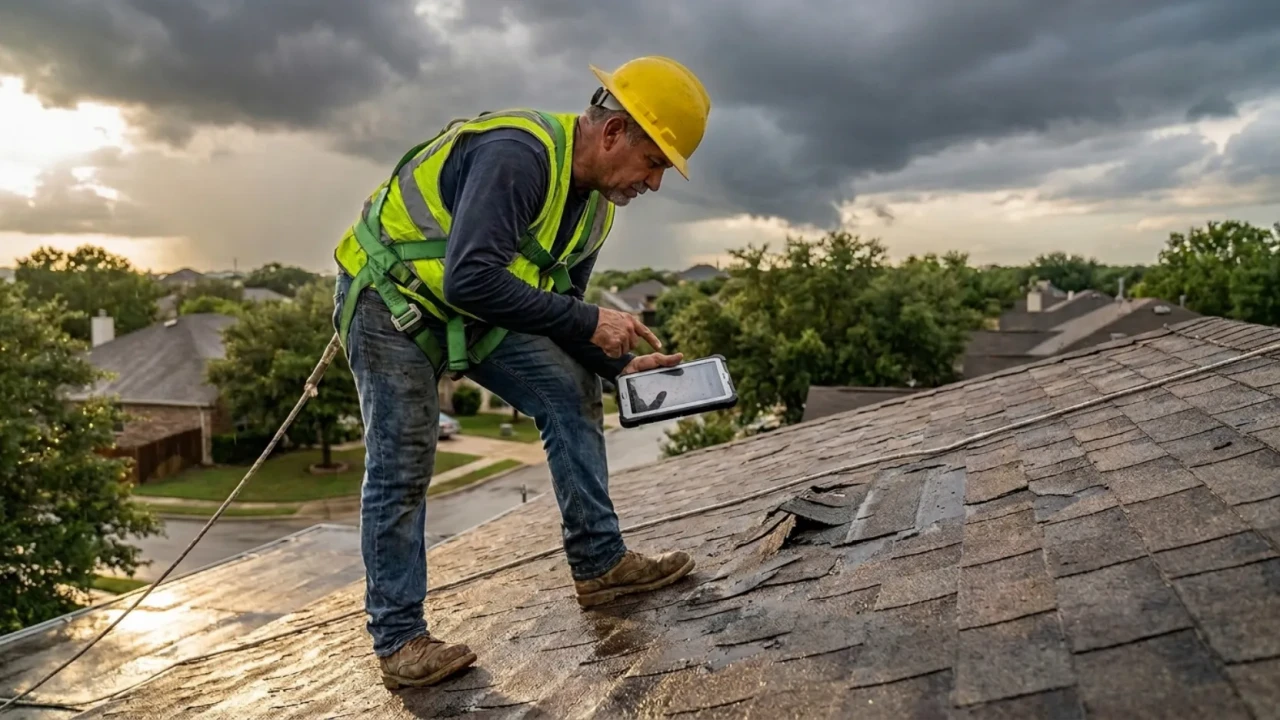
Call a Pro
There are roof emergency situations where an experienced homeowner with the right tools and safe access conditions can handle the immediate temporary fix. And there are situations where attempting to DIY creates a genuine safety risk or makes the eventual repair more complicated and expensive. Knowing the difference is one of the most valuable things this guide can give you.
| Situation | DIY or Professional? | Reason |
|---|---|---|
| Active storm still passing | Professional only | Never access a roof during active weather. Call for emergency services to respond when conditions clear. |
| Wet or icy roof surface | Professional only | Roof falls are a leading cause of serious injury. No temporary fix is worth the risk of a wet-surface fall. |
| Structural damage visible (sagging, cracked rafters) | Professional only | A structurally compromised roof cannot safely support your weight. It may also require an engineer’s assessment. |
| Fallen tree or heavy debris on roof | Professional only | Debris removal from a roof requires proper equipment. An amateur attempt can cause additional damage or injury. |
| Missing or displaced shingles on a dry, stable roof | Experienced DIY possible | A homeowner with roofing experience and proper safety equipment can temporarily cover exposed areas. Not recommended for steep pitches. |
| Small active leak at a known flashing point | Temporary DIY sealant acceptable | Roofing sealant or caulk applied to a dry flashing point is a legitimate temporary measure. Not a permanent fix. |
| Emergency tarp installation needed | Professional strongly recommended | Improper tarping provides false protection. Professional installation is the safer, more reliable option. |
After any significant storm event, storm chasers and unlicensed contractors flood San Antonio neighborhoods. They offer fast work at attractive prices, and they often disappear before problems with their work surface. Here is how to verify you are hiring a legitimate local contractor before you sign anything or hand over a deposit.
- Texas contractor license verified through the TDLR (Texas Department of Licensing and Regulation) website
- Certificate of insurance received and confirmed as current not expired
- Local San Antonio or Bexar County business address verified not a P.O. box or out-of-state address
- Written repair or replacement estimate received with itemized scope of work
- No full payment made upfront typical structure is a deposit with balance due at completion
- Online reviews checked: Google, BBB, and Nextdoor reviews from actual San Antonio customers
Avoid These Mistakes
In the stress of a roof emergency, homeowners make decisions that seem logical in the moment but create serious problems. Some increase personal safety risk. Others compromise an insurance claim or add thousands of dollars to the eventual repair bill. This list covers the most common emergency mistakes we see on San Antonio properties after storm events.
One of the most damaging mistakes homeowners make is completing permanent repairs before the insurance adjuster inspects the damage. If you replace shingles or repair flashing before the adjuster sees the damage, the adjuster may undervalue the original scope because the evidence is gone. Emergency tarping and interior water containment are acceptable actions before the adjuster visit. Permanent repairs should wait until after the adjuster has completed their inspection and the claim scope is agreed upon. Document everything you do before that visit, including the tarp installation.
- No roof access during or immediately after rain wait for fully dry conditions
- All damage photographed before any repair materials are applied or removed
- No sealant, caulk, or roof cement applied to wet surfaces
- No permanent repairs completed before the insurance adjuster has inspected
- No payments to unlicensed contractors or storm chasers without verification
- No full upfront payment made to any contractor before work is complete
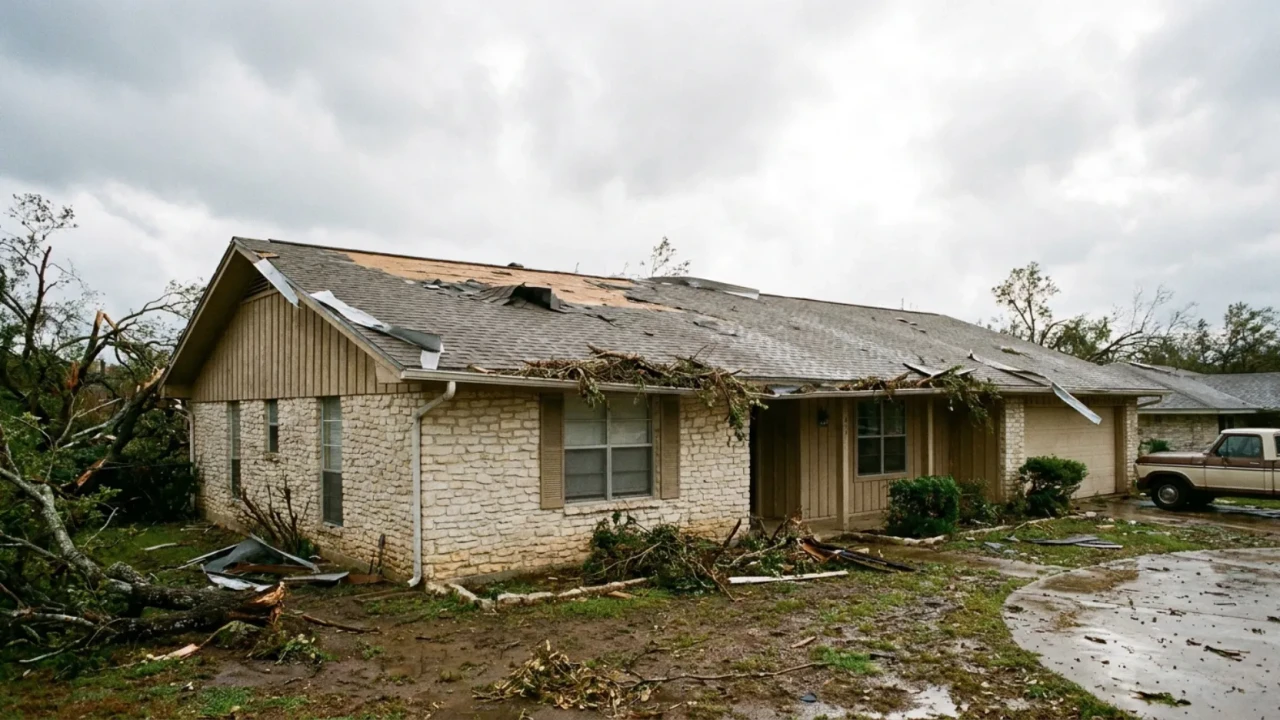
Every roof emergency is slightly different, but most fall into one of the categories below. Use this table to identify your situation and the correct immediate action before professional help arrives.
| Emergency type | First action | Temporary fix | Call a pro if… |
|---|---|---|---|
| Active leak during rain | Contain interior water; place buckets and move valuables | Interior containment only until rain stops and roof dries | Leak is large, location unknown, or roof access is unsafe |
| Missing shingles after wind | Inspect from ground; check attic for daylight or moisture | Emergency tarp over exposed area when conditions are safe | Structural damage is visible or roof pitch is steep |
| Hail damage suspected | Check gutters for granules; inspect ground for debris | No immediate temporary fix needed unless active leak is present | Always hail damage requires professional assessment for insurance |
| Fallen tree or branch on roof | Do not attempt to remove the debris assess from ground only | Do not attempt DIY debris removal requires professional equipment | Immediately always a professional situation |
| Sagging or buckled roof section | Keep all occupants away from the area below structural risk | No DIY temporary fix for structural damage call a professional | Immediately may require structural engineer evaluation |
| Flashing leak at chimney or vent | Locate leak source from attic if safe to access | Roofing sealant applied to dry flashing edges as a temporary measure | Flashing is separated, corroded, or the leak recurs after sealant |
| Puncture or hole from impact | Identify size and location from attic; contain interior dripping | Emergency tarp over the area once conditions are dry and safe | Hole is larger than 6 inches or structural decking is compromised |
- Assess from the ground do not get on the roof during or immediately after the event
- Check the attic for active leaking, daylight through decking, or wet insulation
- Move valuables, electronics, and furniture away from actively dripping areas
- Place buckets and plastic sheeting under all active drip points
- Puncture any bulging ceilings at the lowest point to prevent collapse
- Begin photographing all visible exterior and interior damage
- Continue interior water containment and begin drying with fans and dehumidifiers
- Complete full photo and video documentation before any repairs or cleanup
- Install emergency tarp when roof conditions are dry and access is safe or call a professional to do it
- Call your insurance company and open a claim have your documentation ready
- Contact a licensed San Antonio roofing contractor for an independent inspection and estimate
- Save all receipts for emergency materials (tarps, fans, dehumidifiers) for insurance reimbursement
- Insurance adjuster has inspected and documented the damage
- Independent contractor estimate obtained and compared to adjuster’s scope
- Any scope disputes identified and addressed before authorizing repair work
- Contractor license verified through the TDLR database
- Certificate of insurance received and confirmed as current
- Written repair contract signed with full scope of work and payment terms before any deposit is paid
How much does emergency roof repair cost in San Antonio?
What is the first thing I should do if my roof is leaking?
Does homeowners insurance cover emergency roof repair in Texas?
Can I do emergency roof repairs myself?
How do I know if my roof damage is an emergency?
How long does emergency roof repair take in San Antonio?
Roof emergency in San Antonio? Call us now.
We offer same-day emergency roof inspections, emergency tarp installation, and written repair estimates for homeowners across San Antonio and Bexar County. No pressure. No storm chasers. Just a licensed local crew that will tell you exactly what your roof needs.
[/et_pb_code][/et_pb_column][/et_pb_row][/et_pb_section]