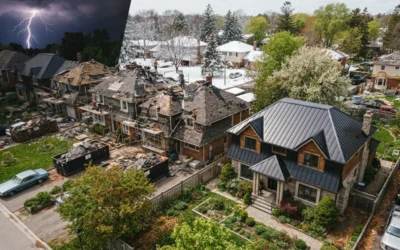
With over 12 years working on residential and light commercial roofing systems in San Antonio, I’ve seen that most roof failures happen beneath the surface, not in the shingles themselves. Understanding roof layers is critical before any new install.
A new roof installation typically includes 5–7 essential layers: roof deck, underlayment, flashing, waterproofing membranes, insulation (if applicable), ventilation components, and the outer roofing material (shingles, metal, tile, or membrane). Each layer plays a specific role in waterproofing, insulation, and structural protection.
Below is a clear breakdown of how roof layers work and what you should expect during installation.
How Many Layers Of Roofing Are There In A New Install?
Most modern roofing systems include 5 to 7 functional layers, depending on roof type (pitched vs flat).
Standard Sloped Roof Layers (Residential)
- Roof decking (structural base)
- Drip edge
- Underlayment
- Ice & water shield (in vulnerable areas)
- Flashing
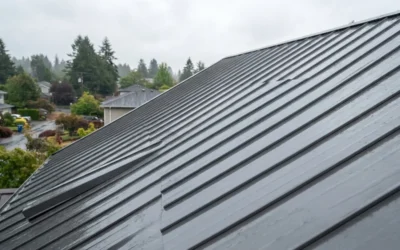
- Roofing material (shingles, metal, tile)
- Ridge cap & ventilation
Flat commercial roofs use a different layered system (covered below).
Key takeaway: The shingles are only the top layer true protection comes from what’s underneath.
What Goes Under Shingles On A Roof?
Under shingles, you’ll find underlayment, drip edge, flashing, and sometimes waterproof membranes.
Roof Underlayment Explained
Underlayment is a water-resistant barrier installed directly over the decking.
Types include:
- Synthetic underlayment (preferred in Texas)
- Asphalt-saturated felt (older method)
Why it matters:
- Secondary moisture protection
- Shields decking from wind-driven rain
- Adds temporary weather protection during installation
Importance of roofing underlayment: It protects your home if shingles are damaged during storms.
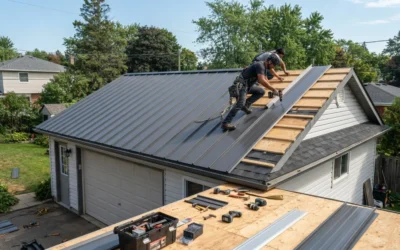
What Is The Full Roof Installation Process?
The roof installation process follows a structured, layered approach to ensure waterproofing and code compliance.
Installing A Roof Step By Step
- Remove old roofing (if replacement)
- Inspect and repair decking
- Install drip edge
- Apply underlayment
- Install waterproofing membranes in valleys and penetrations
- Add flashing
- Install roofing material
- Install ridge vents or caps
- Final inspection
In San Antonio, permits are typically required for full replacements.
What Is The Purpose Of Each Roof Layer?
Each roofing system component has a specific job.
1. Roof Deck (Structural Layer)
- Usually plywood or OSB
- Provides base for all other layers
- Must meet load and thickness code requirements
2. Waterproofing Layers
- Ice & water shield
- Valley membranes
- Prevents leaks in vulnerable areas
3. Flashing
- Installed around chimneys, vents, skylights
- Prevents water intrusion at joints
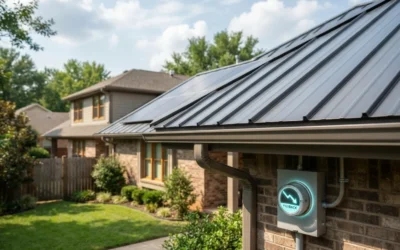
4. Insulation And Ventilation Layers
- Reduces attic heat buildup
- Improves energy efficiency
- Extends shingle lifespan
In San Antonio’s heat, ventilation is critical to prevent premature shingle failure.
Flat Roof Layers Explained (Commercial & Low-Slope)
Flat roof systems use different materials and layering techniques than sloped roofs.
Typical Flat Roof Layers
- Structural deck (concrete or metal)
- Vapor barrier
- Insulation board
- Cover board
- Waterproof membrane (TPO, PVC, EPDM)
- Protective coating (optional)
Flat roof waterproofing layers are continuous membranes not individual shingles.
Key takeaway: Flat roofs rely heavily on membrane integrity rather than overlapping materials.
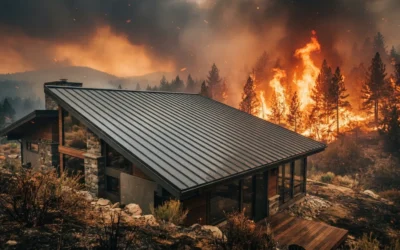
How Do Roof Layers Differ By Climate?
Roof layer types for different climates must account for heat, moisture, and wind exposure.
In San Antonio:
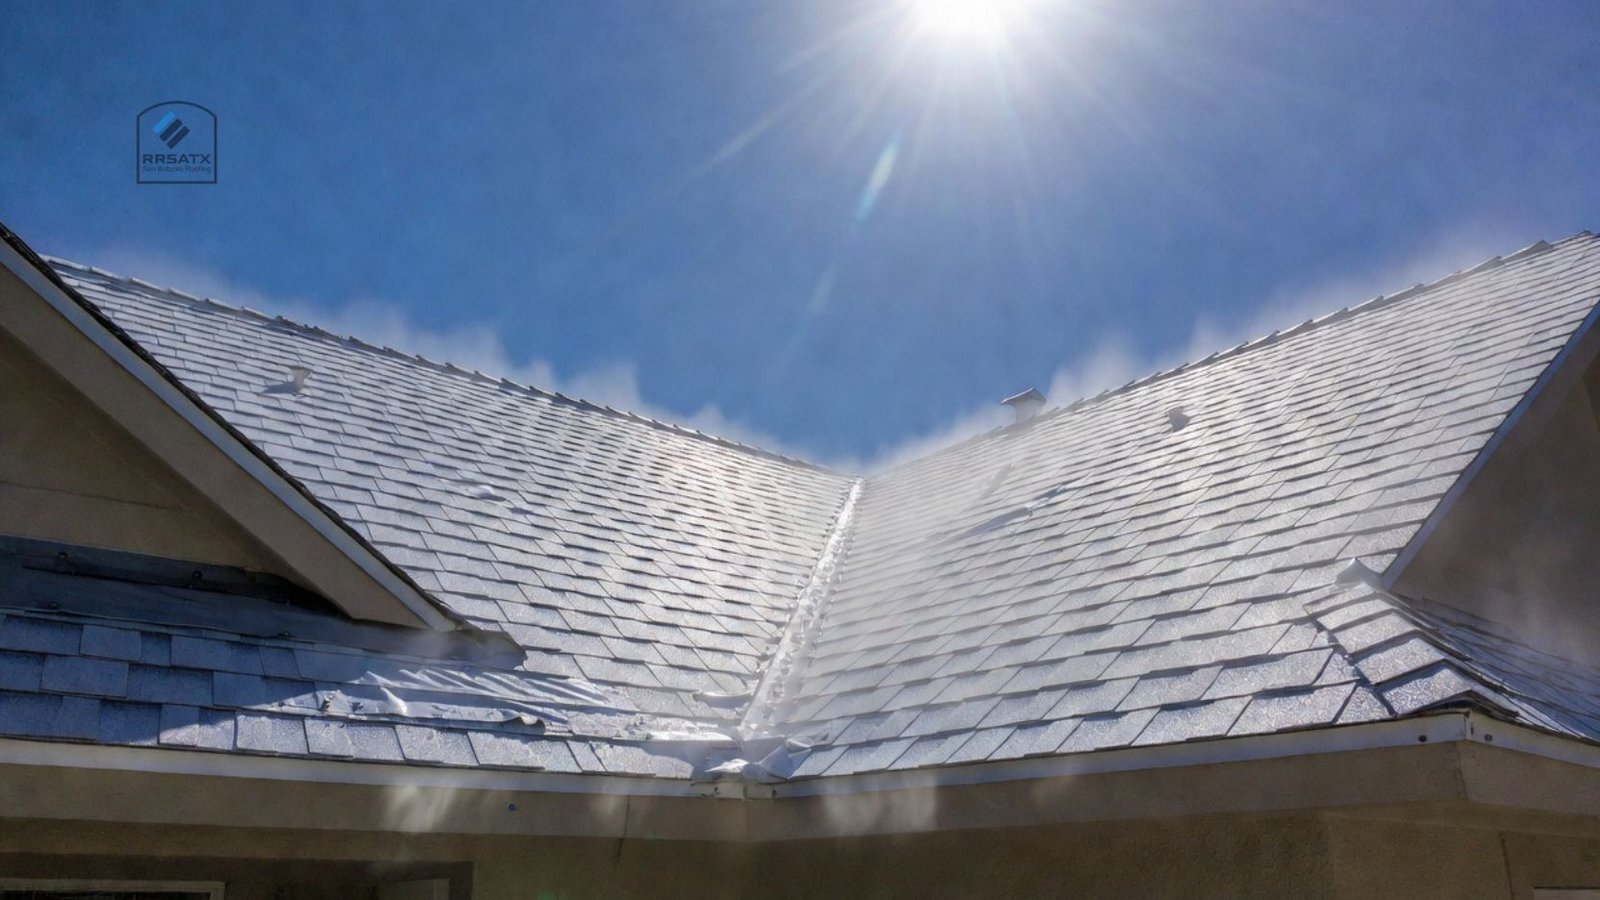
- High heat requires reflective materials.
- Strong storms require wind-rated fastening.
- Ventilation must meet code standards.
Synthetic underlayment performs better than felt in high-temperature regions.
What Are The Best Roofing Materials For New Installs?
The best roofing materials depend on budget, slope, and long-term goals.
Popular Choices In San Antonio
| Material | Durability | Lifespan |
| Architectural Shingles | Good | 20–30 years |
| Standing Seam Metal | Excellent | 40–70 years |
| Tile Roofing | Very High | 50+ years |
| TPO (Flat Roof) | Good | 20–30 years |
Roofing material durability directly impacts how long a new roof lasts.
How Long Does A New Roof Last?
A properly installed roof can last 20 to 70+ years, depending on material and maintenance.
Factors that affect lifespan:
- Quality of installation
- Ventilation performance
- Material choice
- Weather exposure
- Maintenance frequency
Poor installation, not material, is the leading cause of early failure.
What Does A Roofing Installation Cost Breakdown Look Like?
Roofing installation costs are divided between materials, labor, and structural preparation.
Typical breakdown:
- 40–60% labor
- 30–50% materials
- 5–10% disposal and permits
In San Antonio:
- Asphalt roof: $7,000–$12,000 (average home)
- Metal roof: $12,000–$20,000
- Flat commercial roof: varies by membrane and insulation thickness
How Do You Choose Roofing Materials For New Builds?
Start with climate, roof pitch, and budget.
Ask:
- Is the roof flat or sloped?
- Do I prioritize longevity or lower upfront cost?
- Is energy efficiency important?
- Does local code require specific wind ratings?
For business owners, membrane roofing with proper insulation offers long-term ROI.
FAQs
How Many Layers Are In A Typical Residential Roof?
Most residential roofs have 5–7 functional layers, including decking, underlayment, flashing, and outer material.
Is Underlayment Really Necessary?
Yes. Underlayment provides critical secondary waterproofing protection and is required by building code.
What Is The Most Important Roof Layer?
The underlayment and flashing are often the most important for leak prevention more than the shingles themselves.