
[et_pb_section fb_built=”1″ admin_label=”section” _builder_version=”4.16″ global_colors_info=”{}”][et_pb_row admin_label=”row” _builder_version=”4.16″ background_size=”initial” background_position=”top_left” background_repeat=”repeat” global_colors_info=”{}”][et_pb_column type=”4_4″ _builder_version=”4.16″ custom_padding=”|||” global_colors_info=”{}” custom_padding__hover=”|||”][et_pb_code _builder_version=”4.27.7″ _module_preset=”default” hover_enabled=”0″ sticky_enabled=”0″]
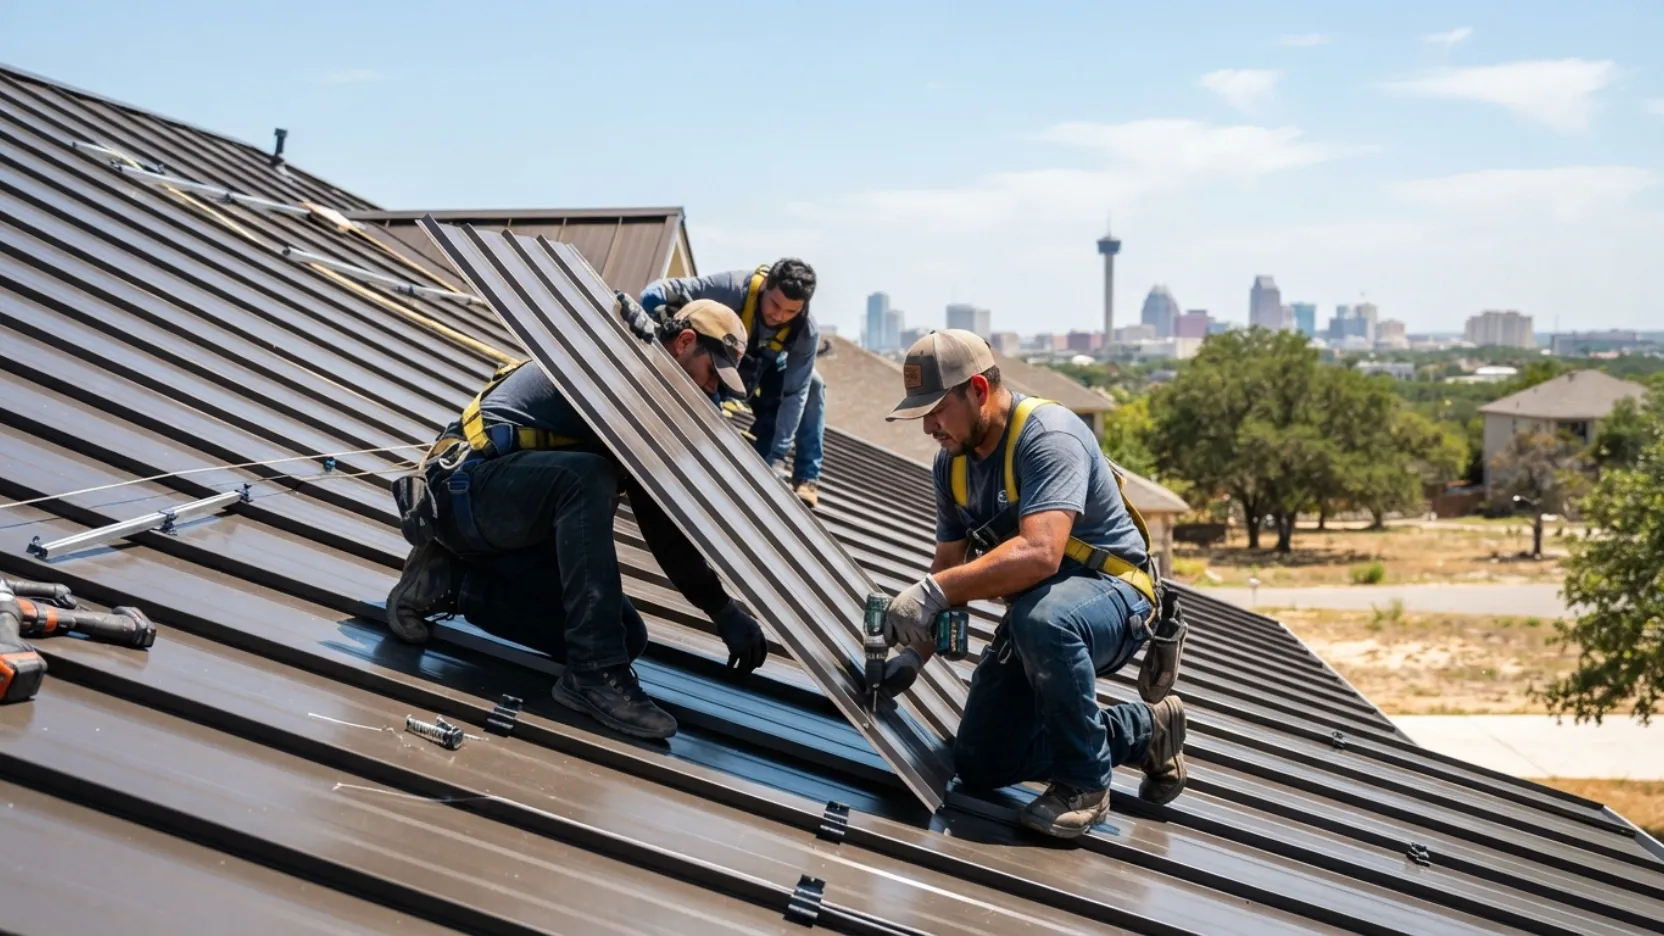
Metal roofing installation is a large, technical project with real consequences if steps are skipped or done out of order. This guide walks through every phase of a residential metal roof installation in San Antonio from measuring and material selection through panel fastening, flashing, and final inspection so you know exactly what a proper job looks like and what to watch for whether you hire a crew or take on sections yourself.
Metal roofing is one of the most durable, energy-efficient, and long-lasting roofing systems available to San Antonio homeowners. When it is installed correctly, a metal roof can outlast two or three asphalt shingle replacements and handle the full range of South Texas weather, from summer heat and UV exposure to severe hailstorms and high winds. When it is installed incorrectly, it leaks, rattles, and corrodes in ways that are expensive to diagnose and fix.
This guide covers every step of a residential metal roofing installation in San Antonio: how to measure and plan your project, how to choose the right panel system for your home, how to prepare the deck and underlayment, how to install panels in sequence, and how to flash penetrations and finish the ridge correctly. Whether you are planning to hire a professional crew and want to understand what a proper installation looks like, or you are considering taking on a section of the work yourself, this is the guide to start with.
Metal roof installation is not just about attaching panels to a deck. Every component underlayment, panels, fasteners, trim, flashing, and ridge cap is part of a tested system designed to work together. Swapping out one component for a cheaper substitute, skipping the underlayment step, using the wrong fastener gauge, or installing trim in the wrong order can compromise the entire system’s weatherproofing and warranty. The steps in this guide are sequenced the way professional crews execute them in San Antonio, and that order matters. Do not skip ahead.
Planning
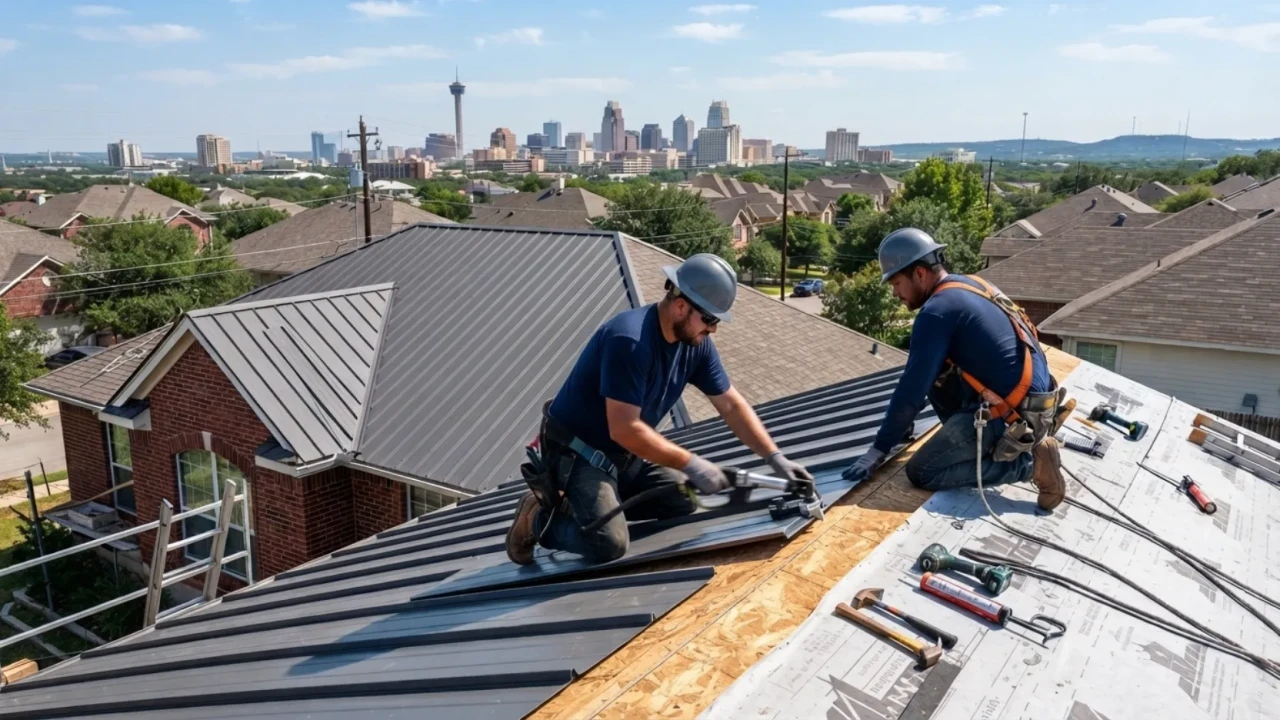
Every successful metal roof installation in San Antonio starts on paper, not on the roof. Before a single panel is ordered or a fastener is purchased, you need accurate measurements of every roof plane, a clear decision on which panel system to use, and a material list that accounts for waste, trim, and overlap. Ordering short means project delays. Ordering the wrong panel profile means you cannot complete the system as designed.
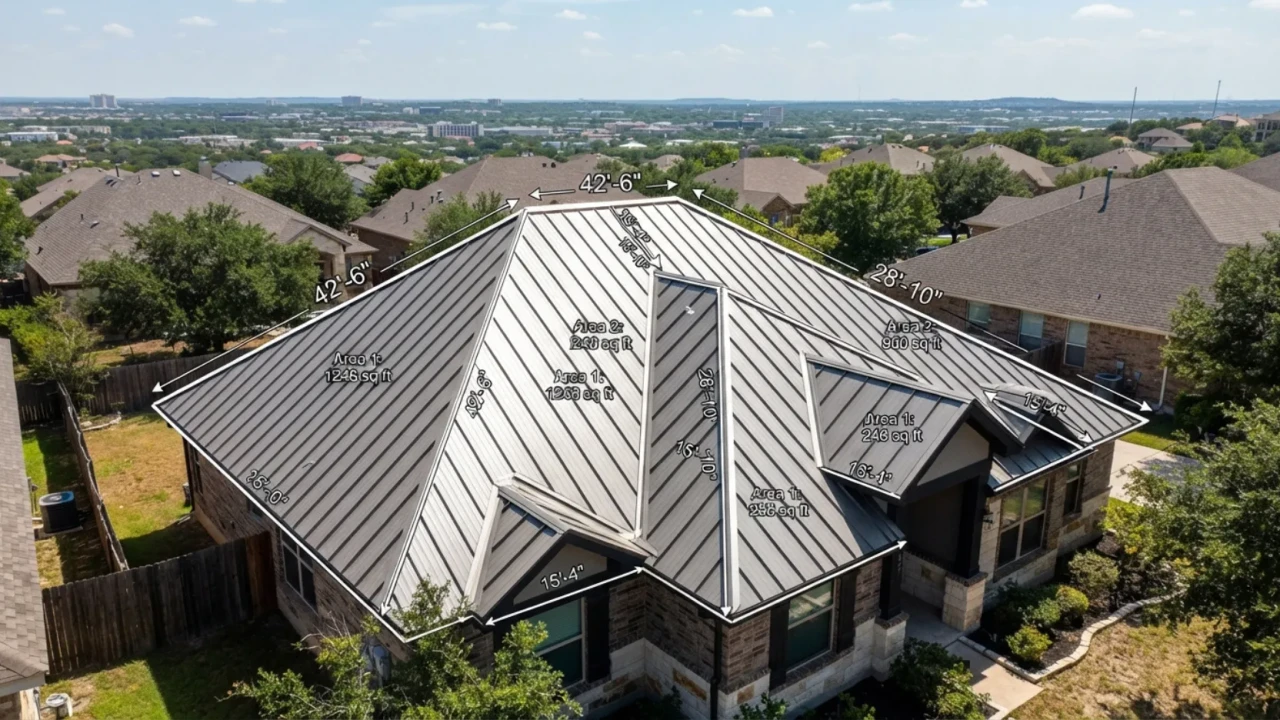
Measure every roof plane separately. For each plane, measure the horizontal run (width along the eave) and the rake length (the sloped measurement from eave to ridge). Multiply these to get the square footage of each plane, then add all planes together for the total roof area. Always add 10% to 15% for waste, cuts, and trim overlaps. A roofing square equals 100 square feet your supplier will quote materials in squares.
Measure all penetrations and edges. Count every linear foot of ridge, hip, rake edge, valley, eave edge, and any penetration (chimney, pipe, skylight, HVAC curb). These measurements drive your trim and flashing orders, which are separate line items from your panel order.
Choose your panel system before ordering anything. The three most common metal roofing systems installed on San Antonio homes are standing seam, exposed-fastener corrugated panels, and exposed-fastener ribbed panels (sometimes called R-panel or PBR panel). Each system has different installation requirements, different trim components, and different fastener patterns. You cannot mix components between systems.
| Panel system | Best for | Minimum pitch | Fastener type | Typical installed cost (San Antonio) |
|---|---|---|---|---|
| Standing seam (concealed fastener) | Long-term residential investment, low-maintenance, premium appearance | 1:12 minimum, 3:12 recommended | Concealed clip fasteners no penetrations through the panel face | $10 to $15 per sq ft installed |
| Exposed-fastener corrugated | Budget-conscious residential, outbuildings, secondary structures | 3:12 minimum | Hex-head screws with EPDM washers through panel face | $8 to $11 per sq ft installed |
| R-panel / PBR panel | Residential and light commercial, good balance of cost and durability | 2:12 minimum | Hex-head screws with EPDM washers through panel rib or flat | $8 to $12 per sq ft installed |
Order materials with lead time in mind. Custom-length standing seam panels and specialty colors are typically cut to order and can take two to three weeks for delivery in the San Antonio market. Standard corrugated and R-panel in common colors (Galvalume, classic bronze, charcoal, terra cotta) is usually available from local San Antonio suppliers within a few days. Confirm lead times before scheduling your installation crew or starting any tear-off work.
- All roof planes measured separately: run, rake length, and square footage calculated for each
- Total roof area calculated in squares with 10% to 15% overage added for waste and trim
- All linear footage measured: ridge, hips, rakes, valleys, eave edges, and each penetration perimeter
- Panel system selected: standing seam, corrugated, or R-panel confirmed before any materials ordered
- Building permit applied for with Bexar County or City of San Antonio before work begins
- Material lead times confirmed custom panels ordered with enough time before scheduled install date
Deck Prep
No metal roof performs better than the deck it sits on. Before any underlayment goes down, the existing deck needs to be inspected thoroughly. Soft spots, delaminated plywood or OSB, rotted areas around old penetrations, and any sections where moisture has been sitting under the previous roof all need to be addressed before the new roof goes on. Installing over a compromised deck is one of the most common installation mistakes in San Antonio, and it is one of the most expensive to fix after the fact because it means removing panels to get to the problem.
Underlayment selection matters more on metal roofs than on asphalt roofs. Metal panels expand and contract significantly with temperature changes. In San Antonio, a dark metal roof can swing from 40°F in January to over 160°F in July. That thermal movement means the underlayment must be able to handle sustained heat without degrading, sticking to the underside of the panels, or releasing off-gases that cause the panels to corrode from below. Standard 15-pound felt is not appropriate for metal roofing installations and should not be used under metal panels for this reason.
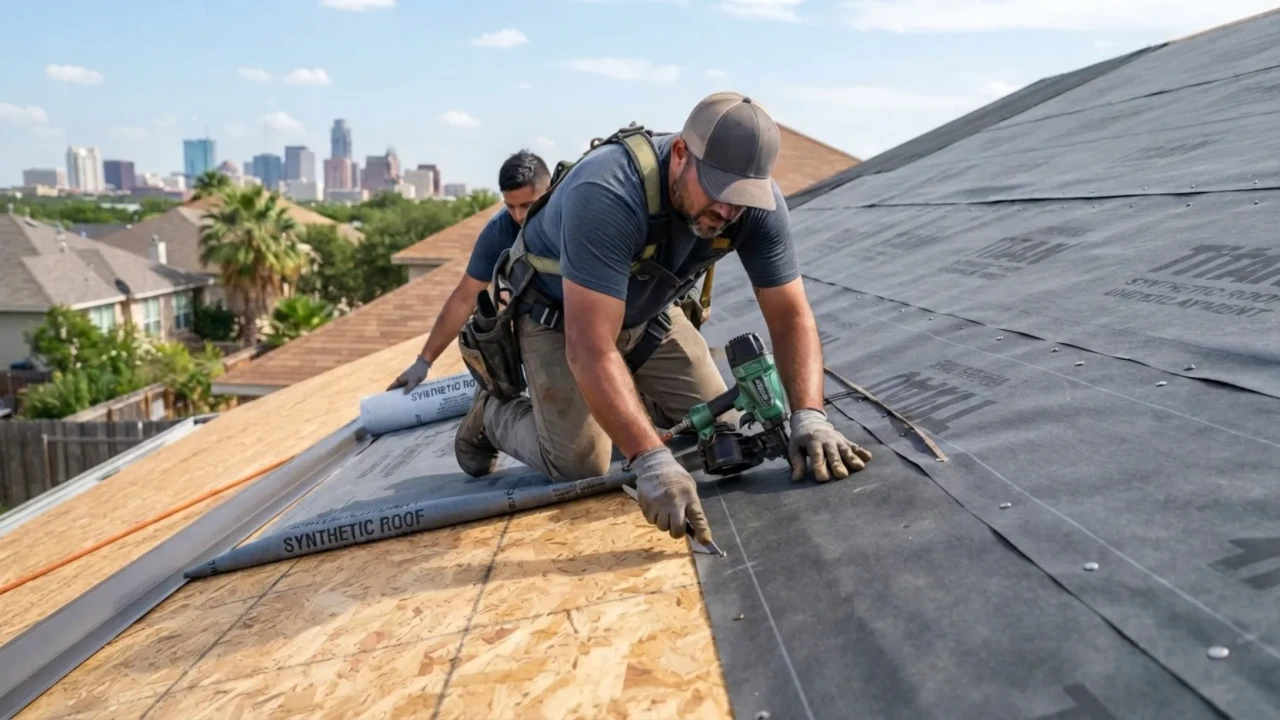
Install your underlayment horizontally across the deck, starting at the eave and working toward the ridge, with each course overlapping the one below by a minimum of 6 inches. At valleys and penetrations, bring the underlayment up and over the valley transition rather than cutting it flush. This gives you a fully covered secondary water barrier before a single panel goes up. On steep-pitch San Antonio roofs, temporarily staple the underlayment as you go and follow immediately with your panel installation do not leave underlayment exposed in Texas summer sun for more than a few days or it will blister and delaminate from the staples.
- Full deck inspection completed all soft spots, delaminated areas, and rotted sections identified before underlayment goes down
- Damaged deck panels replaced with matching thickness OSB or plywood and properly fastened
- Drip edge installed at eaves before underlayment and at rakes after underlayment this sequence matters
- Appropriate metal-rated underlayment selected synthetic or peel-and-stick, not standard felt paper
- Underlayment installed horizontally from eave to ridge with minimum 6-inch horizontal laps and 4-inch end laps
- Valley and penetration areas covered fully no gaps or exposed deck visible before panel installation begins
Trim and Layout
Before the first metal panel goes up, the trim components at the eave and rake edges must be installed correctly. This step is more important than it looks. The eave trim (also called drip edge or eave flashing) sets the starting edge that every panel will reference. If it is not straight and square to the rake, your panels will drift out of alignment as you work up the slope.
Install eave trim first. The eave trim runs along the bottom edge of each roof plane and gives the first panel a clean edge to sit against. It also directs water off the fascia and into the gutter rather than allowing it to wick back under the panel. Eave trim for metal roofing is typically a formed piece of the same metal as your panels, available in matching colors from your panel supplier. Fasten it to the deck edge at 12-inch intervals using the fasteners specified by the trim manufacturer for your panel gauge.
Snap a layout line before the first panel. Once your eave trim is set, measure up from the eave at two points on the roof plane and snap a chalk line parallel to the eave. This line gives you a visual reference to keep your first panel running square. On most exposed-fastener systems, that first panel sets the alignment for every panel that follows if it is even slightly off square at the bottom, the error compounds all the way to the ridge. Take the time to get this right before you drive a single fastener into a panel.
- Eave trim installed at correct sequence before underlayment (most systems) and verified as straight and level
- Rake trim installed along both gable edges and fully fastened at manufacturer-specified intervals
- Foam or rubber closure strips installed at eave openings to seal panel ribs against insects and water
- Layout line snapped on each roof plane before the first panel is placed
- First panel checked for square using a speed square or the 3-4-5 triangle method before fastening
- Butyl sealant tape applied at all trim-to-panel contact points per the manufacturer installation guide
Panel Install
With your deck prepped, underlayment down, and trim installed, you are ready to install panels. The installation sequence for most metal roofing systems runs from one rake edge to the other across the roof plane, with each panel overlapping the one before it. Direction matters: on most exposed-fastener systems, you start at the rake edge that is prevailing-wind-downwind for your area. In San Antonio, prevailing winds typically run from the south and southeast, so you would generally start at the right rake (west side) when facing the house from the front, and work left.
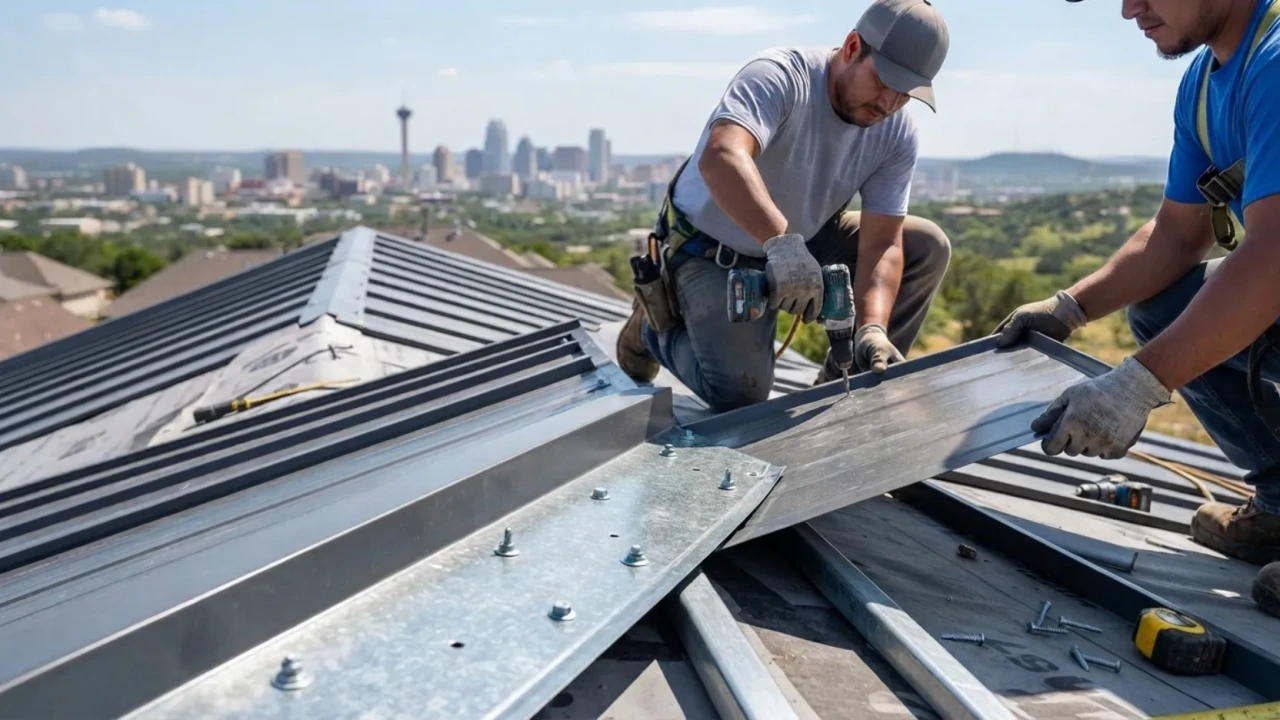
Overlap depth by system type: Corrugated panels typically overlap by one full corrugation (one rib). R-panel and PBR panel systems overlap at the male rib/female rib joint designed into the panel profile. Standing seam panels snap-lock or clip-lock together at the seam no exposed fasteners through the panel face.
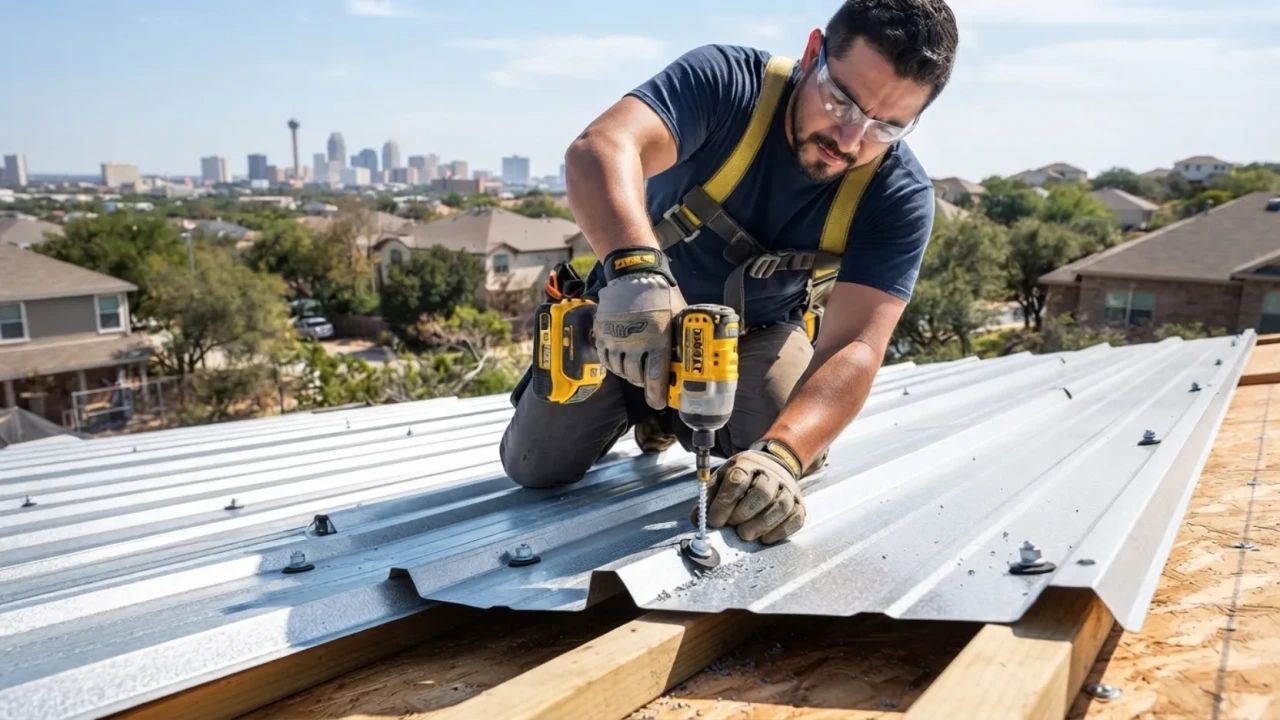
Fastener torque is critical on exposed-fastener systems. The EPDM-gasketed hex-head screw must be driven to the point where the rubber washer is compressed into a slight dome shape, not completely flattened. Over-driving strips the thread, deforms the washer, and creates a leak point immediately. Under-driving leaves a gap between the washer and the panel. Set your drill or impact driver torque before you start and test on a scrap piece of panel.
Fastener placement by system: On corrugated and standard ribbed panels, fasteners go through the flat of the panel, not through the rib. Fastening through the high rib increases the risk of the fastener pulling through under wind uplift. Spacing is typically 12 to 24 inches on center along each purlin or structural member, and at every rib at the eave and ridge rows. Always fasten into structural framing fasteners into decking only are not adequate for wind uplift resistance in Bexar County’s wind exposure categories.
Cut metal panels with aviation snips, a circular saw with a fine-tooth metal cutting blade (carbide-tipped with 60 or more teeth), or a nibbler never with an angle grinder. Angle grinders leave a hot, jagged edge covered in metal sparks that embed in the panel coating and rust within weeks. Any cut edge on a painted or Galvalume panel should be treated with a zinc-rich touch-up paint before the panel is installed. Exposed raw edges at cuts are the most common source of early rust on otherwise sound metal roofing installations, and it is a quick preventable step that protects your investment.
- First panel placed, checked for square, and confirmed at correct eave overhang before fastening
- Fastener torque set and tested on scrap panel before production fastening begins
- Fasteners driven through panel flat (not rib) and into structural framing members, not decking only
- Overlap depth consistent across each panel run confirmed before fastening the overlap edge
- Sealant or butyl tape applied at overlap seams per manufacturer guidance for the installed roof pitch
- All cut panel edges treated with zinc-rich touch-up paint before installation
- Alignment checked against layout line every three to four panels and adjusted as needed
Flashing
Flashing is the most leak-prone element of any roofing system, and metal roofing is no exception. Every place where a panel ends, changes direction, or meets another surface a chimney, a pipe, a valley, a wall, a skylight is a potential water entry point if the flashing is not installed correctly. Flashing work on a metal roof is also more demanding than on an asphalt shingle roof because metal’s thermal expansion means flashing details need to accommodate movement over time.
Pipe and vent penetrations use a pipe boot: a preformed flashing collar with a flexible rubber seal that compresses around the pipe. On a metal roof, use a pipe boot designed for metal roofing with a base plate that matches or is compatible with the panel profile. The boot installs over the pipe with the base plate sitting on top of the installed panel. Seal the base plate perimeter to the panel using a urethane or silicone sealant rated for metal roofing standard caulk does not hold up under the temperature swings a San Antonio metal roof experiences. The next panel above overlaps the top edge of the boot base plate.
Chimney flashing on a metal roof follows the same general principle as on a shingle roof but with metal-specific considerations. Step flashing is woven between courses on a shingle roof; on a metal roof, it is replaced with a continuous piece of formed step flashing on each side, custom bent to follow the panel profile. Counter-flashing is embedded into the chimney mortar joint and lapped over the top edge of the step flashing. A proper chimney flashing detail on a metal roof takes time to execute well it is one of the details where cutting corners is most likely to produce a persistent leak.
Valley installation is chosen before your panel order is placed. Open valleys use a formed W-valley strip of matching or complementary metal running the full length of the valley, with panels on both sides trimmed to a clean line away from the center. Closed valleys integrate the panel profiles together at the valley this is more complex to execute but produces a cleaner visual result and is common on premium standing seam installations. Confirm which valley style your crew is planning to use and that your material order includes the correct valley flashing components.
- All pipe boots are metal-roofing-specific and sized to match the pipe diameter at each penetration
- Pipe boot base plates sealed to the panel with urethane or metal-rated silicone not standard caulk
- Chimney step flashing custom bent to follow the panel profile on each side
- Chimney counter-flashing embedded into the mortar joint and lapped over step flashing correctly
- Valley type confirmed (open W-valley or closed) and correct flashing components installed per the design
- Wall flashing (L-flashing) installed behind the siding and over the panel surface not under the panel
- All skylight flashing installed using the manufacturer-supplied kit and sealed per the skylight manufacturer’s instructions
- No standard latex or painter’s caulk used anywhere in the flashing detail only metal-rated urethane or silicone
Final Steps
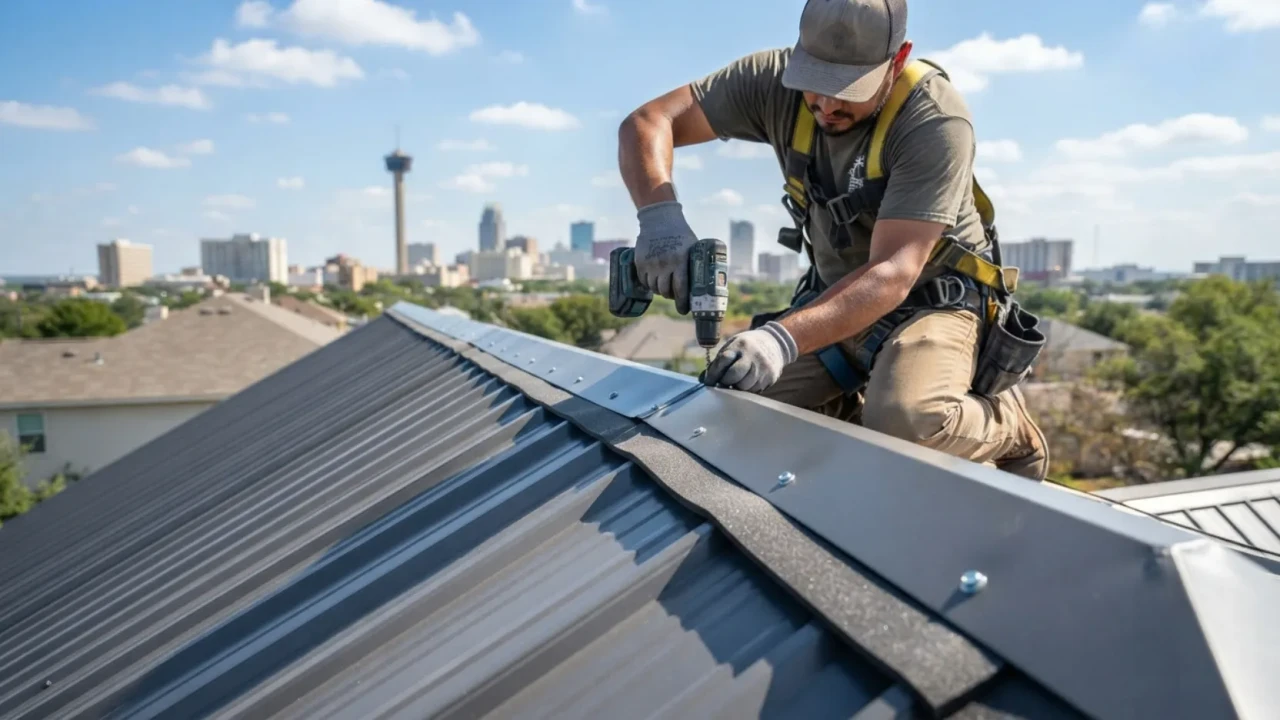
Once all panels are installed and all flashings are complete, the ridge cap closes the roof at the peak. On a gable roof, the ridge cap runs the full length of the ridge from one rake end to the other. On a hip roof, ridge caps run each hip and meet at the peak. Either way, the ridge cap is exposed to full wind load and needs to be fastened securely it is one of the most common components that fails in high-wind events when it was not installed with enough fasteners or the right sealant detail at the panel interface.
Closure strips at the ridge are the first detail before the cap goes on. Foam or rubber closures shaped to match your panel profile are installed at the top edge of the last panel course on each side of the ridge. These closures fill the gap between the panel ribs and the underside of the ridge cap, blocking insects, wind-driven water, and debris from entering the attic space at the ridge line. Do not skip this step an open ridge on a San Antonio home is a direct entry point for everything from rainwater to wasps.
Final inspection covers the entire roof surface systematically. Walk every panel run and look for fasteners that are over-driven, under-driven, or misaligned. Check every flashing detail for gaps in sealant or lifted edges. Confirm that all trim pieces are fully fastened and that no panels have shifted during installation. At the ground level, walk around the perimeter and check for any cut panel edges left untreated, any trim pieces that are not flush, and any debris left on the roof surface that could trap moisture against the panel coating.
Metal roofing panels are slippery, especially when wet, and extremely slippery even when dry at pitch angles above 6:12. Fall protection is not optional. Any work on a roof pitch steeper than 4:12 requires a personal fall arrest system, a safety harness, and anchoring to the structure not just roof shoes and careful movement. In San Antonio’s summer heat, heat exhaustion on a metal roof is also a real risk. Plan your work schedule to avoid midday in summer months, bring water, and have someone on the ground who knows where you are working. A metal roof that you did not finish because of a fall is not worth saving the installation cost.
After the physical inspection, confirm that your installation is documented for the building permit. The City of San Antonio and Bexar County both require a final inspection sign-off for permitted roofing work. Schedule that inspection before you remove the permit card from the premises. Your contractor should handle this if you hired professional installers confirm it is included in their scope before the job starts, not after it is finished.
- Profile-matched foam or rubber closure strips installed at the ridge line on both panel faces before cap installation
- Ridge cap installed with minimum 6-inch overlap at all seam joints and butyl tape or sealant at each lap
- Ridge cap fasteners driven into structural framing not just through the panel surface
- All panel fasteners walked and checked for correct torque over-driven and under-driven screws corrected
- All flashing sealant details inspected for gaps, missed sections, and adhesion to both surfaces
- All cut panel edges confirmed as treated with zinc touch-up paint
- Roof surface cleared of all metal shavings, scrap, and debris that could trap moisture against panel coatings
- Building permit final inspection scheduled and completed with Bexar County or City of San Antonio
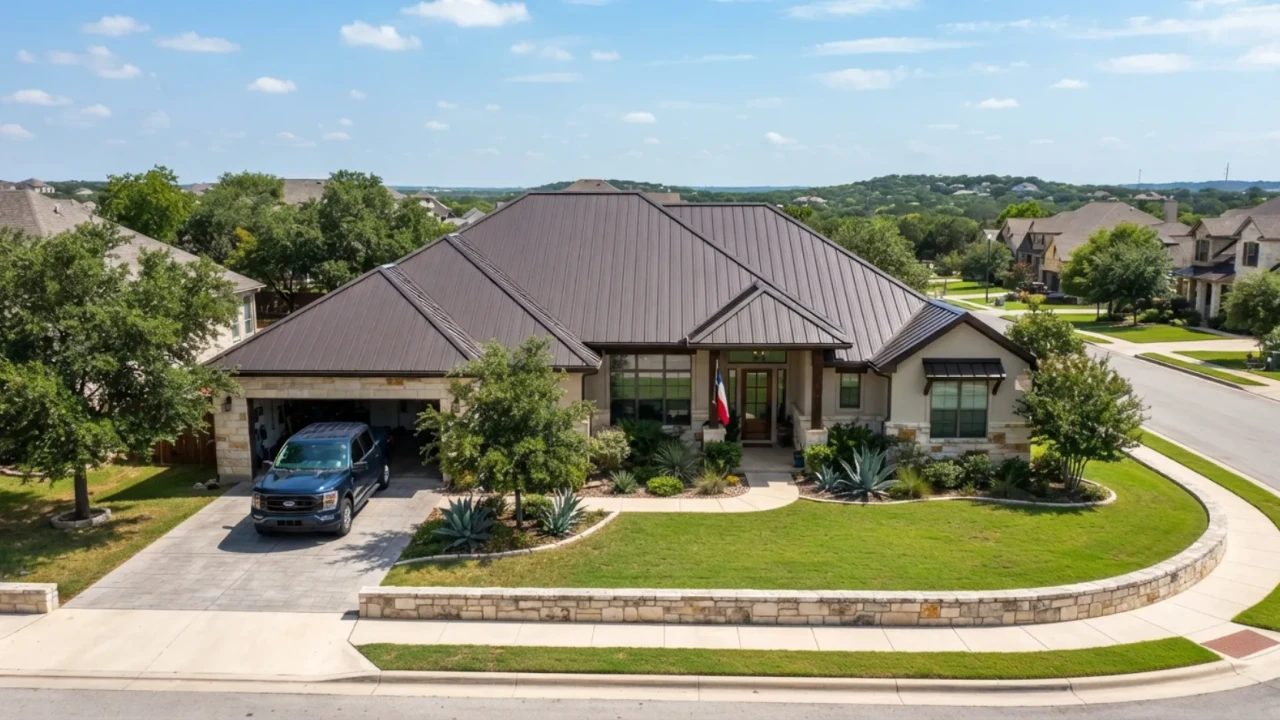
Metal roofing is one of the more technically demanding residential roofing systems to install correctly. The panels are heavier and longer than shingles, the panel profiles are less forgiving of misalignment, and the flashing details require more custom fabrication than a standard shingle roof. Here is an honest breakdown of what DIY versus professional installation looks like for San Antonio homeowners.
| Factor | DIY installation | Professional installation |
|---|---|---|
| Material cost | Same as professional pricing from the same supplier metal panels are not discounted for DIY buyers at most San Antonio suppliers | Contractors often have supplier relationships with volume pricing; savings may partially offset labor cost |
| Labor cost | $0 in cash but significant time commitment, typically 3 to 7 days for an average residential roof with a helper | $3 to $6 per square foot of installed area the labor portion of the total installed cost |
| Warranty coverage | Most metal panel manufacturer warranties require professional installation to remain valid DIY installation typically voids the panel warranty | Full manufacturer panel warranty maintained; contractor workmanship warranty also provided |
| Permit and inspection | Homeowner can pull a permit and self-inspect, but the inspection process is the same work must meet code | Licensed contractors handle permit and inspection process as part of the job |
| Fall risk | High most residential roofing injuries happen to homeowners and helpers without proper fall protection equipment | Licensed contractors carry workers compensation insurance; fall protection is standard on professional crews |
| Quality of flashing details | Flashing is the most technically difficult part of any installation inexperienced installers most commonly produce leaks at chimney, valley, and penetration details | Experienced crews execute flashing details correctly the first time fewer callbacks and no leak warranties to manage |
| Best use case for DIY | Simple gable roof with no penetrations, minimal hips or valleys, experienced homeowner with metalworking skills, and all correct safety equipment on hand | Any roof with complexity: chimneys, skylights, multiple hips and valleys, steep pitch, or a homeowner without prior roofing experience |
- Building permit applied for and approved do not start tear-off without a valid permit in hand
- All roof planes measured and material quantities calculated with 10% to 15% waste factor included
- Panel system selected and all components ordered: panels, trim, closure strips, underlayment, fasteners, flashing, and sealant
- Material lead times confirmed and all materials on-site before installation day
- Fall protection equipment on-site for all workers: harness, lanyard, and roof anchor rated for the pitch
- Weather forecast checked do not start tear-off if rain is expected within 24 hours
- Old roofing removed and all existing fasteners, nails, and debris cleared from deck surface
- Full deck inspection completed all damaged sections replaced before underlayment is installed
- Drip edge installed at eaves (before underlayment) and rakes (after underlayment)
- Metal-rated underlayment installed from eave to ridge with correct horizontal and end laps
- All valleys and penetration areas covered with no gaps in underlayment coverage
- Eave trim and rake trim installed and confirmed as straight before first panel is placed
- Layout line snapped on each roof plane and first panel checked for square before fastening
- Fastener torque set and tested EPDM washers compressing to a dome, not flattened
- All cut panel edges treated with zinc-rich touch-up paint before installation
- Alignment checked every three to four panels against layout line throughout each panel run
- All pipe and vent penetrations flashed with metal-roofing-specific boots and metal-rated sealant
- Chimney flashing (if applicable) complete with correctly formed step flashing and embedded counter-flashing
- Valley flashing installed open W-valley or closed valley per the design confirmed during material selection
- Profile-matched foam closure strips installed at ridge and eave before cap and first panel respectively
- Ridge cap installed with minimum 6-inch laps, butyl tape at seams, and fasteners into structural framing
- Full roof surface walked and inspected fasteners, sealant, trim, and debris all confirmed
- Building permit final inspection completed and sign-off received
Can you install metal roofing over existing shingles in San Antonio?
How long does it take to install a metal roof on a San Antonio home?
Do I need a building permit to install a metal roof in San Antonio?
What is the minimum roof pitch for metal roofing in San Antonio?
How much does it cost to have metal roofing professionally installed in San Antonio?
What is the best type of metal roofing to install in San Antonio?
Get a free metal roof installation estimate in San Antonio
Ready to move forward with a metal roof on your San Antonio home? We will walk the job, answer every question, and give you a detailed written estimate with no pressure and no obligation.
[/et_pb_code][/et_pb_column][/et_pb_row][/et_pb_section]