How to Prepare Your Landscaping Before a Roof Installation
Every year, thousands of homeowners undergo roof replacement projects without properly preparing their landscaping only to discover crushed plants, damaged sprinkler systems, and destroyed flower beds after the work is complete. According to Angi’s roofing project data, inadequate yard preparation is one of the top complaints from homeowners after roof installations, with landscape damage adding hundreds to thousands of dollars in unexpected costs.
Preparing landscaping before install isn’t just about aesthetics; it’s about protecting your investment, ensuring contractor safety, and making the roofing process smoother for everyone involved. Whether you’re planning a complete roof replacement or installing a new roof on your San Antonio home, taking the right preparatory steps can save you significant money and stress.
This comprehensive guide walks you through everything you need to know about protecting your yard, plants, and outdoor features before roofing crews arrive at your property.
Why Landscaping Preparation Matters For Roof Installation
Roof installation is an intensive construction project that involves heavy equipment, falling debris, and crews working around your home’s perimeter. The typical residential roof replacement generates 3-5 tons of shingle debris, requires ladder placement every 10-15 feet, and involves workers accessing every side of your home.
Here’s what happens during a standard roof installation:
Physical Impact on Your Property:
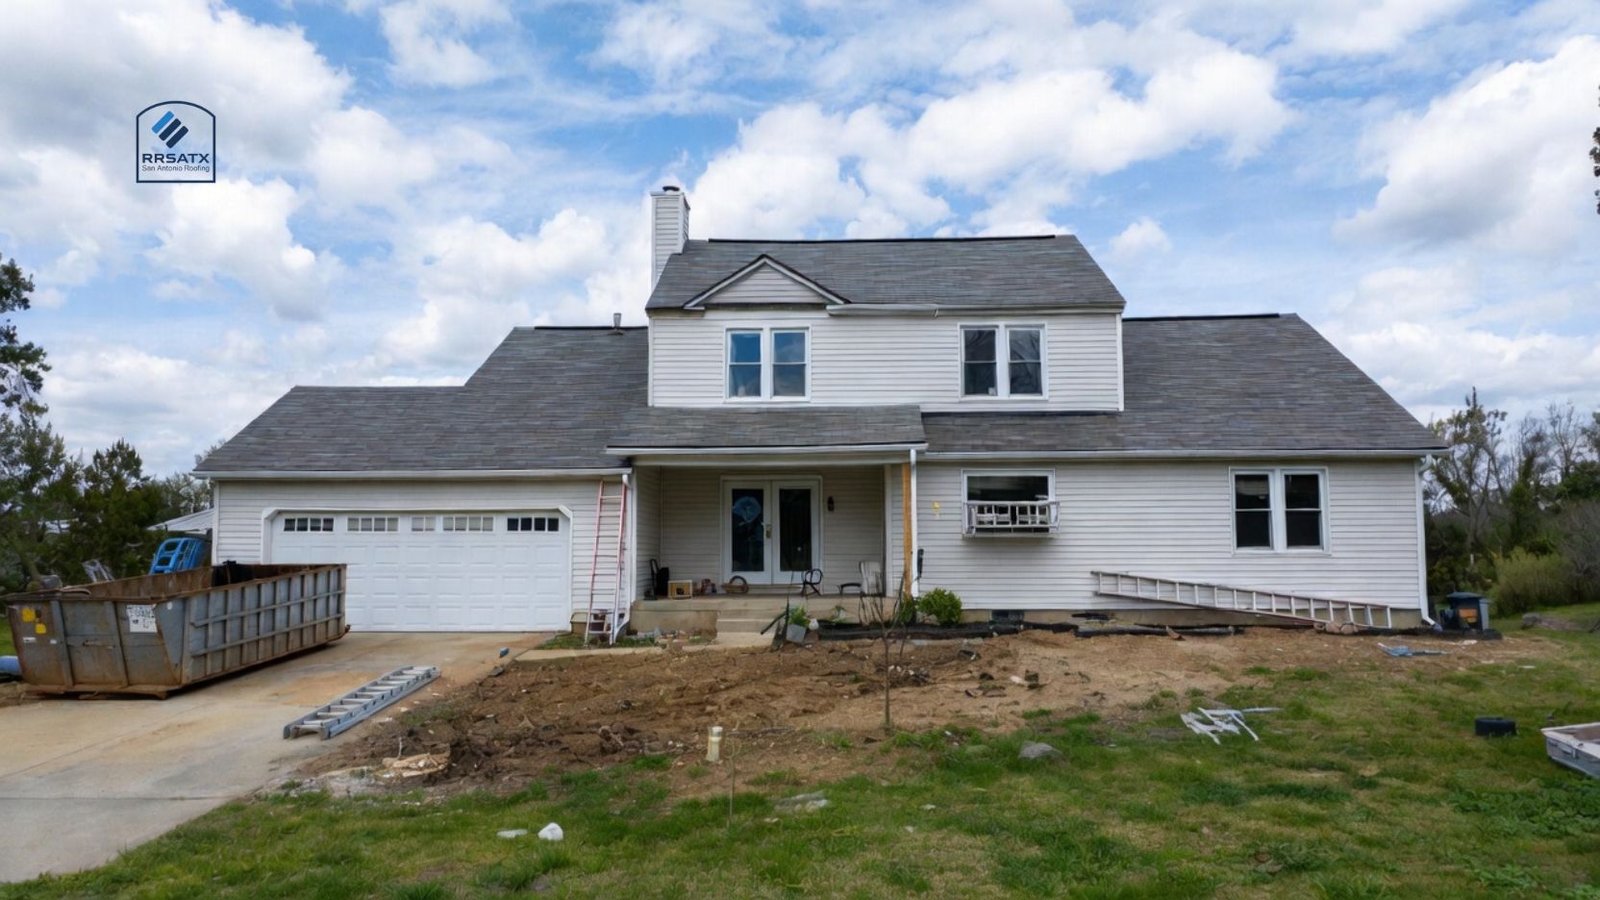
- Dumpsters and equipment positioned in driveways and yards
- Ladders placed against siding and landscaping areas
- Debris falling from heights of 15-30 feet
- Crew members walking around the entire home perimeter
- Magnetic sweeps for nails covering lawn areas
- Material delivery trucks accessing your property
Why Preparation Prevents Problems:
Proper landscaping preparation protects your financial investment. Established trees and mature landscaping can add 7-15% to your home’s value, according to landscape appraisal data from HomeAdvisor. A single damaged mature tree can cost $1,500-$5,000 to remove and replace, while destroyed flower beds, crushed shrubs, and damaged irrigation systems easily add another $500-$2,000 in restoration costs.
Beyond financial considerations, preparation ensures:
- Contractor safety: Clear work zones reduce trip hazards and injury risk
- Project efficiency: Crews work faster with unobstructed access
- Quality installation: Proper workspace leads to better workmanship
- Liability protection: You minimize disputes about pre-existing vs. installation damage
At RRSATX: San Antonio Roofing Company, we’ve completed over 1,000 roof installations across San Antonio and have seen firsthand how proper preparation transforms the installation experience. Homeowners who follow preparation guidelines report 90% fewer landscape complaints and faster project completion times.
Timeline: When To Start Preparing Your Yard
Most homeowners underestimate how much time proper landscaping preparation requires. Here’s a realistic timeline:
2-3 Weeks Before Installation:
- Trim back overgrown branches near roof edges
- Relocate potted plants and portable decorations
- Document existing landscape condition with photos
- Schedule any tree trimming services needed
- Mark underground sprinkler heads and utility lines
1 Week Before Installation:
- Move patio furniture away from house perimeter
- Remove wall-mounted decorations, lights, and hose reels
- Stake fragile plants that can’t be moved
- Clear garage for material storage if needed
- Communicate special concerns to your contractor
2-3 Days Before Installation:
- Final mowing and yard cleanup
- Move vehicles out of driveway
- Cover sensitive plants with tarps or plywood
- Remove window screens on upper levels if requested
- Set up temporary fencing if you have pets
Day Before Installation:
- Walk the property with your contractor
- Point out specific concerns
- Confirm protection measures are in place
- Move children’s outdoor toys and equipment
- Secure any loose outdoor items
Starting early gives you time to handle unexpected challenges, like discovering your oak tree needs professional trimming or finding irrigation lines closer to the foundation than expected.
Step-By-Step Landscaping Preparation Checklist
Phase 1: Assessment And Planning
Evaluate Your Property Layout:
- Walk around your home’s entire perimeter
- Identify plants, trees, and features within 10 feet of the foundation
- Note overhead obstacles like low-hanging branches
- Check for ground-level hazards (rocks, decorations, sprinkler heads)
- Document everything with photos for insurance purposes
Identify High-Risk Areas:
- Delicate or expensive plants (roses, Japanese maples, specimen shrubs)
- Irrigation system components
- Outdoor lighting fixtures
- Decorative hardscaping (stone borders, pavers)
- Gutters and downspouts with planted areas beneath
Phase 2: Vegetation Management
Trees and Large Shrubs:
- Trim branches extending over the roof by at least 6-12 inches
- Cut back vegetation touching exterior walls
- Remove dead or damaged branches that could fall during work
- Consider professional arborist services for trees over 20 feet
Flower Beds and Gardens:
- Transplant valuable perennials to temporary locations
- Harvest ripe vegetables before installation begins
- Mark the edges of beds with visible stakes or flags
- Remove decorative mulch near the foundation (it can be reapplied later)
Ground Cover and Grass:
- Mow lawn short (2-3 inches) for easier nail cleanup
- Edge areas where lawn meets foundation
- Mark sprinkler heads with flags
- Remove ground-level lighting fixtures
Phase 3: Removable Items
Must Move Away From House:
- All patio furniture (move 15+ feet from foundation)
- Grills and outdoor cooking equipment
- Potted plants and planters
- Garden statuary and decorations
- Children’s playsets and toys
- Firewood stacks
- Pool equipment and accessories
- Outdoor rugs and cushions
Wall-Mounted Items to Remove:
- Hose reels and garden hoses
- Exterior lighting (if not hardwired)
- Decorative wall art
- Mailboxes (if attached to house)
- Security cameras (coordinate with contractor)
- Satellite dishes (may need professional removal)
Phase 4: Protection Measures
For Items That Can’t Be Moved:
- Cover delicate shrubs with plywood lean-tos
- Wrap tree trunks with protective padding
- Use tarps secured with stakes for ground covers
- Install temporary barriers around water features
- Mark and flag irrigation components
Access Path Preparation:
- Create clear 4-foot-wide paths to all sides of the house
- Remove obstacles from driveway and street access
- Trim bushes blocking side yards
- Unlock all fence gates
- Ensure adequate space for dumpster placement
Protecting Plants, Trees, And Garden Features
Strategic Protection Methods
High-Value Plants: For expensive or sentimental plants that cannot be relocated:
- Build plywood shields at 45-degree angles to deflect debris
- Create protective cages using stakes and chicken wire
- Apply thick mulch layer (4-6 inches) around root zones
- Water thoroughly before installation (well-hydrated plants recover better)
Tree Protection:
- Wrap trunks with burlap or foam padding where ladders will rest
- Prune appropriately but avoid over-pruning (trees need leaves for recovery)
- Communicate valuable tree locations to your roofing foreman
- Consider root zone protection for shallow-rooted species
Irrigation Systems: According to professional landscape contractors on HomeAdvisor, damaged irrigation systems cost an average of $400-$1,200 to repair after roofing projects. Prevent this by:
- Mapping your complete sprinkler system
- Marking all heads, valves, and junction boxes with flags
- Turning off automatic timers during installation
- Providing contractors with a system diagram
- Scheduling post-installation system test
Water Features and Hardscaping:
- Drain and cover fountains and ponds
- Protect stone patios and walkways near work zones
- Remove or cover decorative rock features
- Photograph existing hardscape for before/after comparison
Clearing Access Points And Work Zones
Professional roofing crews need access to your entire roof perimeter, plus space for equipment, materials, and waste removal.
Essential Clearance Requirements
Around the House:
- Minimum 6-foot clearance from foundation on all sides
- 10-foot clearance for ladder setup and safety zones
- Clear line of sight for debris chutes to dumpster
- Unobstructed access to all downspouts and gutters
Driveway and Street Access:
- Space for a 20-40 cubic yard dumpster (typically 22 feet long)
- Room for material delivery trucks (may require street parking)
- Clear path for workers carrying materials
- Adequate turnaround space for vehicles
Special Considerations:
- Side yards: Trim narrow passages to at least 36 inches wide
- Fenced areas: Unlock or remove fence sections if needed
- Swimming pools: Establish no-debris zones and safety barriers
- AC units: Ensure 3-foot clearance for protection and access
What Your Roofing Contractor Should Handle
Professional roofing companies have responsibilities in protecting your property. When you work with a reputable contractor like RRSATX, they should:
Pre-Installation Walk-Through:
- Conduct property assessment with you present
- Identify potential problem areas
- Discuss protection strategies
- Document pre-existing conditions
- Provide guidance on what you should move vs. what they’ll protect
During Installation:
- Use tarps to protect foundation plantings during tear-off
- Execute careful debris management
- Conduct daily magnetic nail sweeps
- Position dumpsters to minimize lawn damage
- Communicate if unexpected obstacles arise
Post-Installation:
- Complete thorough cleanup and final nail sweep
- Remove all debris and equipment
- Restore moved items when possible
- Address any damage that occurred despite precautions
- Final walk-through to confirm satisfaction
What’s NOT Typically Included:
- Moving heavy potted plants or furniture (homeowner responsibility)
- Trimming trees or shrubs
- Relocating permanently installed landscape features
- Repairing pre-existing landscape damage
- Replacing plants damaged by homeowner neglect
At RRSATX, we’ve served San Antonio homeowners for over 25 years and maintain a 5-star reputation because we communicate clearly about responsibilities. Our free roof inspection includes a landscape protection consultation.
Cost Implications And Damage Prevention
Investment In Protection VS. Cost Of Repair
Typical Preparation Costs:
- Professional tree trimming: $200-$800 (depending on size)
- Protective materials (tarps, stakes, plywood): $50-$150
- Temporary plant relocation service: $150-$400
- Irrigation system mapping: $75-$200
- Total estimated preparation investment: $500-$1,500
Common Damage Repair Costs:
- Crushed foundation plantings: $300-$1,000
- Damaged irrigation system: $400-$1,200
- Broken fence sections: $200-$600
- Damaged siding or gutters: $500-$2,000
- Tree removal/replacement: $1,500-$5,000
- Total potential damage costs: $2,900-$9,800
The math is clear: investing in proper preparation saves money. Additionally, many homeowners insurance policies don’t cover landscape damage from voluntary construction projects, meaning you’ll pay out-of-pocket for repairs.
Hidden Costs Of Poor Preparation
Project Delays:
- Contractors waiting for you to move items: $200-$500 per delay day
- Rescheduling due to inadequate access: Lost deposit or rescheduling fees
- Extended project timeline: Additional dumpster rental fees
Reduced Property Value:
- Damaged mature landscaping reduces curb appeal
- Visible repair patches in lawn or gardens
- Dead or dying plants from root damage
Common Mistakes To Avoid
- Waiting Until Installation Day Last-minute preparation leads to stress, rushed decisions, and overlooked details. Start at least 2-3 weeks early.
- Underestimating Debris Fallout Roofing debris travels farther than you think. A piece of shingle falling from 20 feet can land 15+ feet from your house. Extend protection zones accordingly.
- Forgetting About Underground Systems Sprinkler lines, electrical conduits, and drainage systems run underground near foundations. Heavy equipment can cause unseen damage that appears later.
- Assuming Contractors Know Your Priorities That rose bush might look ordinary to a roofer but irreplaceable to you. Clearly communicate what’s valuable and cannot be damaged.
- Not Documenting Pre-Existing Conditions Take dated photos of your entire landscape before work begins. This protects both you and your contractor if disputes arise.
- Ignoring Seasonal Considerations In San Antonio’s climate, installing a roof during summer heat stresses already-vulnerable plants. Water thoroughly and provide extra protection during hot months. Winter installations may be gentler on dormant landscaping.
- Failing to Secure Pets Roofing projects create noise, strangers in your yard, and open gates. Secure pets indoors or in safe areas away from the work zone.
Post-Installation Landscape Recovery
Even with excellent preparation, your landscaping will need attention after roof installation.
Immediate Post-Installation Steps:
- Inspect all protected areas for damage
- Remove protective coverings promptly (leaving tarps too long can yellow grass)
- Water stressed plants deeply
- Conduct thorough nail sweep of planted areas
- Check irrigation system functionality
First Week After Installation:
- Apply iron-rich fertilizer to yellowed grass areas
- Prune any broken branches
- Replant displaced ground cover
- Replace mulch around foundation
- Monitor plants for stress signs
Long-Term Recovery (2-4 Weeks):
- Reseed any bare lawn patches
- Replace plants that didn’t survive
- Fertilize trees and shrubs to boost recovery
- Restore decorative elements
- Document any contractor-caused damage for claims
When to Call Professionals:
- Trees showing signs of decline (wilting, yellowing)
- Irrigation system leaks or malfunctions
- Extensive lawn damage requiring professional restoration
- Structural damage to hardscaping
Conclusion
Preparing landscaping before install is an investment in protecting your property, ensuring a smooth roofing project, and maintaining your home’s value. The hours you spend moving plants, trimming trees, and clearing access points directly translate to thousands of dollars in prevented damage and a better overall experience.
Professional roofing contractors appreciate prepared properties; it allows them to focus on delivering quality workmanship rather than navigating obstacles. Most importantly, you’ll have peace of mind knowing your landscaping investment is protected throughout the installation process.
Ready to Start Your Roof Replacement Project? RRSATX: San Antonio Roofing Company brings 25+ years of experience to every roof installation project. We’re not just roofers, we’re your neighbors, committed to protecting your entire property, not just installing your roof.
Call now: 713-504-234, Serving San Antonio, Houston, Katy & surrounding areas
Open 24 hours Call us anytime for emergency service or to schedule your free inspection!
Don’t let landscape damage add unexpected costs to your roofing project. Contact RRSATX today and work with a contractor who values your entire property.