-min")
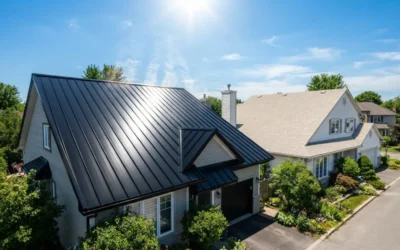
If you’re looking for a roofing material that combines sleek design, long life, and serious weather resistance, a standing seam metal roof is a top contender. Homeowners love it for its clean lines, durability, and energy savings. But before you pick up your tools, it’s worth understanding how the installation process works—and whether it’s a realistic DIY project.
Step 1: Prepare Your Roof Deck
Before any panels go up, your roof deck needs to be solid and level. Start by removing old shingles and inspecting the decking underneath for rot, gaps, or water damage. If anything feels soft or uneven, replace those boards first.
A smooth, clean surface ensures your panels align correctly. As Modernize notes, preparation is half the job when it comes to long-lasting roof performance.
“I thought I could skip fixing a few old boards,” says one Texas homeowner. “But once the panels went on, even small dips became visible. Lesson learned—prep matters.”
Step 2: Lay Down the Underlayment
Once the deck is ready, install a high-temperature synthetic underlayment. This acts as a waterproof barrier under your panels. Start at the eaves and work upward, overlapping each layer by about six inches.
A good underlayment protects your home from condensation and small leaks. According to HomeAdvisor, a quality underlayment can add $0.20–$0.50 per square foot to the cost, but it’s well worth the peace of mind.
“I didn’t realize how much protection that thin layer adds until my first Texas storm,” says one DIY roofer.
Step 3: Measure and Cut the Metal Panels
Standing seam panels typically range from 12 to 24 inches wide. Measure carefully and use a power shear or metal-cutting blade for clean edges. Always wear gloves and safety glasses—metal edges can be sharp.
Angi recommends dry-fitting panels before fastening them. That means laying them out loosely to ensure seams align perfectly before you start locking them down.
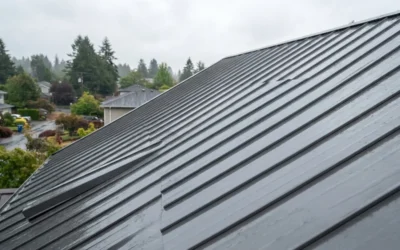
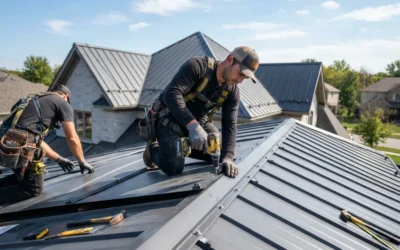
Step 4: Fasten Panels and Lock the Seams
This is where precision really counts. There are two main seam types:
- Snap-lock: Panels snap together without tools.
- Mechanical-lock: Panels are crimped together for a watertight seal.
Start at one edge and work across, fastening each panel with concealed clips and screws. Avoid over-tightening; it can cause buckling as the metal expands and contracts with temperature changes.
“It’s not hard once you get the rhythm,” one homeowner shared, “but one wrong seam can leak, so double-check each connection.”
Step 5: Add Flashing and Ridge Caps
Flashing is installed around chimneys, vents, and edges to prevent leaks. Ridge caps go on last to cover the roof’s peak. Use sealant where needed but don’t overdo it—clean lines are part of the standing seam look.
If you’re unsure about flashing around complex areas, consider calling a local pro. Yelp reviews can help you find trusted roofers who specialize in metal installations.
Step 6: Inspect and Maintain
Once the panels and caps are secured, inspect your work. Look for misaligned seams, exposed fasteners, or gaps near flashing. Run water over the roof to test for leaks before calling it done.
Maintenance is simple: check for debris or loose fasteners twice a year and after major storms. “I check my roof every spring,” says one homeowner, “and it still looks brand new five years later.”
Should You DIY or Hire a Pro?
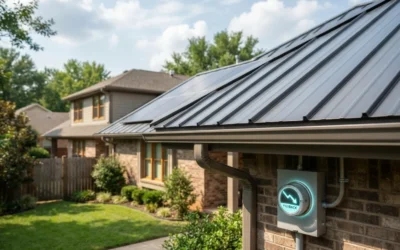
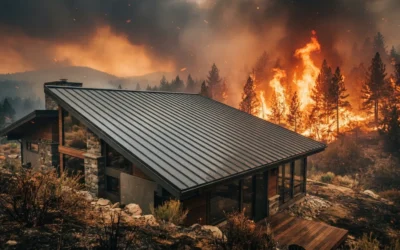
Standing seam metal roofs are one of the most durable and energy-efficient options available. Energy Star reports that reflective metal roofing can cut cooling costs by up to 25%—a big deal in hot climates.
Still, installation requires precision, safety gear, and experience. If your roof is steep or complex, hiring a professional is usually the smarter (and safer) choice.
“After pricing tools and safety gear, I realized hiring a pro wasn’t that much more—and it guaranteed no leaks,” one homeowner said.
Final Thoughts
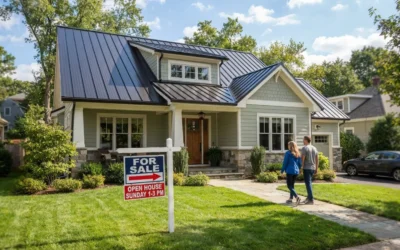
Installing a standing seam metal roof isn’t impossible for a handy homeowner, but it’s definitely an advanced project. Whether you do it yourself or hire a pro, you’ll end up with a roof that looks amazing, lasts for decades, and saves money on energy bills.