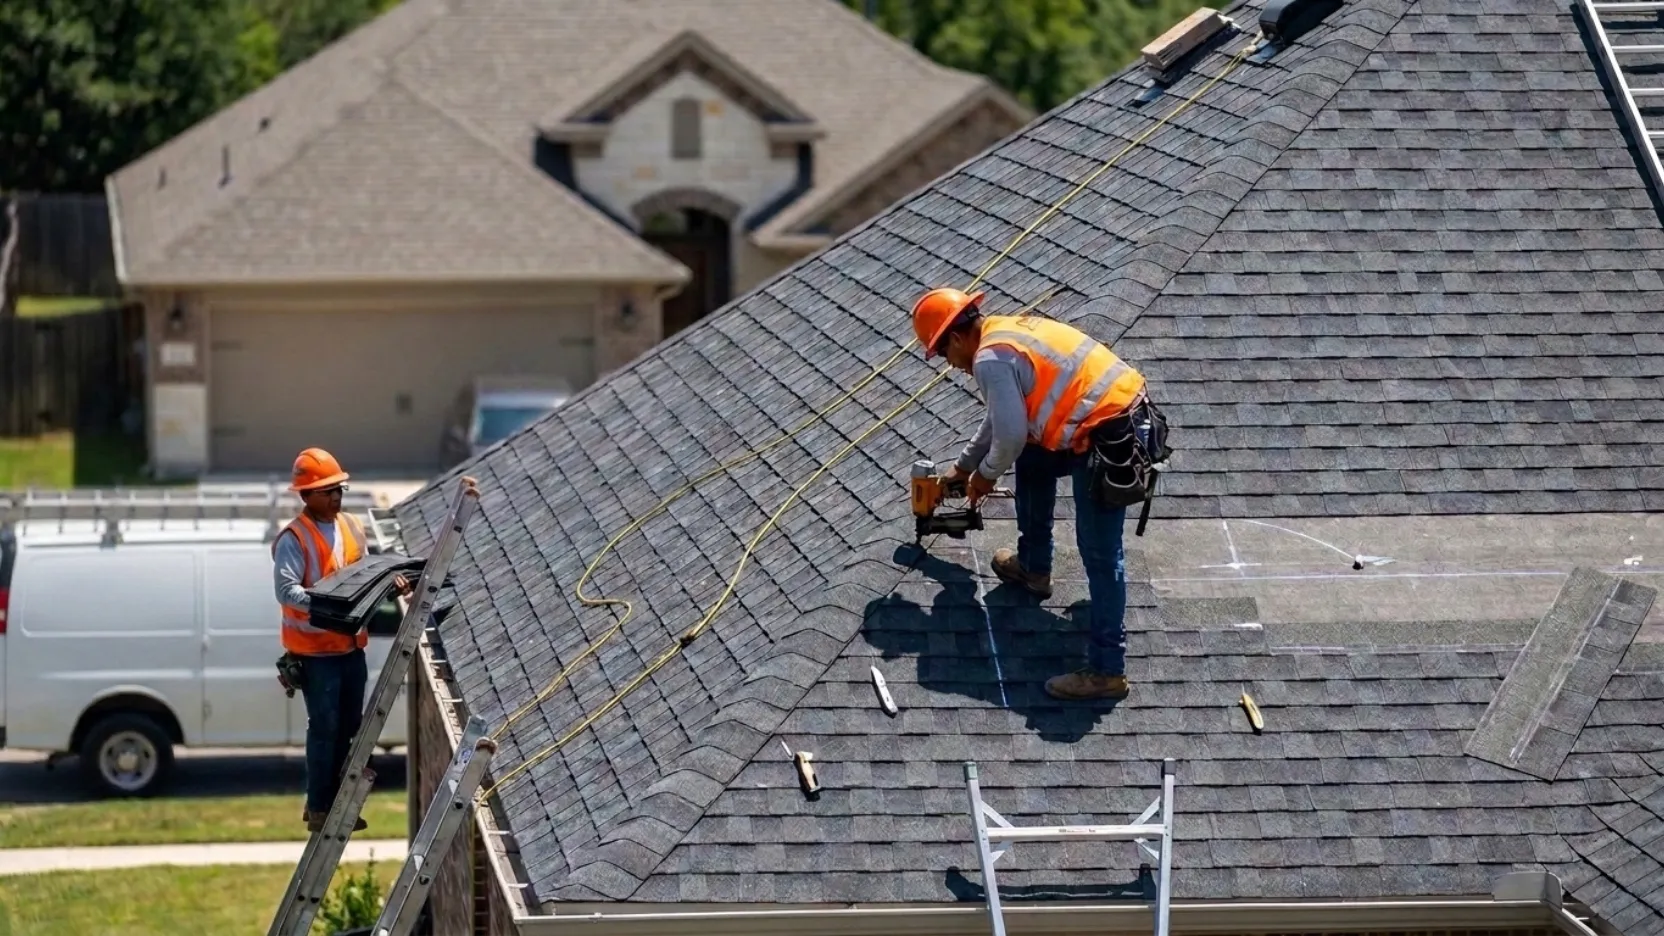
Most San Antonio homeowners have no idea what actually happens between the moment they sign a roofing contract and the moment the crew drives away. This guide walks you through every step of a professional new roof installation so you know exactly what to expect, what to watch for, and how to tell whether the job is being done right.
Replacing a roof is one of the largest home improvement investments most San Antonio homeowners will ever make. It is also one of the most misunderstood. The crew shows up, things get loud, and a day or two later the old roof is gone and a new one is in its place. But what actually happens during those hours matters enormously for how long your new roof will last and how well it will protect your home.
A roof installation done right follows a specific sequence of steps. Each one builds on the one before it. When a step is skipped or rushed, the result is not always obvious immediately. Problems show up months or years later as leaks, blown-off shingles, or premature failure. This guide walks you through all nine steps in the exact order they should happen on your San Antonio home so you know what a professional installation looks like from start to finish.
The best shingles on the market will fail early if they are installed over a wet deck, without proper underlayment, or with the wrong nail pattern. The most common cause of premature roof failure in San Antonio is not material quality it is installation shortcuts. Understanding the correct process is the single best tool you have for evaluating whether a contractor is doing the job right before the problems appear.
Every professional roof replacement starts with a proper inspection and a written estimate. This is not a formality. The inspection is where a qualified contractor assesses the condition of your existing roof, your decking, your ventilation system, your flashings, and any code requirements specific to your Bexar County property. The estimate that comes from that inspection should itemize materials, labor, disposal, and any identified repair work to the decking or flashing that will be needed once tear-off is complete.
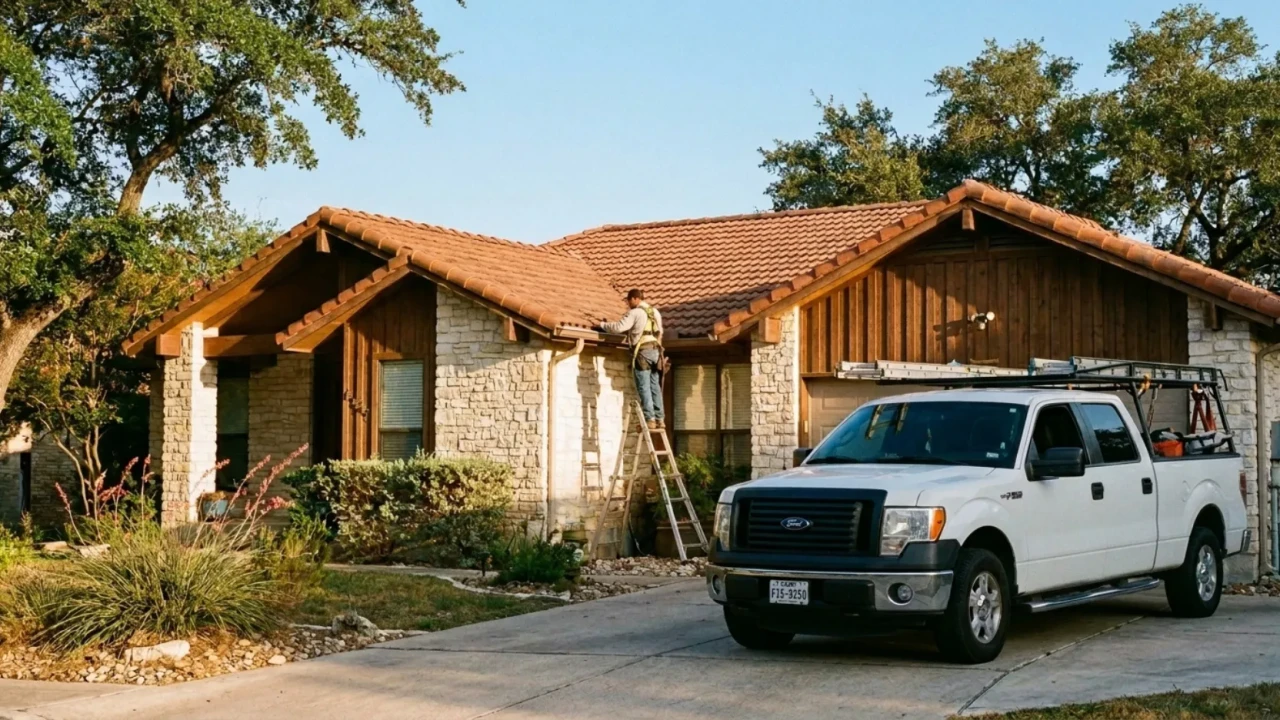
What a proper estimate covers: Square footage of the roof, number of layers currently on the deck, decking condition, ventilation adequacy, flashing condition at all penetrations, and the full material specification including shingle brand, underlayment type, ridge vent or box vent plan, and drip edge requirements.
What should raise a red flag: A contractor who quotes your roof without getting on it, a quote that arrives within minutes of the first phone call, or a price that is significantly below every other bid you received. Low bids typically mean skipped steps or inferior materials.
- Contractor physically walked the roof before submitting the quote
- Written estimate received that itemizes materials, labor, disposal, and permit fees
- Shingle manufacturer, product line, and warranty class specified in writing
- Decking replacement allowance or pricing included if soft spots are likely
- Timeline and crew size confirmed before signing the contract
- Certificate of insurance and contractor license number received and verified
After you sign the contract and pay the deposit, two things happen before the installation crew sets foot on your roof: the permit is pulled with the City of San Antonio or Bexar County, and materials are ordered and delivered. Most roofing material deliveries in San Antonio are handled by a supply house that delivers directly to your property and uses a boom truck to load the shingles onto the roof itself. This keeps heavy pallets off your yard and positions materials close to where they will be installed.
Material staging on the roof is standard practice, but it needs to be done correctly. Shingle pallets placed on a roof that is about to be torn off add significant weight. A reputable crew accounts for this in how they plan the tear-off sequence so the decking is never overloaded. If you see materials stacked heavily over one section of an older home, it is appropriate to ask the crew lead about the load plan.
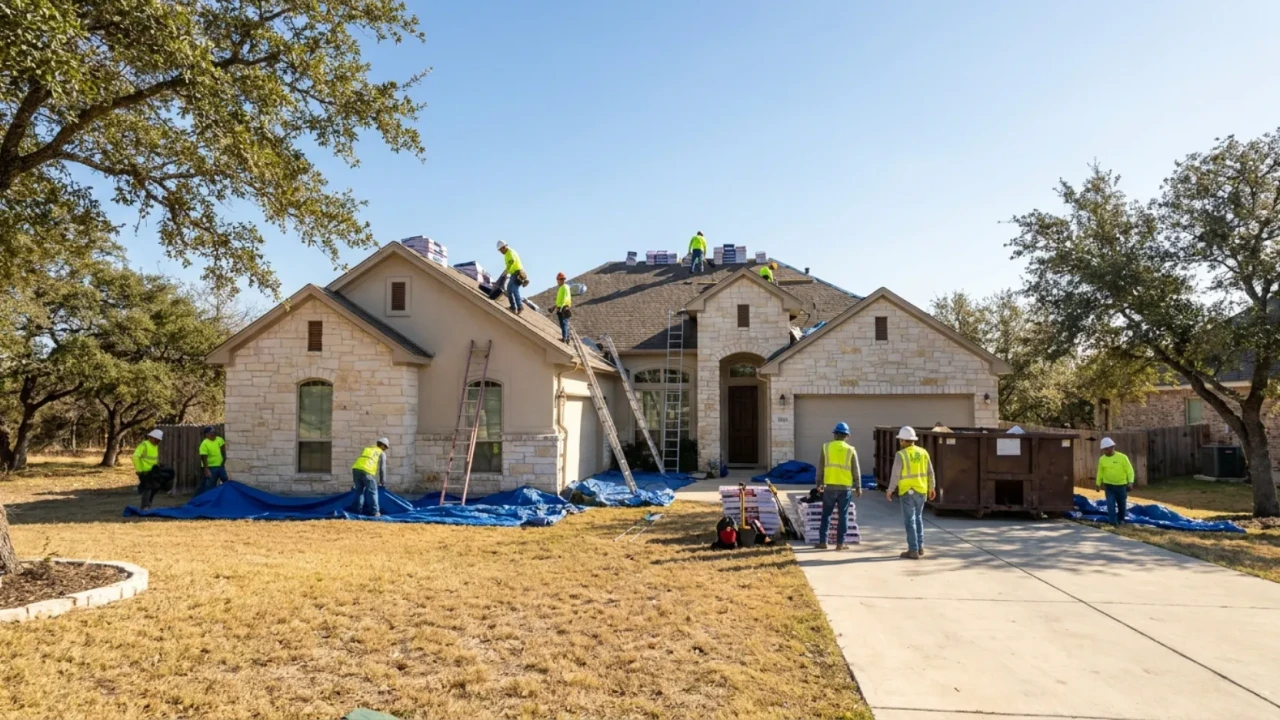
Before installation day, move vehicles out of the driveway and away from the home. Roofing debris, nails, and spent shingles fall off the edges of the home during tear-off. Vehicles parked close to the house are a common source of damage claims during roof replacements. Ask your contractor whether they use tarps around the perimeter to catch falling debris, and confirm whether a magnetic nail sweep will be included in the cleanup after the job is complete.
- Permit number received from contractor and confirmed as pulled before work begins
- Material delivery confirmed with specific shingle brand and color matching your selection
- Vehicles moved away from the home and driveway cleared
- Fragile items removed from walls inside the home hammer vibration is significant
- Pets secured indoors or off the property on installation day
- Neighbors notified of the installation date as a courtesy
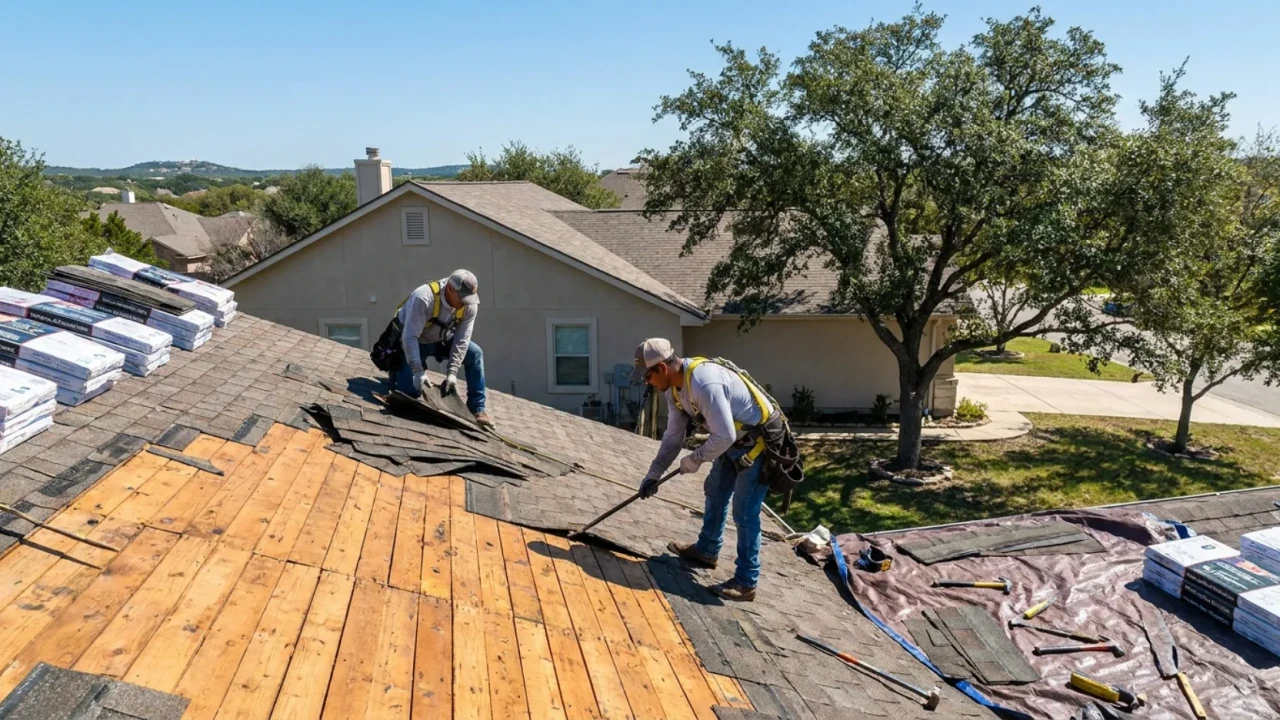
Tear-off is the process of removing all existing roofing material down to the bare wood decking. On most San Antonio residential roofs, this means pulling off the old asphalt shingles, the underlayment, and any existing drip edge. A proper tear-off exposes the full decking surface so the crew can inspect every board for rot, soft spots, delamination, and damage before anything new goes on top.
Some contractors offer a layover installation, also called a re-roof, where new shingles are installed directly over the existing layer without removing it first. While this is permitted under certain conditions in the building code, it is rarely the right choice for San Antonio homes. The Texas heat trapped beneath two layers of shingles accelerates the aging of both layers, voids most manufacturer warranties, and makes it impossible to inspect or repair the decking underneath. When we install a new roof, we always recommend a full tear-off.

How long tear-off takes: On a standard San Antonio residential roof of 1,500 to 2,500 square feet, a crew of four to six can complete tear-off in three to five hours. Steeper pitches, multiple layers, and difficult access take longer. Tear-off and new installation are often completed in the same day on a straightforward ranch-style home.
What the crew is looking for during tear-off: Rotted or delaminated OSB or plywood decking, wet insulation in the sheathing, improper flashing installation from the previous job, and any areas where the roof structure shows signs of sagging or damage.
- All roofing material removed down to bare decking not a layover installation
- Perimeter tarps or catch systems in place before tear-off begins
- Old nails removed or driven flat across the entire deck surface
- Decking inspected by the crew lead before any new material is applied
- Soft or rotted decking boards identified and priced for replacement
- Debris loaded into the dumpster as work progresses not left on the ground
Once the old roofing material is stripped away, the crew has full access to the decking for the first time. This is one of the most important moments in the entire installation. The decking is the structural layer that everything else is attached to. New shingles nailed into rotted or delaminated OSB will not hold. Fasteners that miss solid wood or pull through soft sheathing create immediate leak points.
Decking problems are common on San Antonio homes, particularly around chimneys, skylights, plumbing vents, and anywhere a previous roof had a leak that was not addressed promptly. Even a slow, minor leak that went undetected for a season or two can saturate and weaken the sheathing boards beneath. A professional crew will walk the entire deck surface after tear-off, pressing on boards to check for softness and looking for discoloration or mold that signals moisture damage.
Ask your contractor to photograph any decking damage they find before repairing it. If your roof was replaced within the last 10 to 15 years, decking damage caused by a previous contractor's poor installation or flashing work may be the basis for a warranty or dispute claim. You want a documented record of what was found. A reputable San Antonio roofing company will provide this documentation as a matter of course without being asked.
- Full deck walk completed by crew lead after tear-off before underlayment begins
- Soft, rotted, or delaminated boards marked and photographed before replacement
- Replacement decking is same thickness as original (typically 7/16" OSB or 1/2" plywood)
- Replacement sheets secured with ring-shank nails into rafter framing not just into adjacent sheathing
- All replacement decking is dry before underlayment is applied
- Decking repair costs confirmed in writing before work proceeds to protect against surprise charges
Underlayment is the layer of material installed directly on the decking before the shingles go on. It serves as a secondary water barrier the defense layer that stands between your home and the elements if a shingle is ever damaged, blown off, or fails prematurely. In San Antonio, where severe thunderstorms can strip shingles and where summer heat accelerates material aging, quality underlayment is not optional.
There are three main underlayment types used in residential roofing: felt paper (15-lb or 30-lb asphalt felt), synthetic underlayment, and self-adhering ice and water shield membrane. Most San Antonio residential installations use a synthetic underlayment across the field of the roof, with ice and water shield applied in the vulnerable zones at eaves, in valleys, and around all penetrations.
Underlayment is installed starting at the eaves and working up the roof, with each row lapping over the one below by a minimum of 4 to 6 inches. Valley areas where two roof slopes meet get double coverage with ice and water shield self-adhered directly to the decking. Penetrations such as pipe boots, chimney bases, and skylight curbs are wrapped and sealed before the shingles cover them.
- Synthetic underlayment or 30-lb felt specified not 15-lb felt on a full replacement
- Ice and water shield applied at all eaves, valleys, and penetration points
- Underlayment lapped correctly: bottom rows covered by rows above, minimum 4-inch overlap
- Underlayment extends over the drip edge at the eaves and under the drip edge at the rakes
- No tears, gaps, or exposed sections left in the underlayment before shingles begin
- All pipe penetrations and chimney bases pre-wrapped and sealed before shingle installation
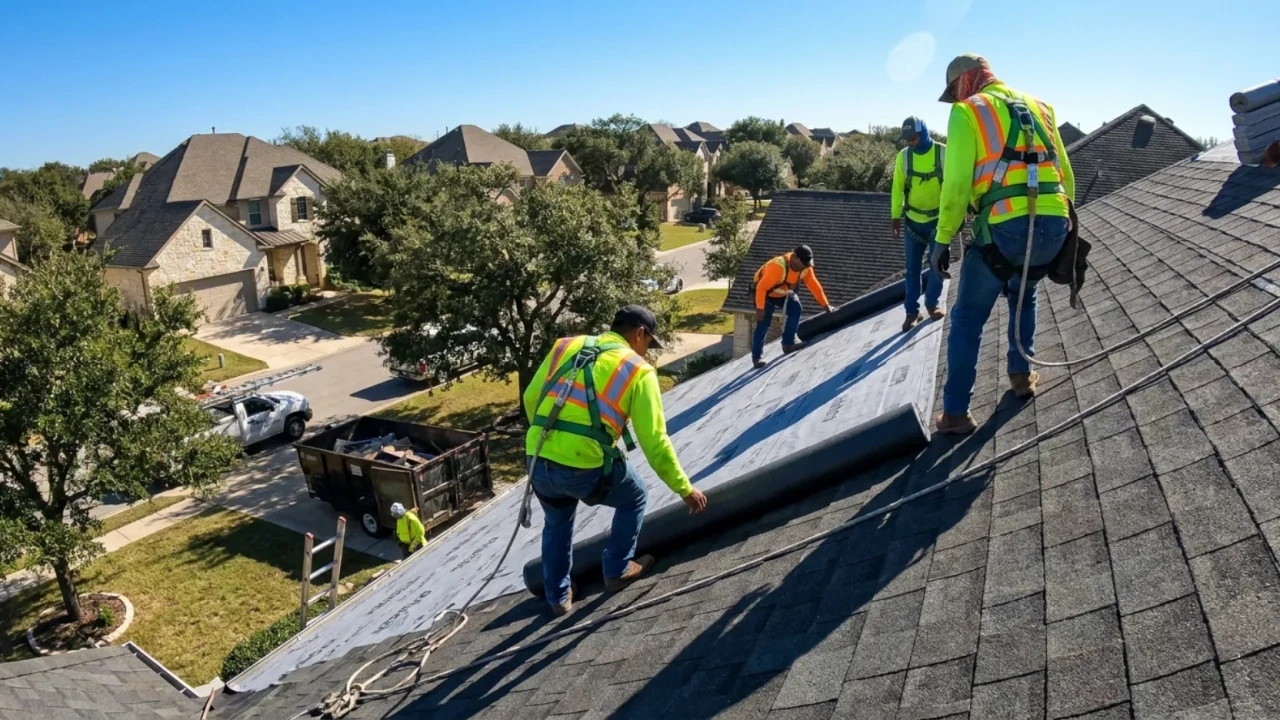
Drip edge and flashing are the metal components that direct water away from vulnerable points on your roof. They are not glamorous, they are not visible from the street after the shingles go on, and they are the single most common source of roof leaks in San Antonio. Flashing done right keeps water out for the life of the roof. Flashing done wrong or skipped entirely creates the conditions for persistent, hard-to-trace leaks that often do not appear until the second or third rainy season.
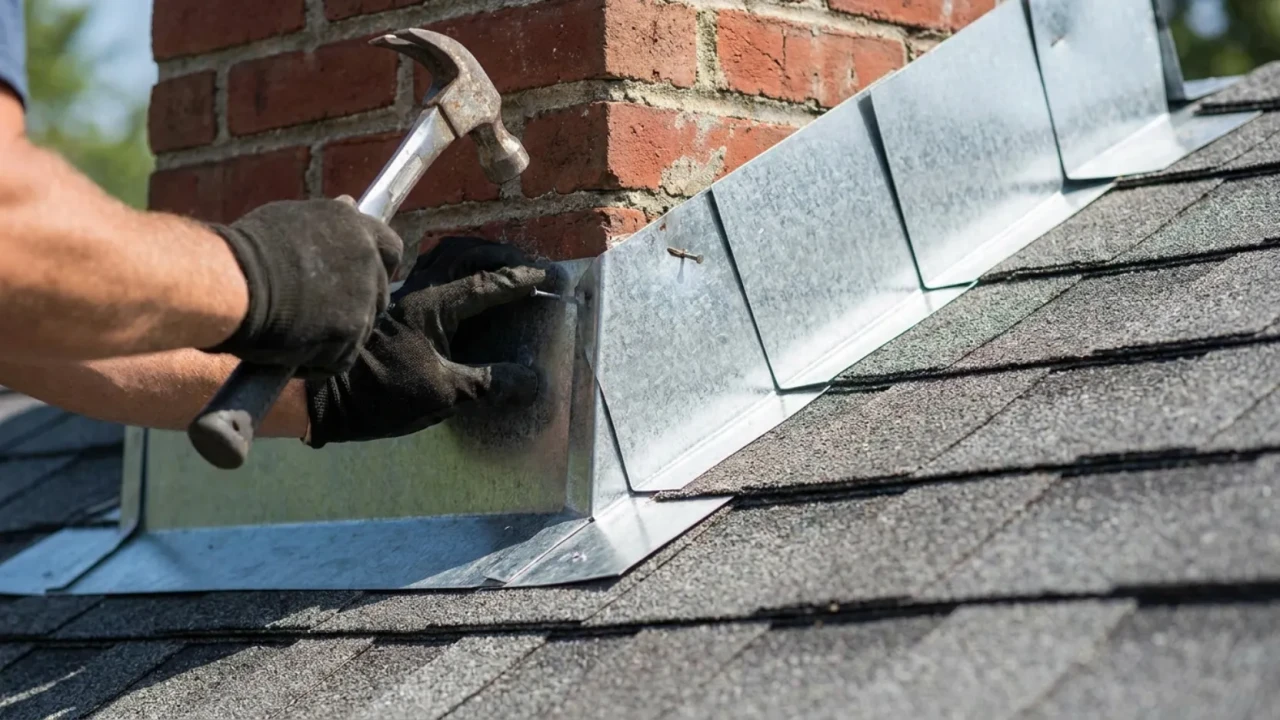
Drip edge: A metal strip installed along the eaves and rake edges of the roof. It hangs over the fascia and directs water into the gutter rather than allowing it to wick back under the shingles or run down the fascia board. Drip edge is installed at the eaves before the underlayment and at the rakes after the underlayment. On a proper installation, the sequence is never reversed.
Step flashing: Installed at every vertical wall intersection where the roof meets a dormer wall, an addition, or any vertical surface. Each piece of step flashing is interwoven with the shingles as they are installed, with one piece per shingle course. Step flashing cannot be applied after the shingles are already on.
Chimney and skylight flashing: Full base and counter-flashing systems that seal the transition between the roofing surface and the masonry or framed curb. Counter-flashing is embedded into the masonry mortar on chimneys and covered with a bead of roofing sealant.
- New drip edge installed on all eaves and rake edges old drip edge always replaced
- Eave drip edge installed before underlayment; rake drip edge installed after underlayment
- Step flashing installed at every wall intersection, one piece per shingle course
- New pipe boot flashings installed at every plumbing vent penetration
- Chimney flashing includes a base and counter-flashing system not just sealant
- Valley flashing installed in open or closed-cut configuration before shingles begin in the valley
Shingle installation is what most homeowners think of when they picture a roof replacement, and it is genuinely impressive to watch an experienced crew lay courses quickly and accurately. But the speed of a skilled crew can also make it difficult for a homeowner to evaluate whether the installation is meeting manufacturer specifications. The details that determine the long-term performance of your new roof are the nailing pattern, the nail placement, the course alignment, and the starter strip installation at the eaves.
Every shingle manufacturer specifies a nailing pattern for their products. For most standard three-tab and architectural shingles, that means four nails per shingle placed within a defined nail zone on the shingle body. Nails placed too high above the nail zone are called "high nails" and represent one of the most common installation errors in the industry. A high-nailed shingle is not properly secured to the roof and is significantly more likely to be blown off during a San Antonio wind event.
The starter course is the first row of shingles installed at the eave, and it plays a critical role in sealing the bottom edge of the roof. Proper starter strips are designed with a sealant strip that bonds the first full course of shingles to the roof surface. This is the point on the roof most exposed to wind lift. Without a properly installed starter course, wind can get under the bottom edge of the first shingle row and begin peeling the roof apart from the eave up.
You can check nail placement without getting on the roof. Ask your contractor what nailing pattern they are using and whether it meets the manufacturer's specifications for the specific shingle product being installed. If they are using a nail gun, ask whether the depth setting has been confirmed a gun set too deep will drive nails through the shingle rather than flush against it, and a gun set too shallow will leave nail heads raised, which creates a leak point at every fastener.
- Starter strip installed at eaves and rakes before the first full shingle course begins
- All nails placed within the manufacturer-specified nail zone no high nailing
- Minimum four nails per shingle; six nails if manufacturer or wind zone requires it
- Nail gun depth confirmed: nails flush with shingle surface, not over- or under-driven
- Course alignment verified with chalk line every several courses
- Vertical joint offset maintained throughout no stacked joints running up the slope
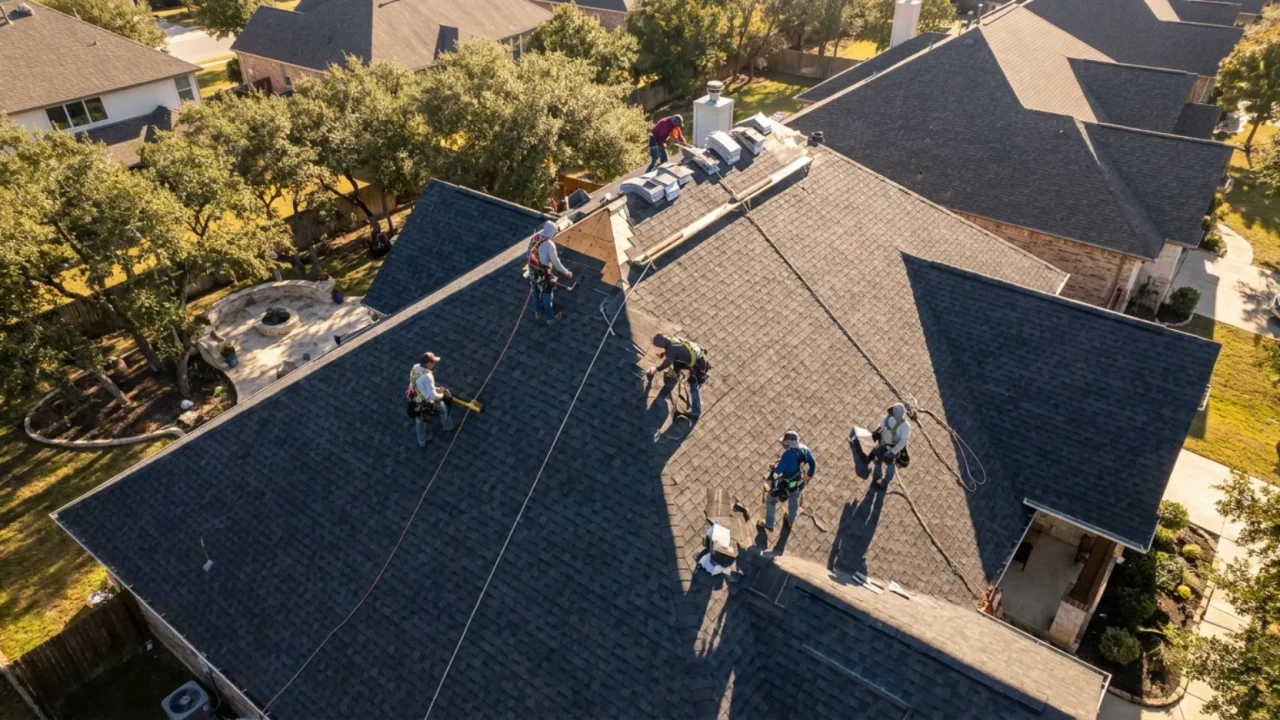
Once the field shingles are complete, the crew finishes the ridge the highest point on the roof where the two opposing slopes meet. Ridge cap shingles are designed specifically for this purpose, with thicker body material and a pre-bent profile that conforms to the roof angle. They are nailed through both sides of the cap into the decking below and are the most exposed shingles on the entire roof, taking the full force of wind from any direction.
Alongside the ridge cap, the ventilation system for the roof is finalized at this stage. San Antonio homes require adequate exhaust ventilation at the ridge or eaves and intake ventilation at the soffit to create a continuous airflow path through the attic. Without proper ventilation, attic heat builds to the point where it cooks the shingles from the underside and dramatically shortens their effective lifespan.
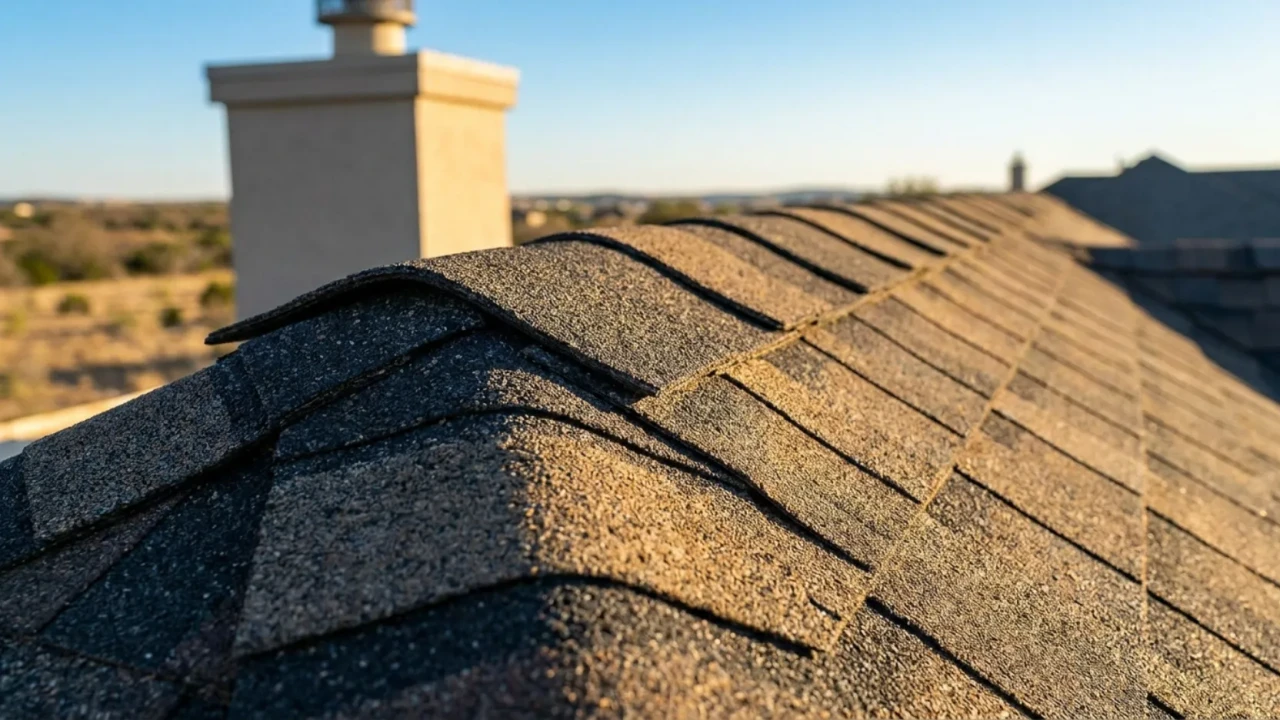
Ridge cap options: Three-tab shingles cut into thirds and bent over the ridge (older method) or purpose-built hip and ridge cap shingles, which provide better coverage and a cleaner visual line. Most manufacturers require their own ridge cap product to maintain the full shingle warranty.
Ventilation options: Ridge vent is the preferred exhaust ventilation for San Antonio homes because it provides continuous ventilation along the full length of the ridge rather than relying on individual box vents placed at intervals. Ridge vents require corresponding soffit ventilation to function correctly.
Other finish details: All pipe boots sealed with a compatible sealant, all exposed nail heads on rake and starter edges covered, and any vent stacks trimmed and re-secured through the new roof surface.
- Purpose-built hip and ridge cap shingles used not cut three-tabs
- Ridge cap nails driven at the correct depth and covered by the overlapping cap
- Ridge vent or box vents confirmed as part of the installation plan before work begins
- Soffit vents confirmed unobstructed before installation is complete
- Ventilation net free area calculated and confirmed as meeting code minimums
- All pipe boots and penetration flashings sealed and confirmed watertight
The final stage of a professional roof installation covers three distinct activities: a thorough cleanup of the property, a final inspection of the completed work, and the delivery of your warranty documentation. All three matter, and none of them should be abbreviated.
Cleanup on a roofing job is more involved than most homeowners expect. Roofing debris torn-off shingles, old underlayment, spent nails, metal scraps from flashing work falls around the entire perimeter of the home during the project. A professional crew uses tarps to catch as much debris as possible during tear-off and loads it continuously into the dumpster throughout the day. At the end of the job, a thorough raking of the perimeter and a magnetic nail sweep of the lawn, driveway, and any paved areas around the home should be standard.
The final inspection should include a walk-through of the completed roof with the crew lead or project supervisor. Look for consistent shingle alignment, clean ridge cap installation, all penetrations properly sealed, and gutters clear of debris. After the city or county inspector signs off on the permit, you should receive your workmanship warranty document from the contractor and your manufacturer warranty registration if the installer is a certified contractor for that shingle brand.
- Magnetic nail sweep completed on the driveway, lawn, and all paved surfaces
- Gutters cleaned of debris from tear-off and installation
- Full perimeter of the home raked and cleared of shingle debris and granules
- Walk-through completed with crew lead before final payment is released
- Workmanship warranty document received in writing with contractor contact information
- Manufacturer shingle warranty registration confirmed either submitted by contractor or instructions provided
- City or county permit inspection passed and sign-off received
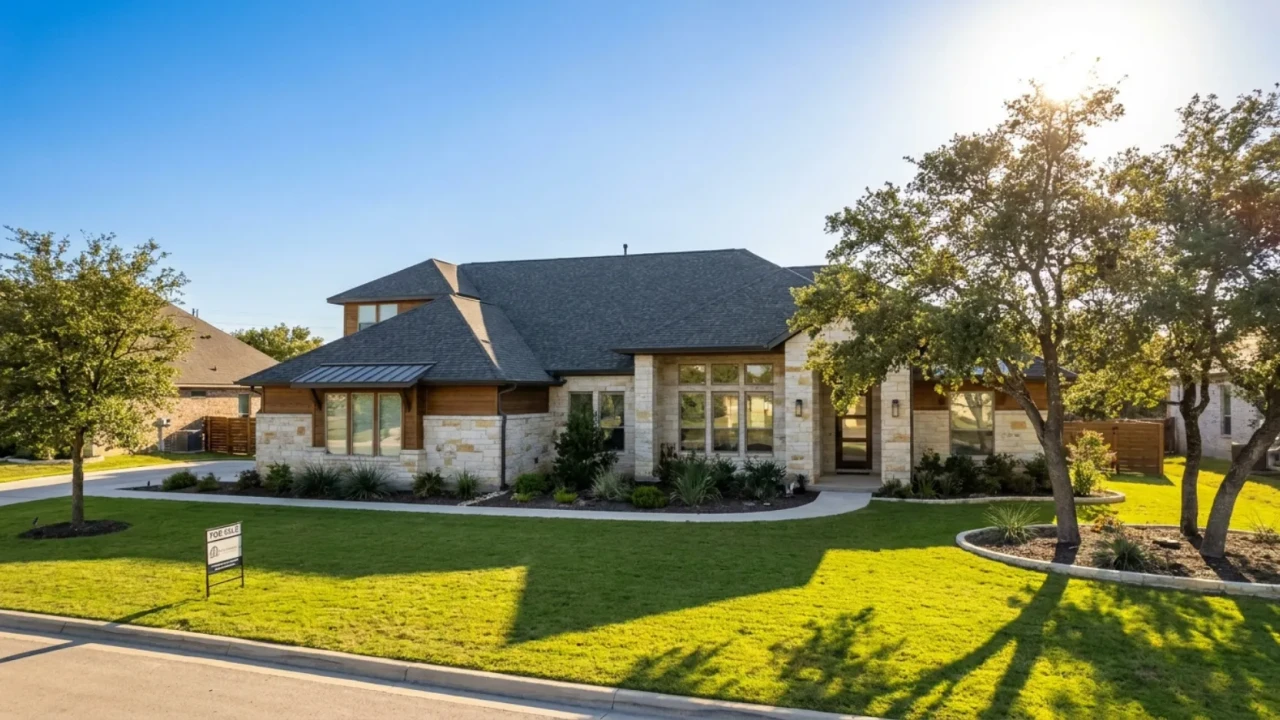
The timeline below reflects a standard single-family home in San Antonio with an asphalt shingle installation on a moderately pitched roof of 1,500 to 2,500 square feet. Larger homes, steeper pitches, and more complex layouts take longer. This schedule assumes no significant decking replacement is needed.
| Phase | Typical timing | What happens | What you need to do |
|---|---|---|---|
| Estimate and contract | Day 1 to 3 | Roof inspection, written quote, contract signing, deposit | Collect at least two written quotes; verify insurance and license |
| Permit and material order | Day 4 to 10 | Permit pulled, materials ordered and delivered to your property | Confirm material delivery date; clear driveway and move vehicles |
| Installation day | Day 11 to 14 (varies) | Tear-off, decking repair, underlayment, flashing, shingles, ridge cap | Secure pets; plan to be home if possible; driveway and yard cleared |
| Cleanup and inspection | Same day as installation | Property cleanup, nail sweep, walk-through with crew lead | Walk the perimeter with the crew lead before paying the balance |
| Permit inspection | Within 1 to 2 weeks | City or county inspector visits and signs off on the permit | Confirm with your contractor that the inspection has been scheduled |
| Warranty documents | Within 1 to 2 weeks | Workmanship warranty and manufacturer registration delivered | File in a safe location with your home improvement records |
- Written contract received with full material specifications and scope of work
- Contractor license and insurance certificate verified minimum $1M general liability
- Permit confirmed as pulled with the City of San Antonio or Bexar County
- Shingle brand, product line, and color confirmed in writing before materials are ordered
- Decking replacement allowance included in the contract or a per-sheet price confirmed
- Dumpster placed, vehicles cleared, and installation day confirmed
- Tear-off completed to bare decking no layover installation
- Decking inspected and damaged boards replaced before underlayment begins
- Drip edge installed in correct order: eaves first before underlayment, rakes after
- Ice and water shield applied at all eaves, valleys, and penetrations
- Synthetic underlayment installed across the full field of the roof
- Step flashing installed at every wall intersection during shingle installation
- Nails placed within manufacturer nail zone no high nailing observed
- Ridge cap installed with purpose-built hip and ridge cap shingles
- Ventilation system confirmed as complete and balanced
- Magnetic nail sweep completed on all paved surfaces and lawn areas
- Gutters cleared of tear-off debris and granules
- Full walk-through completed with crew lead before final payment
- Workmanship warranty document received in writing
- Manufacturer warranty registration confirmed
- City or county permit inspection passed and sign-off received from contractor
Get a free roof installation estimate in San Antonio
Tell us about your home and we will schedule a free inspection, walk your roof, and give you a clear written estimate with every material and step priced out no surprises, no pressure.